Excellent software and practical tutorials
After installing openwrt, the router memory is running out. Don't worry, OpenWrt sets the virtual memory
OpenWrt setting virtual memory OpenWrt sets virtual memory swap is the virtual memory under Linux. Setting appropriate swap can increase stability. Creating swap virtual memory can increase stability. Note! The speed of the created virtual memory cannot keep up with the speed of hardware-level memory, so creating virtual memory can be used to stabilize the system, but cannot be used as real memory.
If you are using a soft router or server (Debian/Centos) or other systems, you can use this method to improve system stability. Setting the virtual memory appropriately has more advantages than disadvantages.
OpenWrt setting virtual memory
The first thing is to check your own hard disk space and memory details to make sure you have or do not have a swap partition!
Type in the terminal
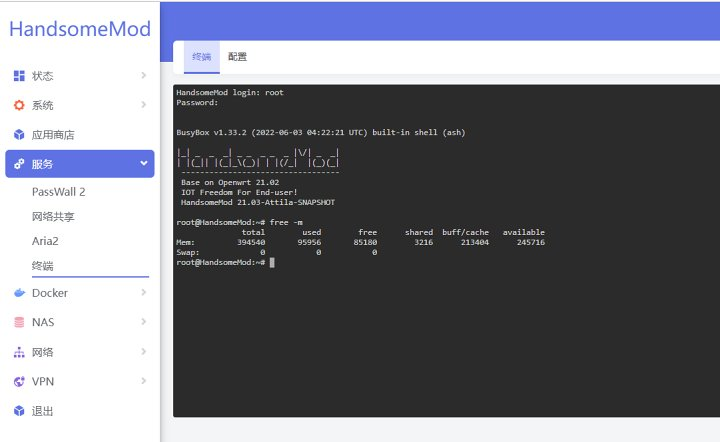
free -m
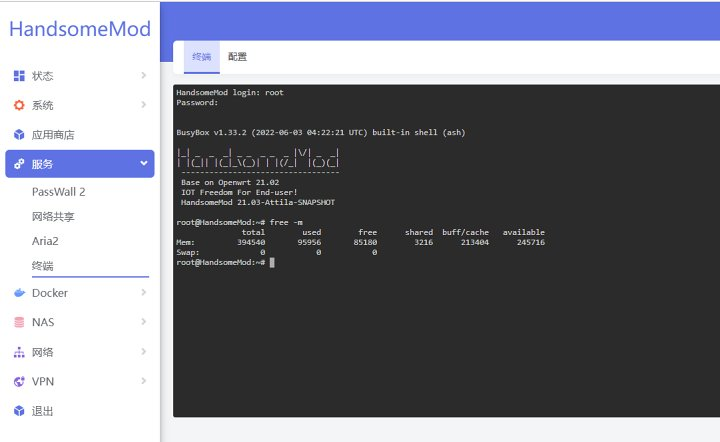
Execute to check the RAM size. The size returned here divided by 1024 is the actual RAM size (in M). For example, the Mem of this item, that is, the actual memory, is 394540/1024=385.29M.
If swap virtual memory is not created, you can see that the swap partition is displayed as 0 as shown in the figure.
The following uses the OpenWrt system's router for demonstration. Other Linux systems can use the terminal or ssh to perform the same operation.
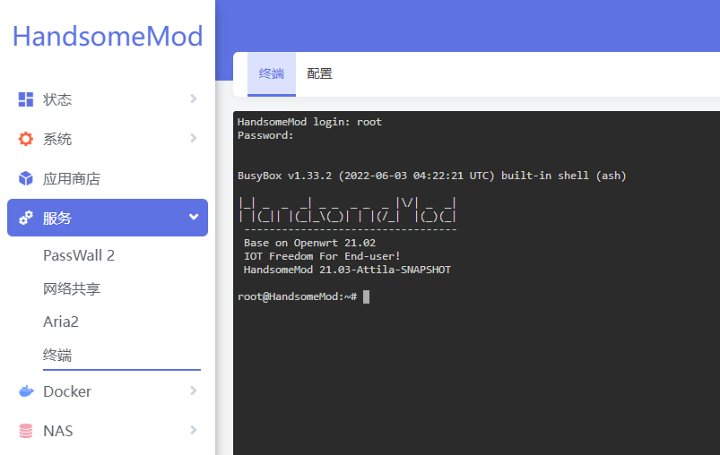
The first step is to log in to the terminal, use the terminal plug-in in the OpenWrt service, or log in with the SSH tool. Other systems can use Shell login.
After successful login, create a swap partition according to the following command:
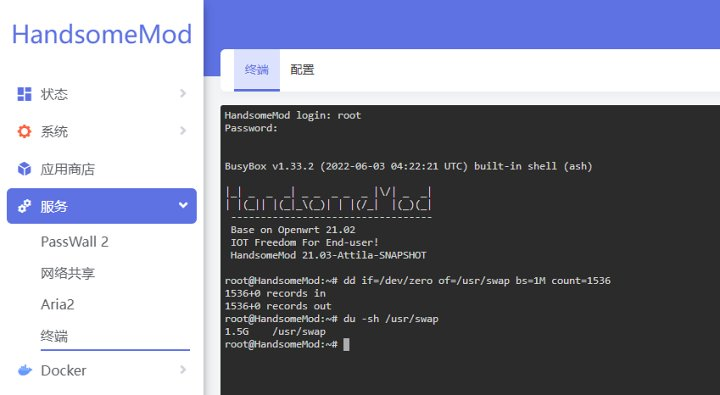
dd if=/dev/zero of=/swap bs=1M count=500
If the creation fails here, make sure there is enough space on the hard disk. If you are sure there is enough space, you can restart and run again. If it still fails, you can change the creation path, such as creating a swap file in the home or www path.
After creation, enter the following command to check whether the size is the set size.
du -sh /swap
After the swap file is created successfully, set up the swap partition.
mkswap /swap
After the settings are completed, enable the swap partition and set the swap file to the swap partition file.
swapon /swap
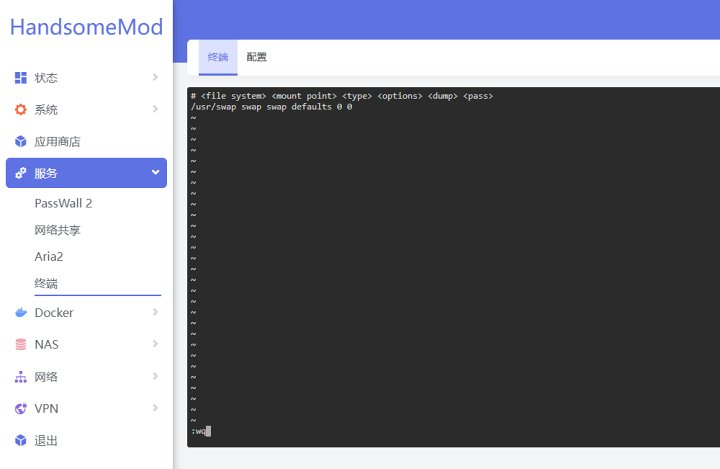
Next, set the swap partition to start automatically at boot. Edit the /etc/fstab file with VI and paste the following content into /etc/fstab.
vim /etc/fstab
/swap swap swap defaults 0 0
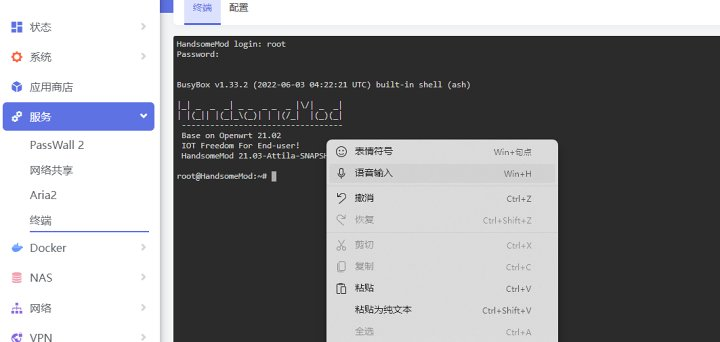
Note! As shown in the figure, after executing the previous command, you will enter the edit mode. You cannot enter the content at this time. You need to press the "i" key on the keyboard to enter the input mode. After pasting the second line as plain text, press the "Esc" key on the keyboard, then enter ":wq" (colon is an English colon) and press Enter.
Then enter the command reboot to restart and reconnect
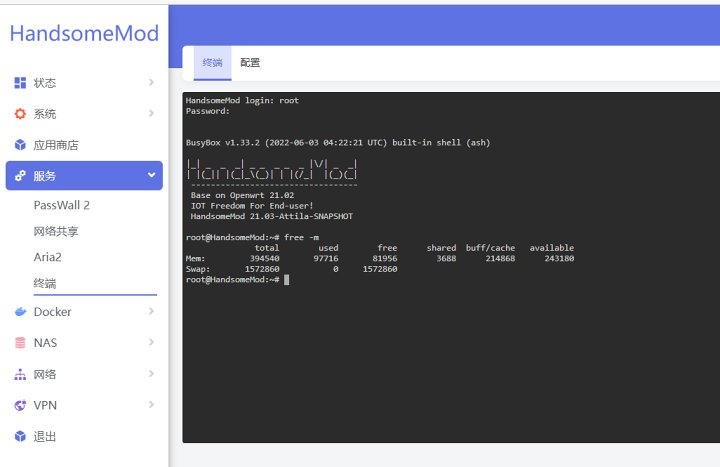
Enter again free – m You can run the command to check that the swap virtual memory has been successfully added.
If the activation fails, the problem that the system will not take effect after restart may occur. Please read on (if the system has taken effect, you do not need to do the following operations)
Continue typing in the command line
vim /etc/rc.local
Enter edit mode and paste in the first line
swapon /swap
Then press the "Esc" key on the keyboard, enter ":wq" (the colon is an English colon), press Enter, and then enter the reboot command to restart the computer and the changes will take effect automatically.
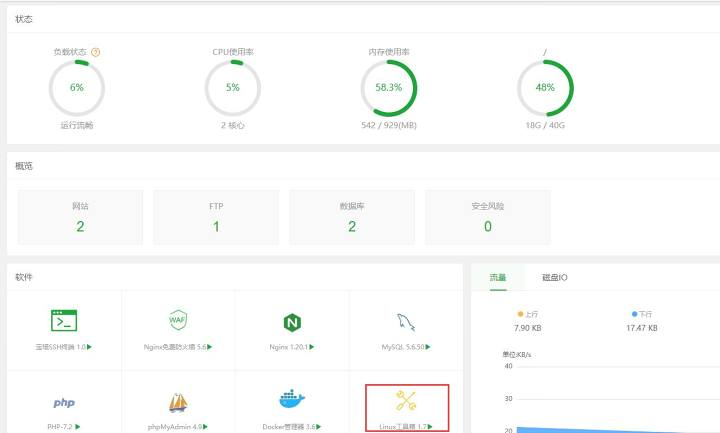
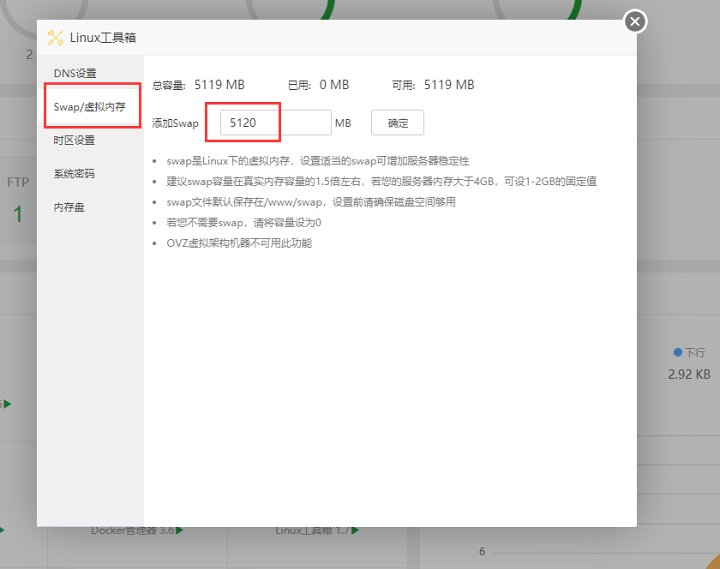
That's it. If your server has a pagoda panel, you can use the Linux toolbox to quickly set it up. It's exactly the same. If it has already been set up, there is no need to set it up again. You can only keep one channel.
How to delete swap virtual memory and files
To delete swap virtual memory, just run the command in the terminal:
swapoff /swap rm /swap
If the swapoff operation is not executed, the swap file itself cannot be deleted. Swapoff is equivalent to unmounting the swap partition.
Remember to delete the content you added previously in /etc/fstab and /etc/rc.local.
Other questions:
1. If you have used the Pagoda panel to create a swap virtual memory, use the delete command above to delete the swap you created.
2. If you use the Baota Panel to directly find the swap path to delete the swap file, it cannot be deleted, and the swap file will appear again in the Baota Panel Recycle Bin to occupy storage. Remember to permanently delete the swap file in the Baota Panel Recycle Bin to save space.


