Excellent software and practical tutorials
How to install WordPress in CyberPanel and configure pseudo-static
CyberPanel It is a foreignHosting Panel, and the previousLinuxUnlike the server management panel, CyberPanel is more focused on virtual hosting. It can customize user permissions and allow users to log in to CyberPanel to manage virtual hosts. It is a virtual host control panel and can be installed with one click.WordPress, it is very convenient. Here is how to Install WordPress with CyberPanel
CyberPanel official website:https://cyberpanel.net/
Web Hosting PanelInstall:CyberPanel Linux Hosting Panel - OpenLiteSpeed Support Simple, Fast and Open Source Control Panel
Next, quickly configure and install WordPress in CyberPanel!
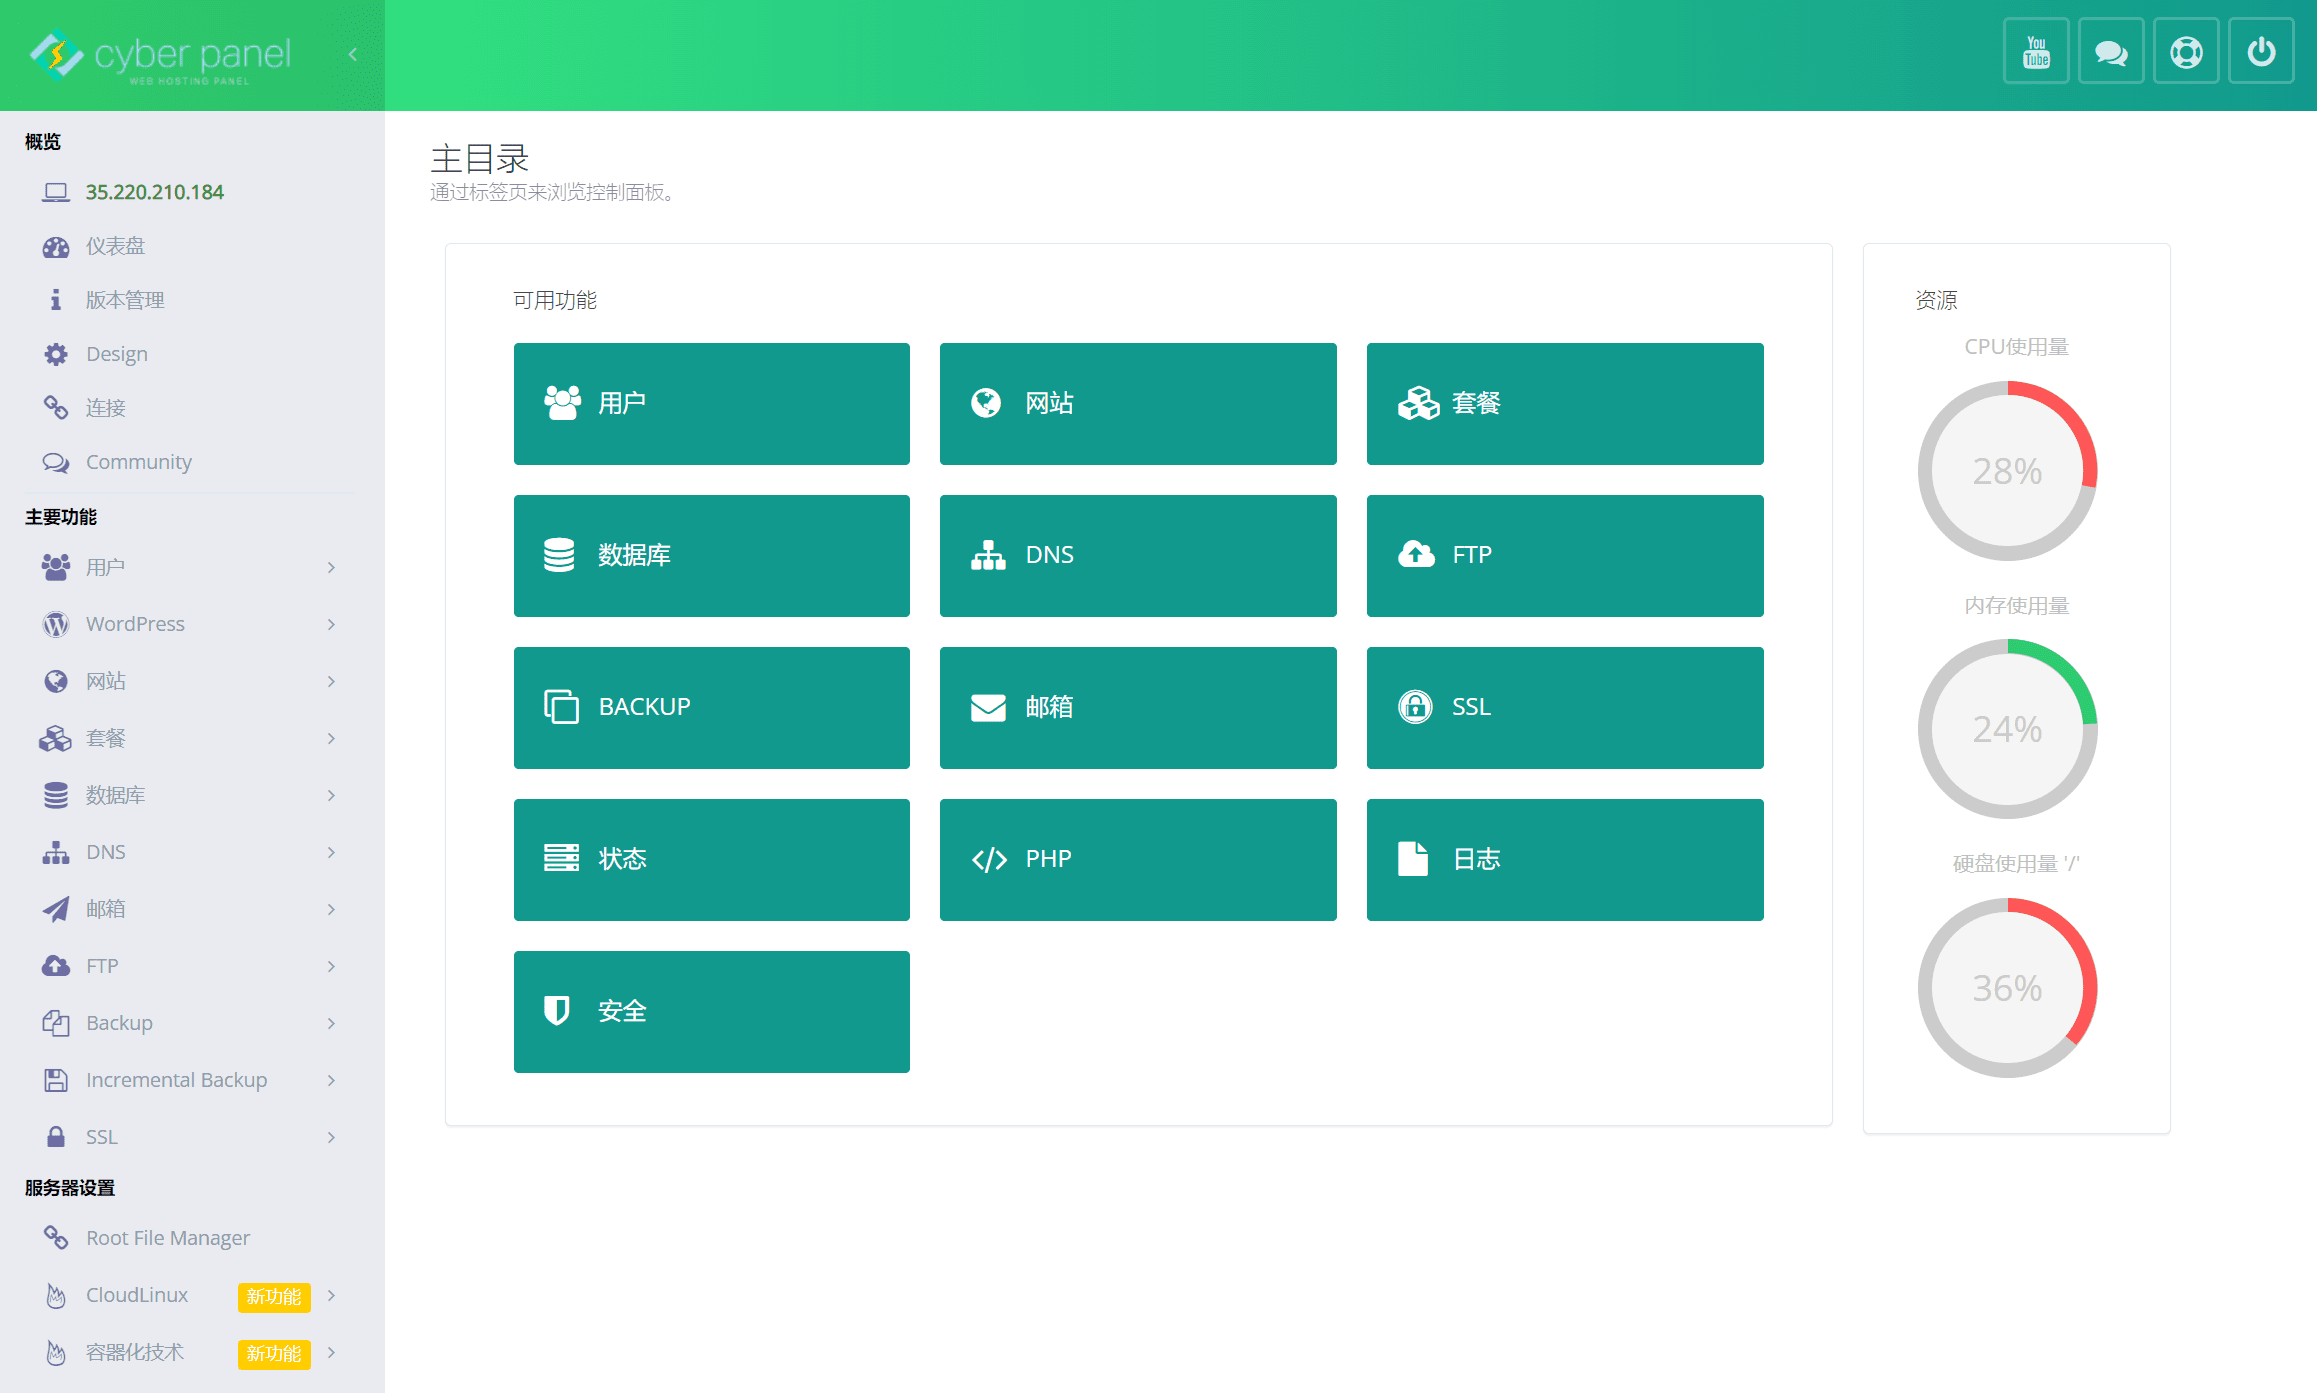
CyberPanel provides variousWEBUISkin, you can choose your favorite WEBUI skin in Design.
Install WordPress with CyberPanel
After installing the CyberPanel virtual host panel, you first need to install the website. CyberPanel provides a one-click installation of WordPress, which is very convenient. Let's start building a WordPress website step by step.
Step 1: Modify the package configuration
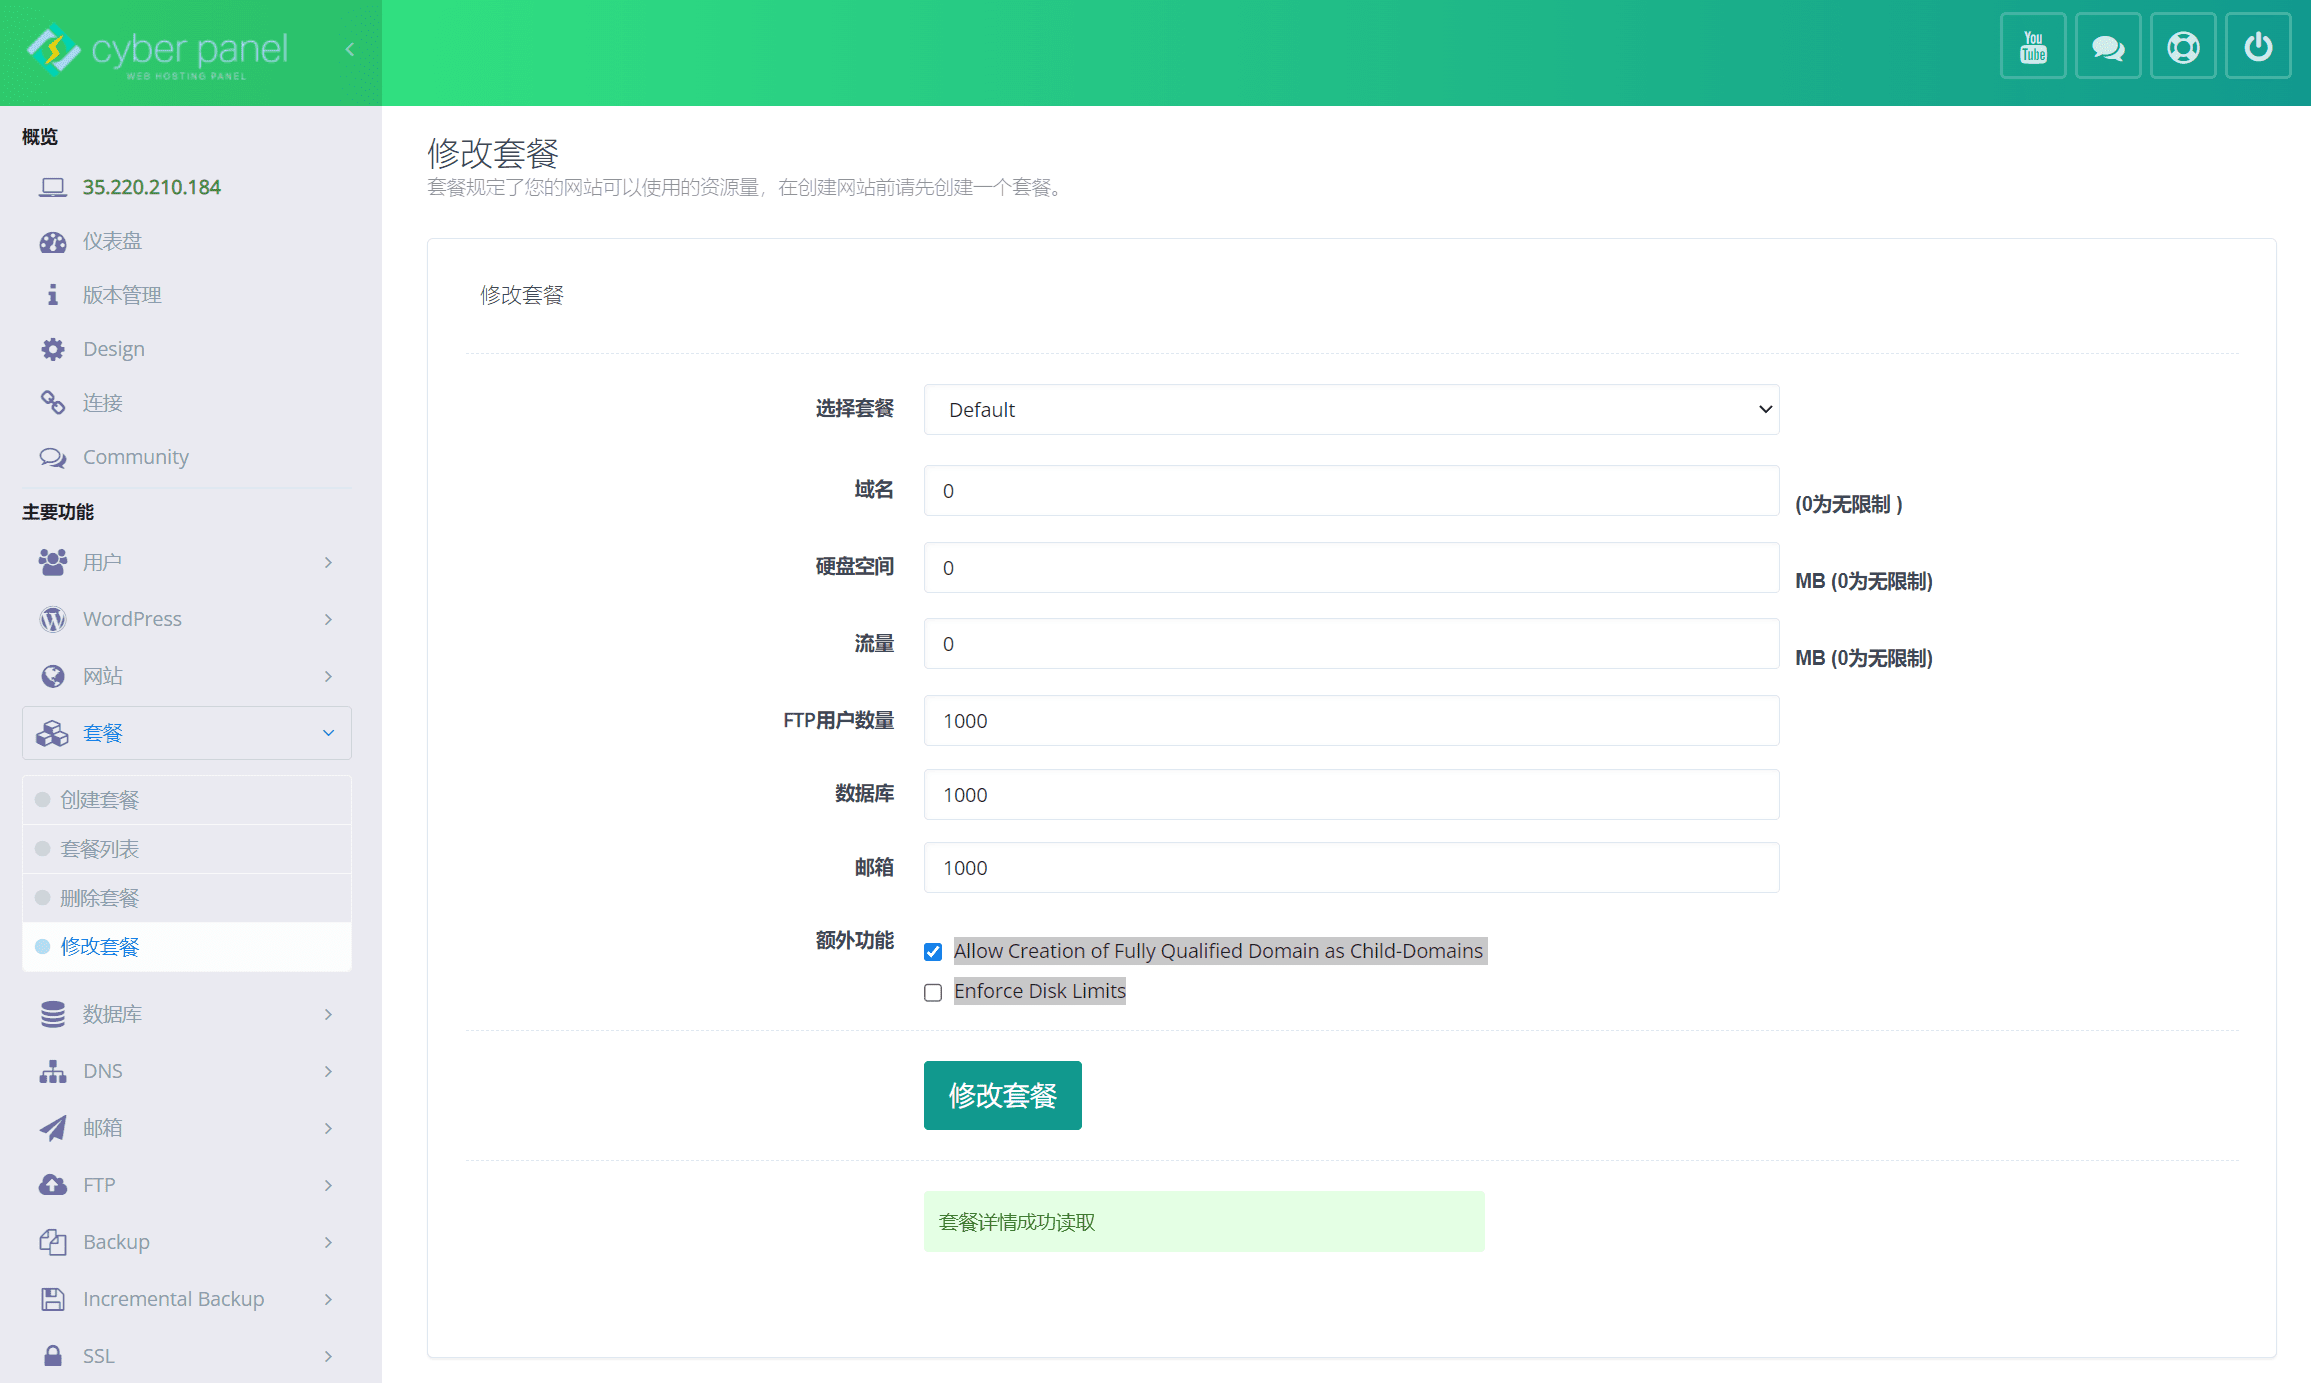
In the menu bar on the left side of CyberPanelKey FeaturesMiddle Clickcombo,existcomboYou can customize the size of each virtual host and other options.
Click Modify Package, the system will default to a Default initialization package. Select the Default package on the Modify Package page, and change the domain name, disk space, and traffic to 0, where 0 means unlimited usage.
Note: The default value of 1000 for the following FTP user number, database, and mailbox is sufficient. Do not change it to 0, as it will result in a 404 page error.
Two of the extra features
- Allows creation of fully qualified domains as subdomains
- Enforce disk limits
You can select the options according to your needs. Finally, clickModify plan, and start creating a WordPress website after completion.
Step 2: Install WordPress Website
After modifying the package, clickKey FeaturesIn the menuwebsite, don’t click on WordPress above, that is a paid plug-in, you can ignore this option.
existwebsiteClick Create Website to go to the Create Website page.
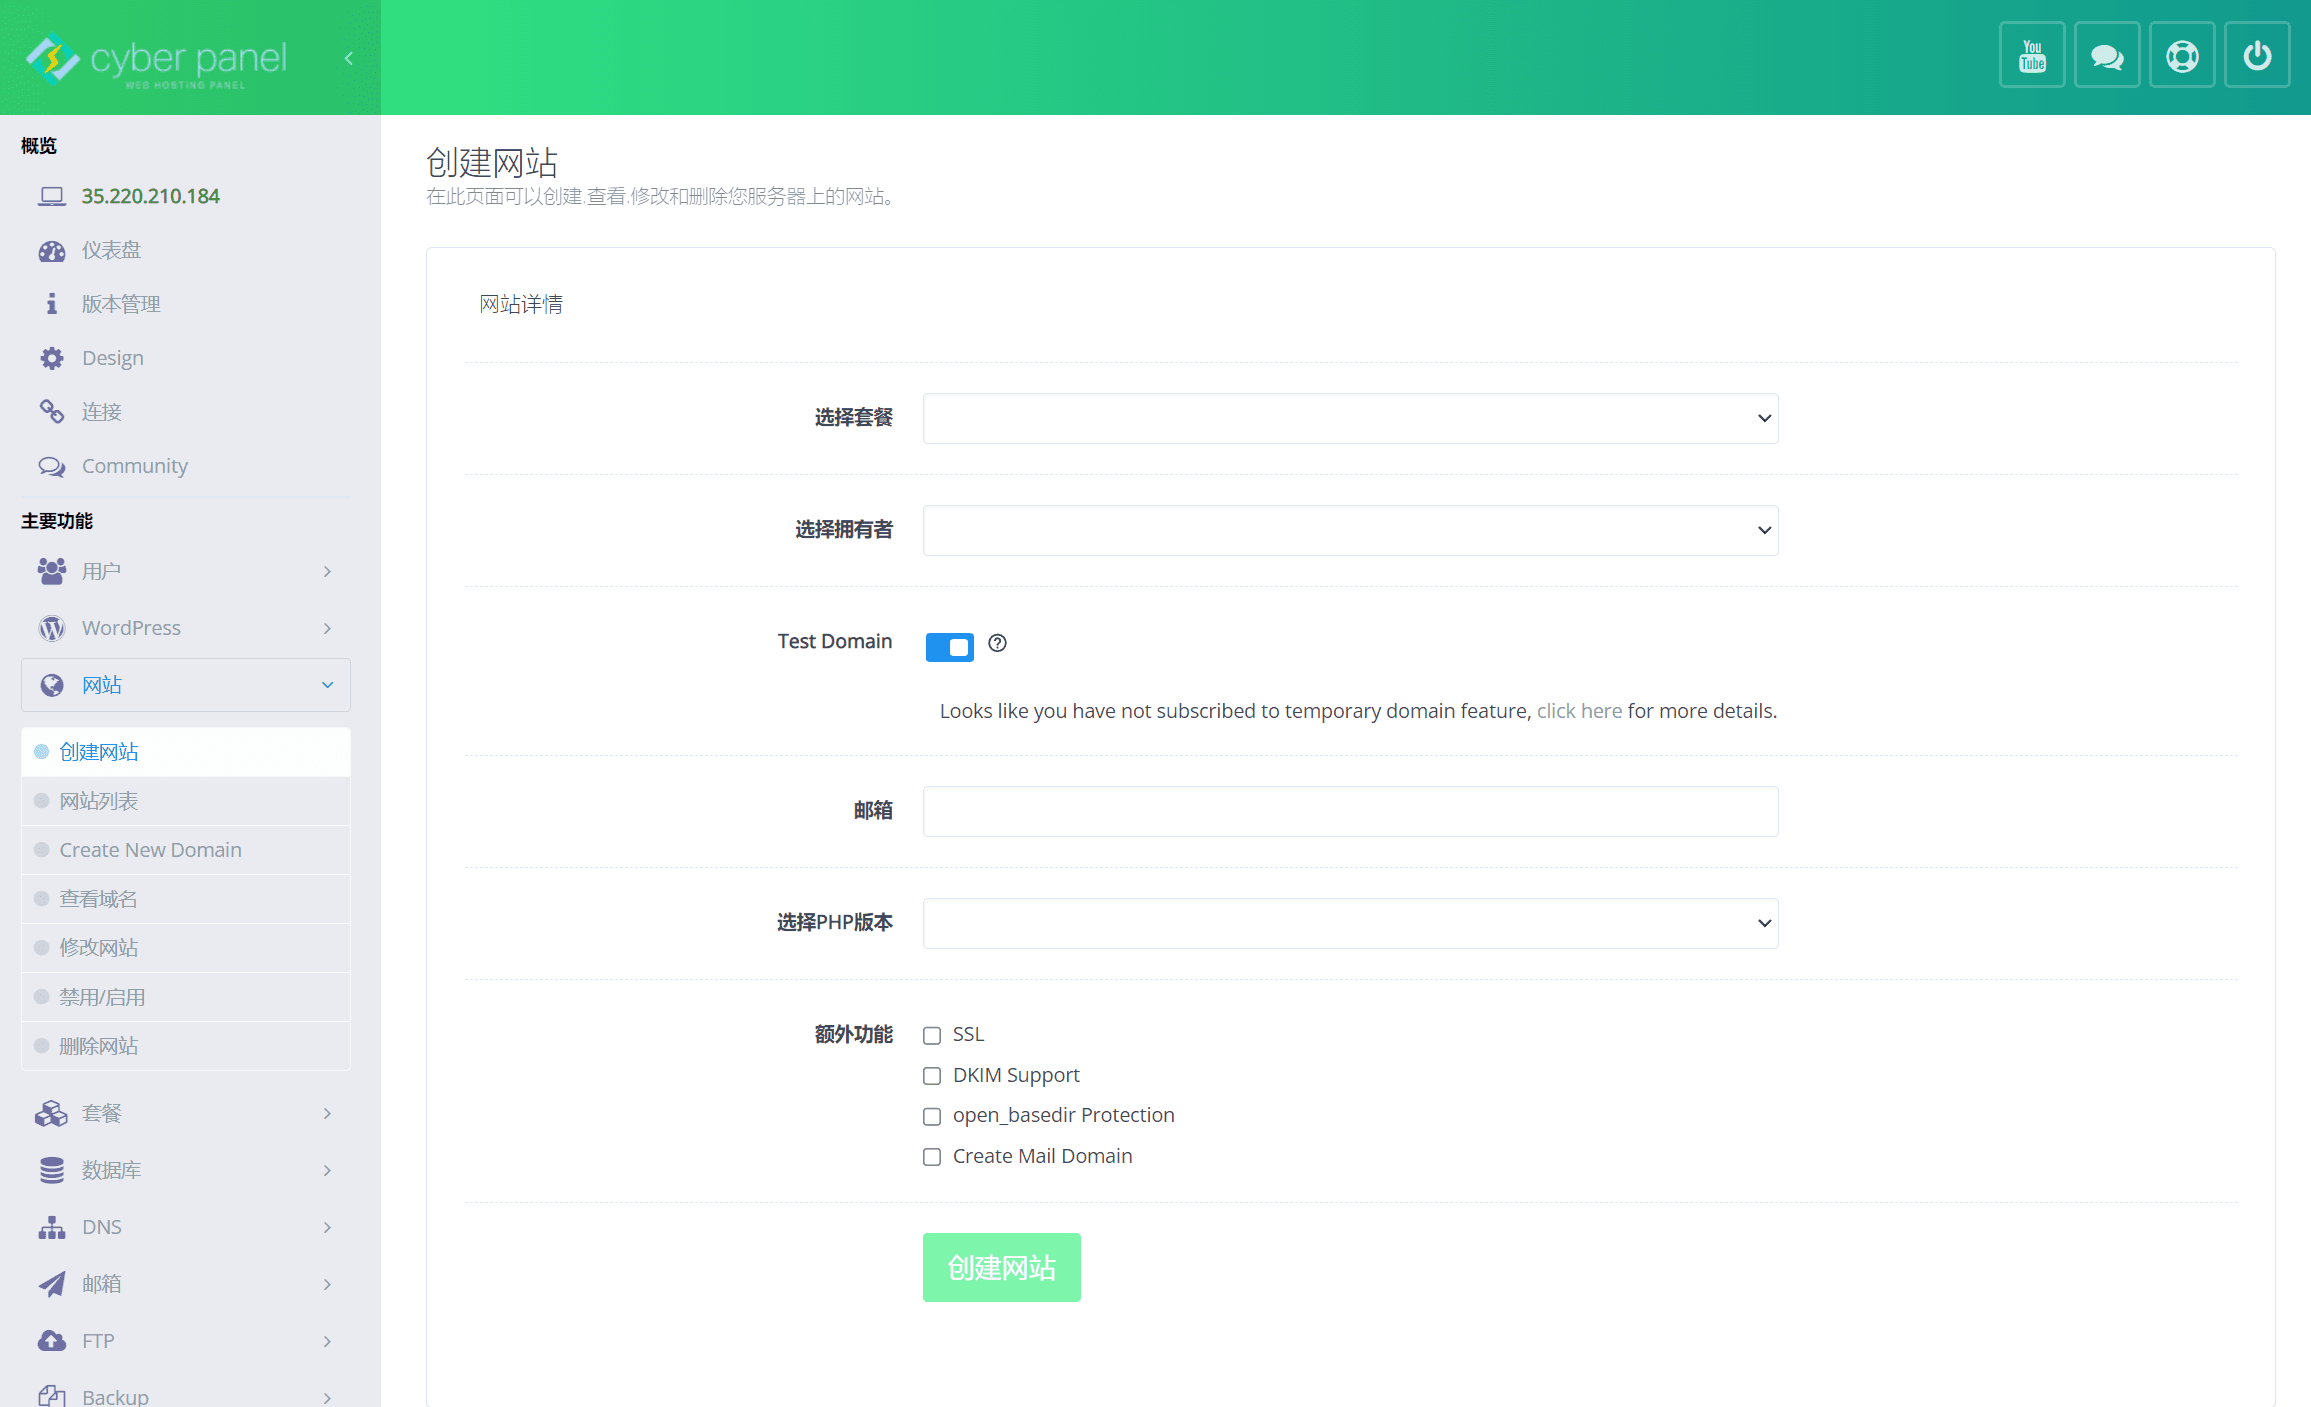
Choose a plan, select the default Default here, or you can create other types of package options.
Select Owner, select admin here, the default management user. If you want to assign it to other users, you need to create a new user.
Test Domain This switch needs to be turned off, and then enter your domain name, which needs to be resolved to the server IP address in advance. Do not enter the WWW domain name, just enter the host name, CyberPanel will set the WWW domain name by default.
MailEnter a valid email address, which will be used to install WordPress
Select PHP versionCyberPanel installs all PHP versions by default. Select the PHP version you usually use. The default version is 7.4, which is relatively low. It is recommended to select php8.0
Additional FeaturesCheckSSLIt is more convenient to directly apply for an SSL certificate for the domain name when creating a website.
After making your selection, clickCreate a websiteCongratulations, your website has been created successfully.
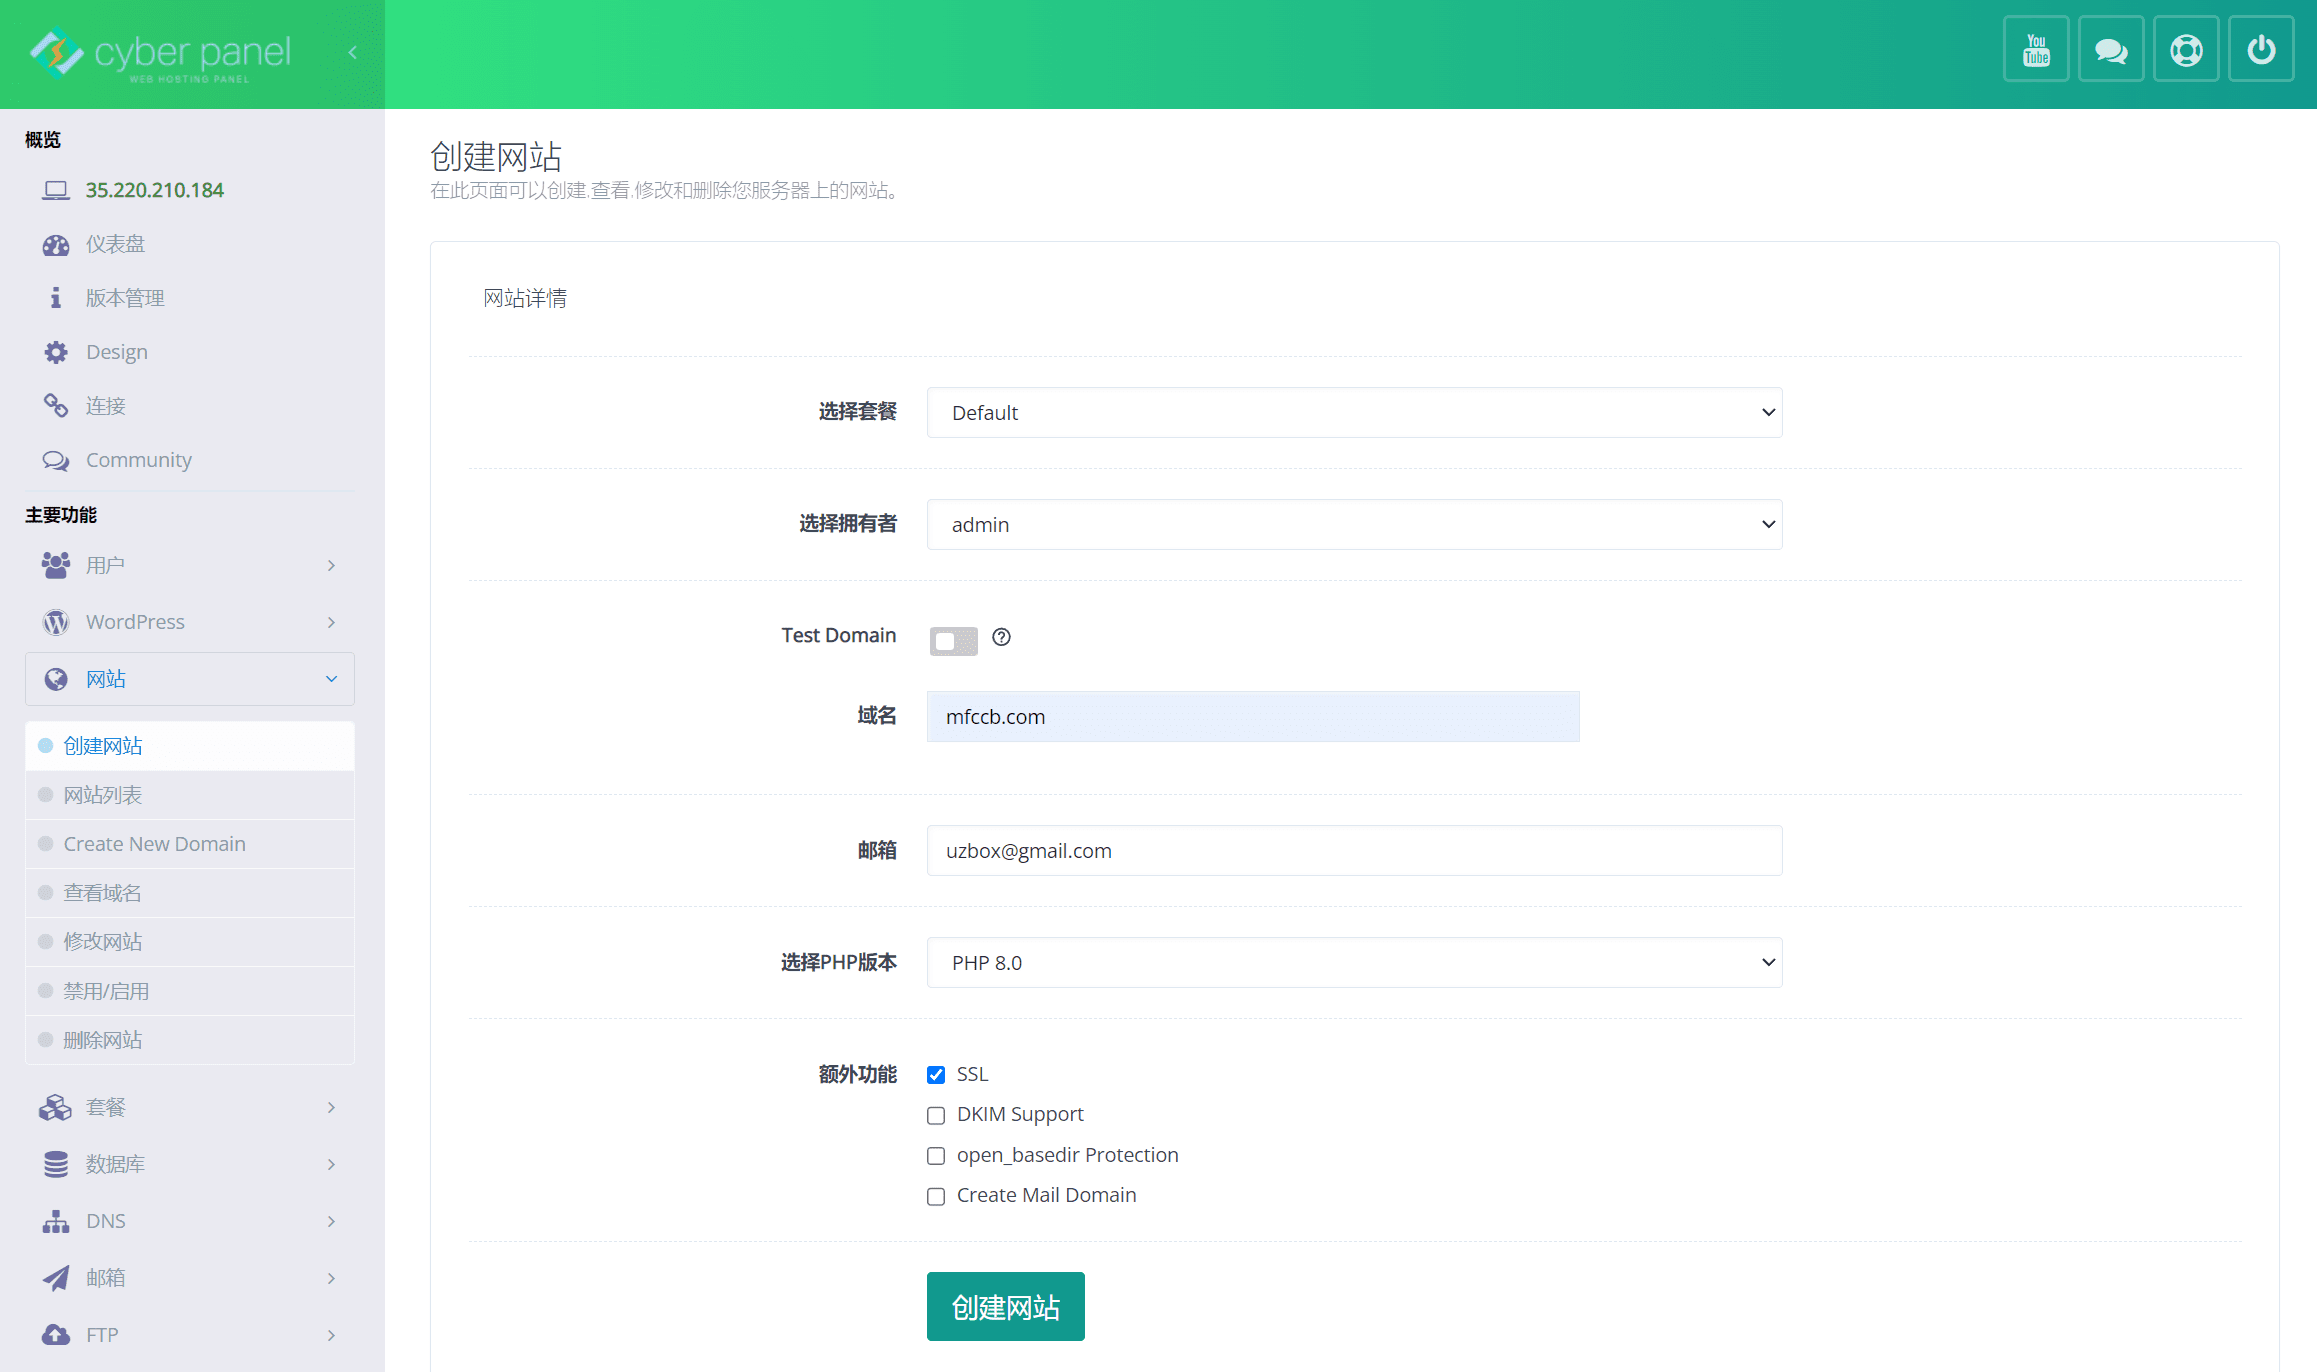
After the website is successfully created, it is equivalent to opening a virtual host. Next, you need to install WordPress on the virtual host.
existwebsiteUnder the menu, clickWebsite List, you can see that the website created above is already in the website list, clickIssuing SSL certificates, it will automatically apply for an SSL certificate for the domain name. Then click on the listTop right cornerofmanage, start configuring the virtual host
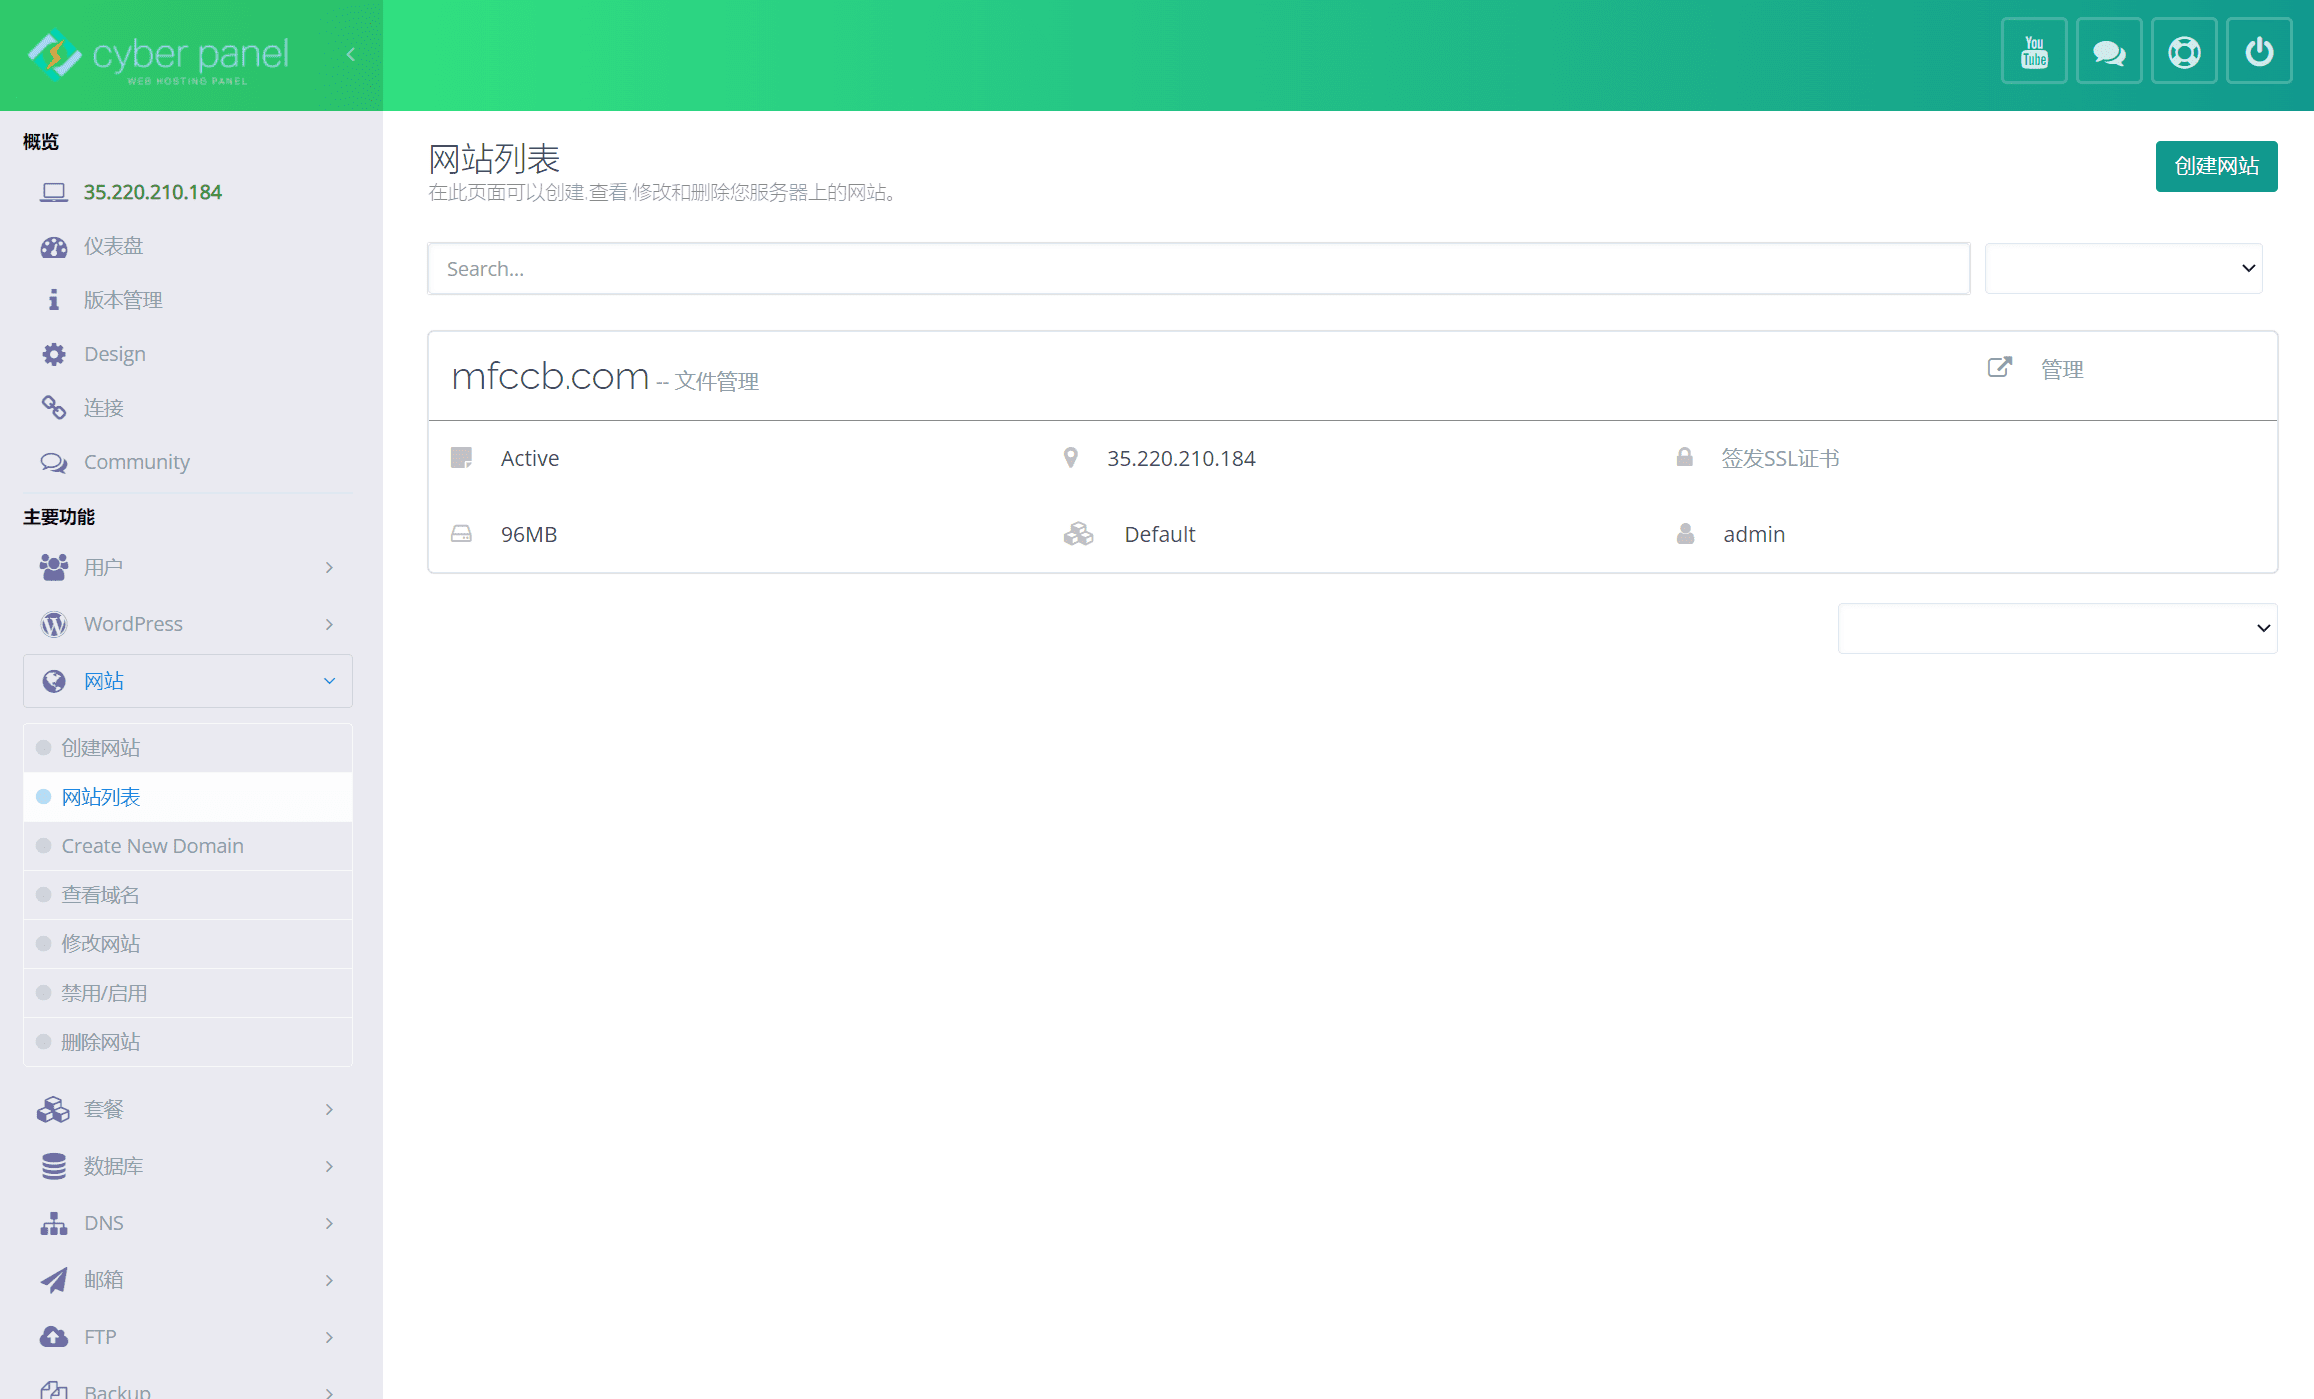
On the management page, scroll to the bottom and you will see the wordoress+LSCache icon in the application installer. Click the wordpress icon to install it.

Enter the WordPress installation page, enter your installation information in the installation details, click Install Now, and after about a minute, your WordPress will be installed.
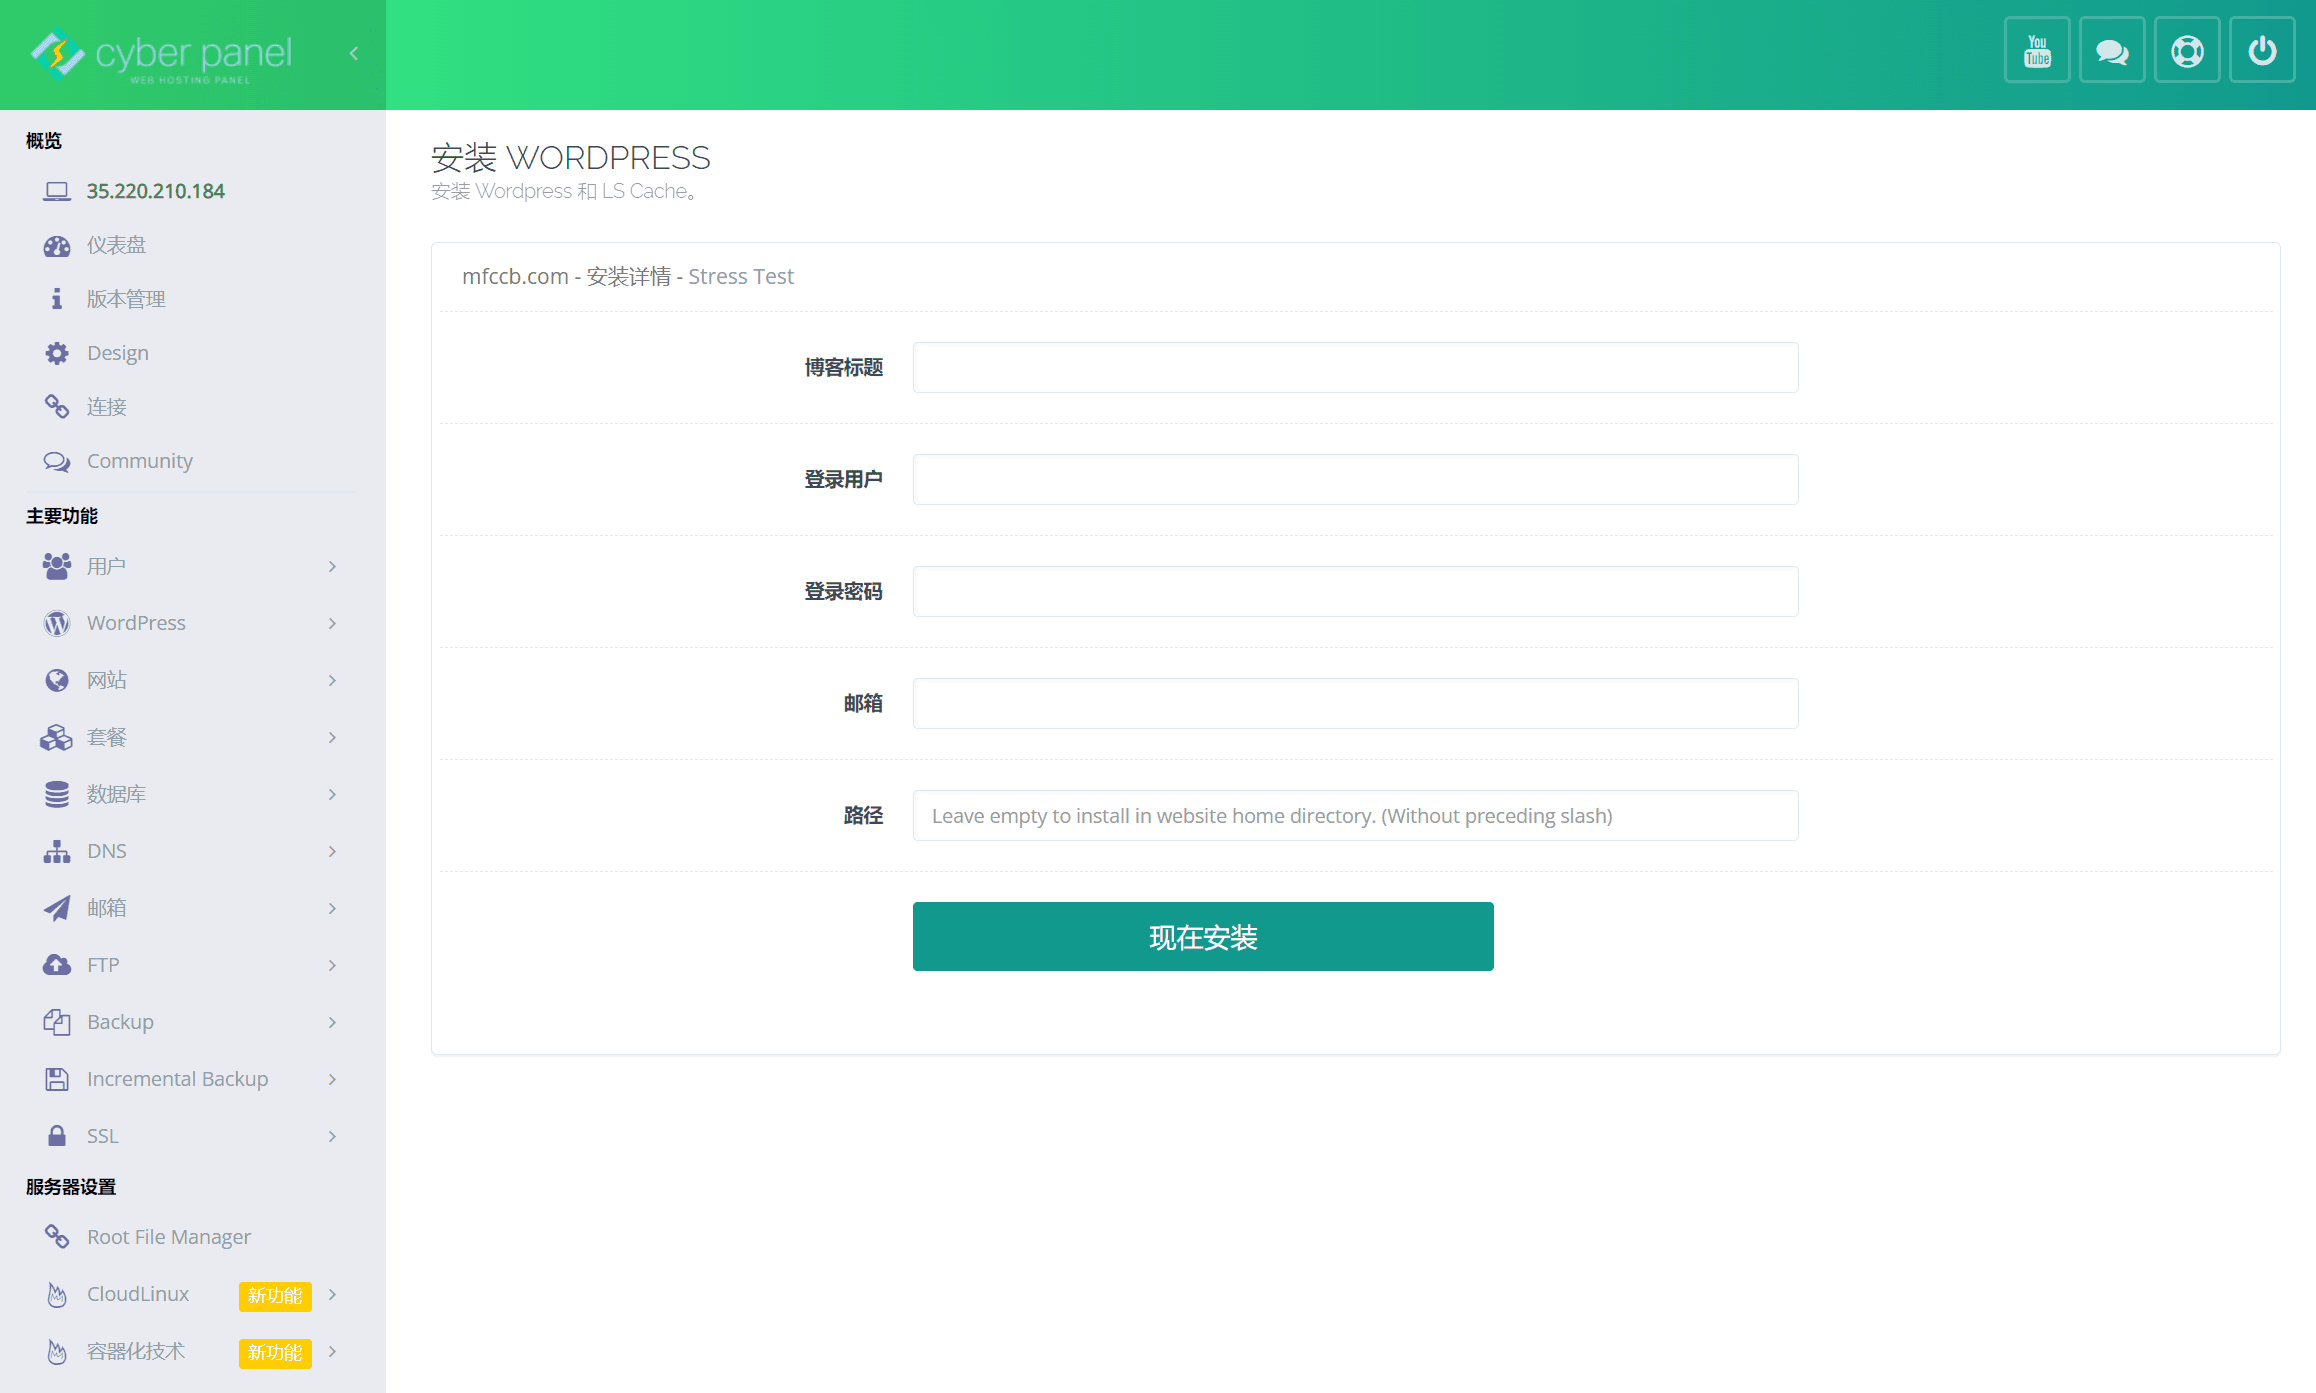
It is very convenient to install WordPress using CyberPanel. You can install multiple WordPress websites and choose different PHP versions to drive WordPress.
After wordpress is installed, you can access the wordpress website by entering the domain name you just set in the browser.

There are some differences between WordPress installed using CyberPanel and normal installation. CyberPanel has LiteSpeed Cache plugin installed by default.

Step 3: Configure pseudo-static in CyberPanel
Next you need to set up WordPressPseudo-staticAccess, that is, access using the .html ending.
CyberPanel usesOpenLiteSpeedFor web servers, OLS is compatibleapacheThe .htaccess file is slightly different.
The main difference is that in OpenLiteSpeed you need to add a slash /
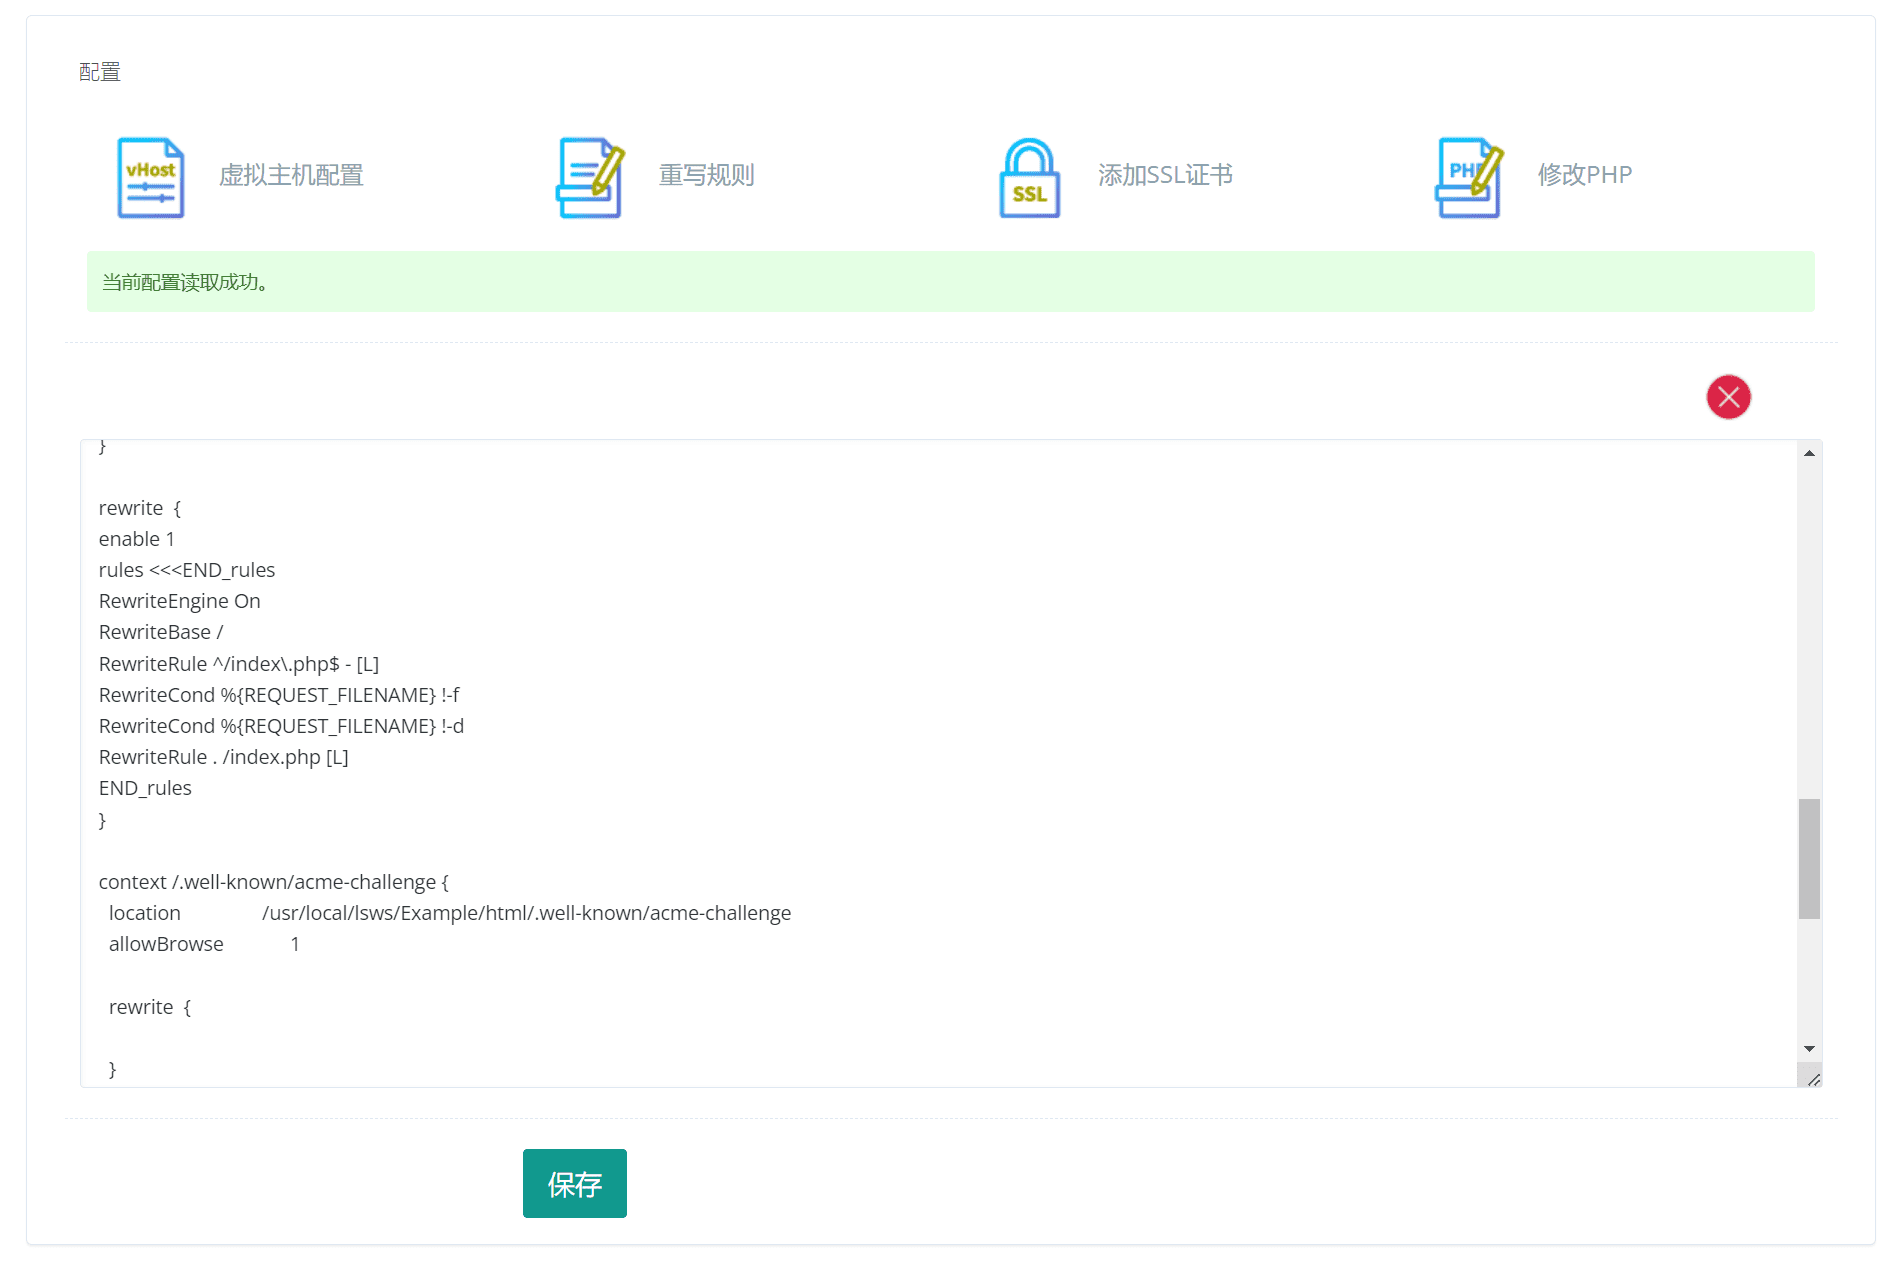
OpenWebsite ListInmanage,existConfigurationIn the options, clickVirtual host configuration,turn up rewrite Block. Modify the block content to:
rewrite { enable 1 rules <<Then click Save and the WordPress pseudo-static rules are configured.

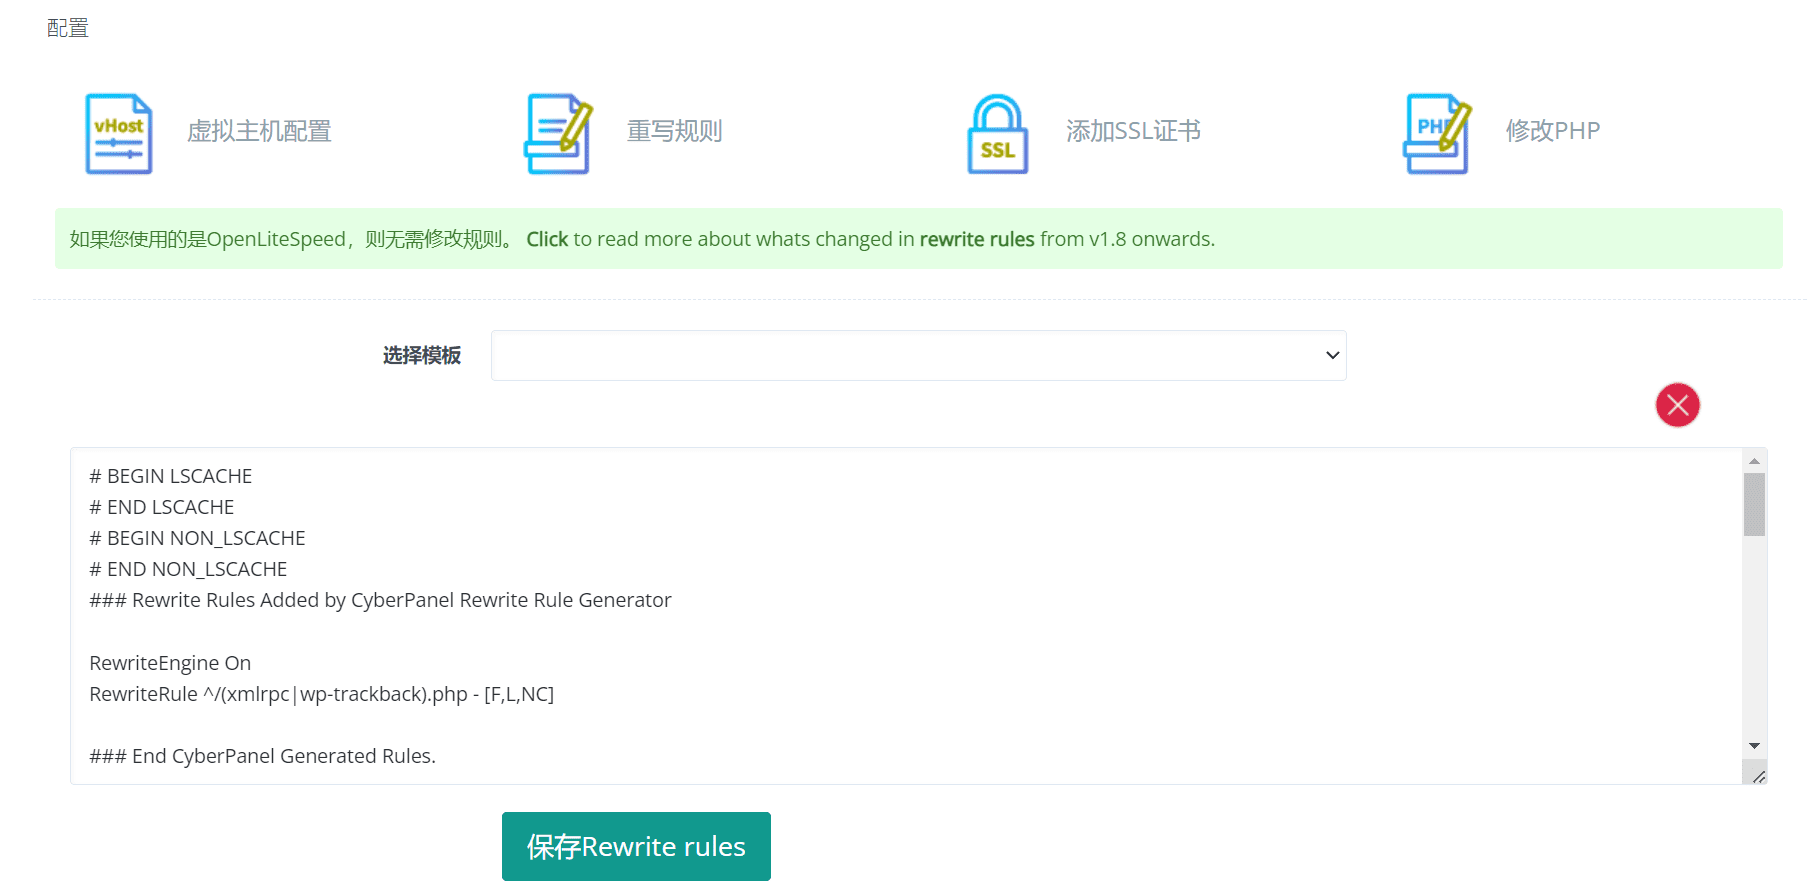
Then configure the domain name access rules and clickVirtual host configurationNext toRewrite rules.
Click Select Template and select the following rules to add.
- Force HTTP -> HTTPS
- Force WWW -> NON WWW
- Disable xmlrpc and trackback services

After that, return to the WordPress backend and install some WordPress plug-ins to run the website normally.


