Excellent software and practical tutorials
Initialize Google Cloud Server SSH Remote Configuration Tutorial SSH Remote Login
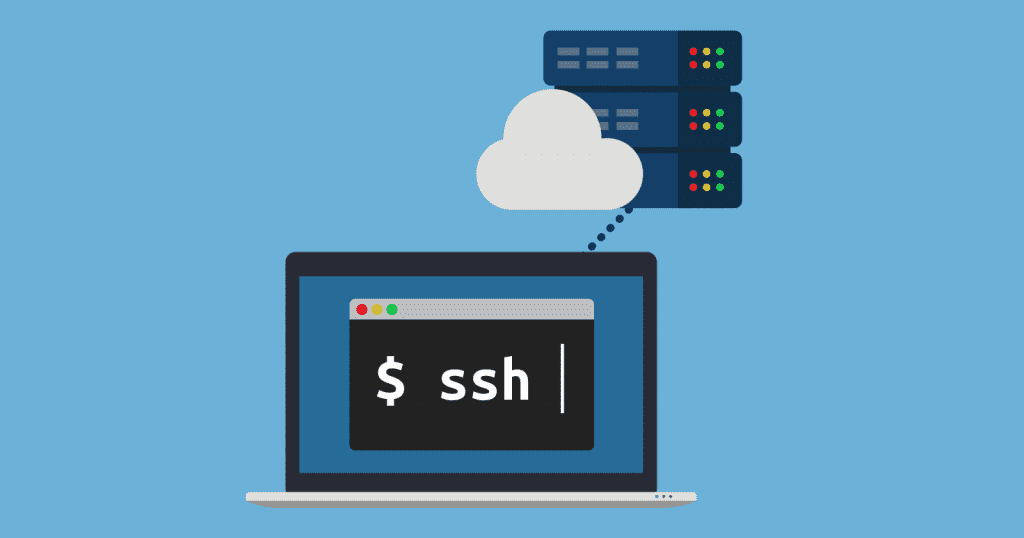
SSH Remote Configuration Tutorial SSHRemote login , createdGoogle CloudAfter you have a server instance, you first need to configure Google Cloud SSH remote login Service, need to enter the free cloud server Virtual MachinesConfigure the system environment. The following is installed on the free cloud server:LINUXofCentOS7, 8, 9 operating systems. The operation method is the same. Let's start the SSH remote management service step by step.
SSH remote configuration tutorial to enable SSH remote login
In Google CloudVMOn the instance interface, click Connect SSH after the IP and choose to open it in a browser window.

Control the CentOS7 operating system through a browser.
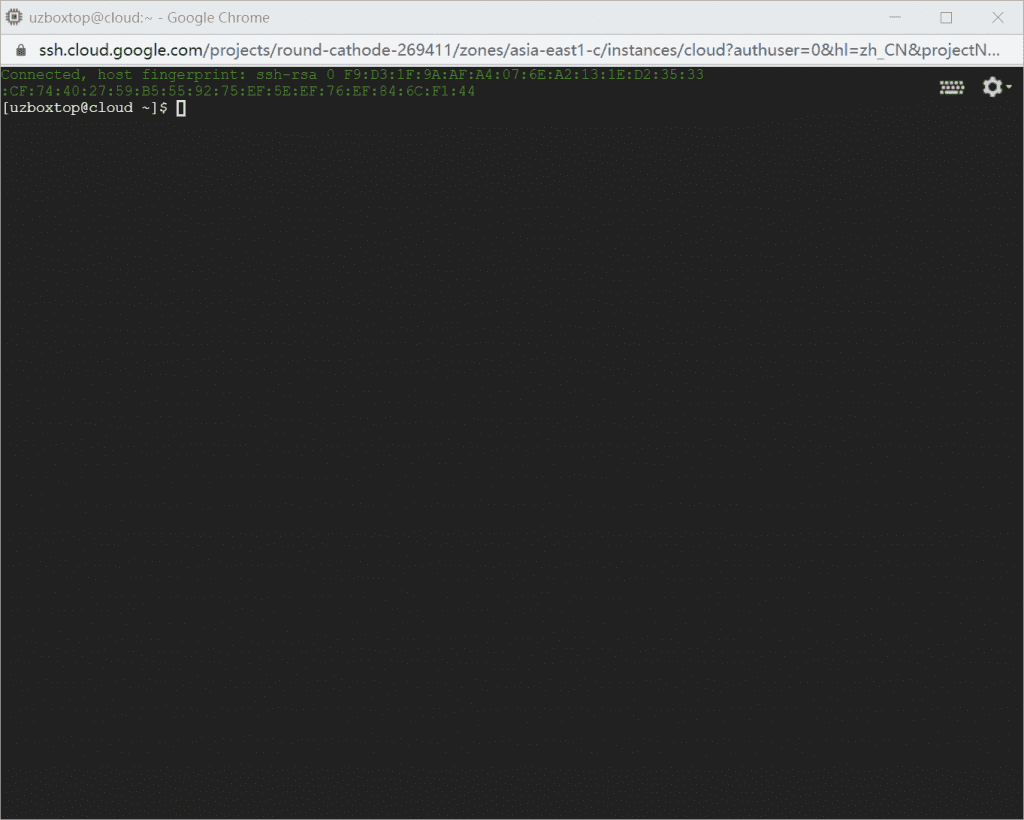
You are now logged into the virtual machine server. The first one is your Google account, and the second one iscloudis the VM instance name of the virtual machine.
SSH remote configuration tutorial to set the root super administrator password
Next, you need to switch to the root super administrator user mode.
At the cursor, enter:
sudo -i
or
sudo su
Now you have entered the super administrator root user. At this time, root has no password, and Linux is still a brand new operating system.
To set and modify the root password, enter the command
passwd
After entering the passwd command, set a new password:

When setting the password, it will not be displayed on the interface. After entering the password, press Enter, and then enter the password again to confirm. If the two passwords are the same, the password is set successfully.
passwd: all authentication tokens updated successfully.
If the English above is displayed, it means the password has been changed.
Set up SSH service
After setting the password, start setting up the SSH service.
vi /etc/ssh/sshd_config
Edit the SSHD configuration file in VI. Modify sshd_config and change the two options to yes
Press "I" in sshd_config to start editing mode.
PermitRootLogin yes The default is no, you need to enable root user access to change to yes
PasswordAuthentication yes The default is no, change to yes to enable password login
After the modification is completed, press ESC to exit the editing mode, and then enter ":wq" to exit and save the file.
After setting, reboot the server. After sshd reads the configuration file, SSH is successfully enabled.
After setting up SSH, you still need to do some basic work, such as updating the system, installing the source of the software package, installing commonly used software packages, etc.
Linux centos turn off firewall
If you don't want to use the Linux firewall, you can turn off the Linux firewall directly in the system
CentOS 7 uses firewall as the default firewall. How to turn off the firewall in centos7?
You can use the systemctl command to shut down the firewall, the syntax is "systemctl stop firewalld"; you can also use the "systemctl disable firewalld" statement to disable the firewall from starting at boot.
Some systems have firewalls enabled by default, so you need to check the firewall status.
systemctl status firewalld
Use the following command to permanently disable the firewall
Stop firewall systemctl stop firewalld Disable firewall from starting at boot systemctl disable firewalld
After the firewall is turned off, use the reboot command to restart the server.
If you don't want to turn off the system firewall, you can add the remote login port to the firewall as follows.
Add firewall remote port
For example, to change the remote port to 10086, first add port 10086 in the firewall.
firewall-cmd --permanent --add-port=10086/tcp
After adding, verify whether the addition is successful.
firewall-cmd --permanent --query-port=10086/tcp
If it returns yes, port 10086 has been added successfully. Next, change the SSH port.
vi /etc/ssh/sshd_config
exist#Port 22Add the following line Port 10086 , then save and exit, and restart the server.
Notice Port 10086 There is no # number in front. If you are worried that you will not be able to connect remotely after setting it up, you can also open the default port 22, remove the # number in front of Port 22, and use port 22 and port 10086 for remote login at the same time. Finally, close port 22 after there are no problems.
Remote ManagementAfter the port is modified, close port 22 in the firewall.
firewall-cmd --permanent --remove-port=22/tcp
After shutting down, restart the firewall service.
systemctl reload firewalld
Then use the following command to view the current firewall open ports.
firewall-cmd --list-ports
After the firewall and remote management port are set up, update the server system and install the development toolkit.
dnf update -y dnf group install 'Development Tools' -y
Install common commands
dnf install -y curl socat wget
How to disable SELinux
Note: After installing the centos system, it is strongly recommended to turn off SELinux. If it is not turned off, many inexplicable problems will occur.
Security-Enhanced Linux (SELinux) is a Linux kernel feature that provides a security policy protection mechanism that supports access control.
Verify SELinux Status
Remotely connect to the EC2 instance with root privileges.
Run the command getenforce to verify the SELinux status. The returned status should be enforcing or permissive. The current status is enforcing. Run the command sestatus to obtain more SELinux information.
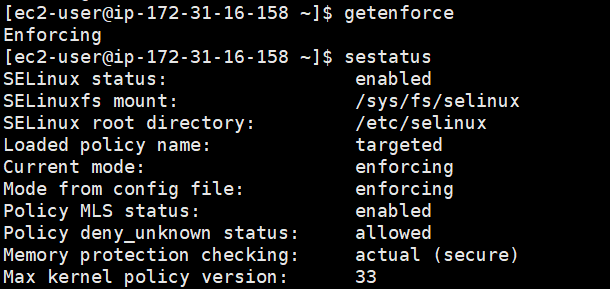
The parameter information SELinux status is displayed as enabled, indicating that SELinux is started.
Disable SELinux
Remotely connect to the ECS instance with root privileges. For more information about connection methods, see Connection Method Overview.
Run the getenforce command to verify the SELinux status.
If the return status is enforcing, it means SELinux is enabled.
Choose to temporarily disable or permanently disable SELinux.
Run the setenforce 0 command to temporarily disable SELinux.
Permanently disable SELinux. Run the following command to edit the SELinux config file.
vi /etc/selinux/config
turn upSELINUX=enforcing, press i to enter the edit mode and change the parameters to:
SELINUX=disabled
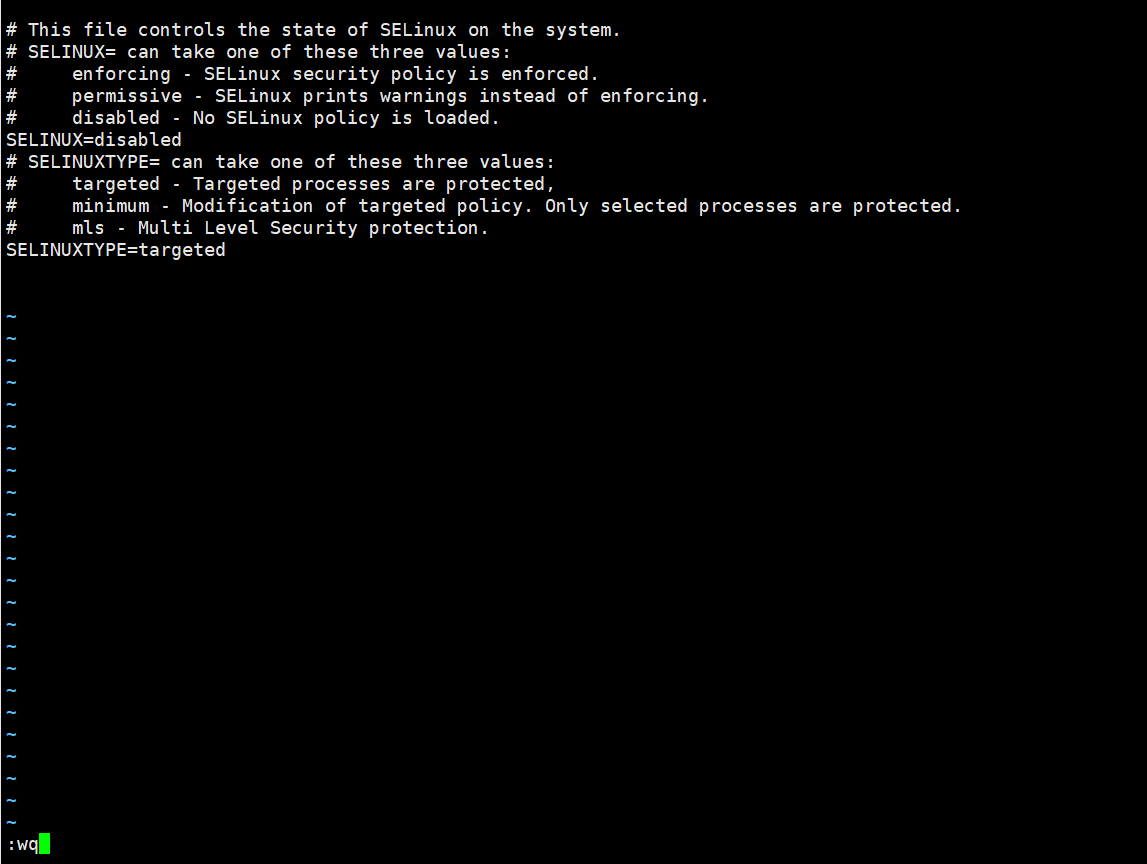
After the modification is complete, press the Esc key on the keyboard and execute the command :wq to save and exit the file.
reboot Restart the ECS instance.
After reboot, run the command getenforce, verify that SELinux status is disabled, indicating that SELinux is turned off.
More configuration references:Google Cloud Google Cloud Server Configuration LNMP Environment PHP+Mysql+Nginx Installation Detailed Explanation


