Excellent software and practical tutorials


Centos7After the system is installed, the root management password is set and SSH remote login is enabled, you can update the system configuration environment.YUMComplete the server configuration update.
The version of the default software source of the operating system is too low, and you need to update and add EPEL and REMI sources:
At the server cursor, enter:
[cc lang="php"]
sudo yum -y install https://dl.fedoraproject.org/pub/epel/epel-release-latest-7.noarch.rpm
sudo yum -y install https://rpms.remirepo.net/enterprise/remi-release-7.rpm
Alternative software source address:
[cc lang="php"]
sudo yum -y install https://mirror.webtatic.com/yum/el7/epel-release.rpm
sudo yum -y install https://mirror.webtatic.com/yum/el7/webtatic-release.rpm
Add the official mysql-server yum source:
[cc lang="php"]
sudo yum -y install http://dev.mysql.com/get/mysql-community-release-el7-5.noarch.rpm
Generate source cache
[cc lang="php"]
yum clean all
yum makecache
Update CentOS7 system
[cc lang="php"]
sudo yum update

If the update is a bit slow, you can wait for a while and do not close SSH.
After the system is installed, you need to install a compilation tool.
yum groupinstall "Development Tools" -y
After the compilation tool is installed, the next step is to install some common software packages required by the environment.
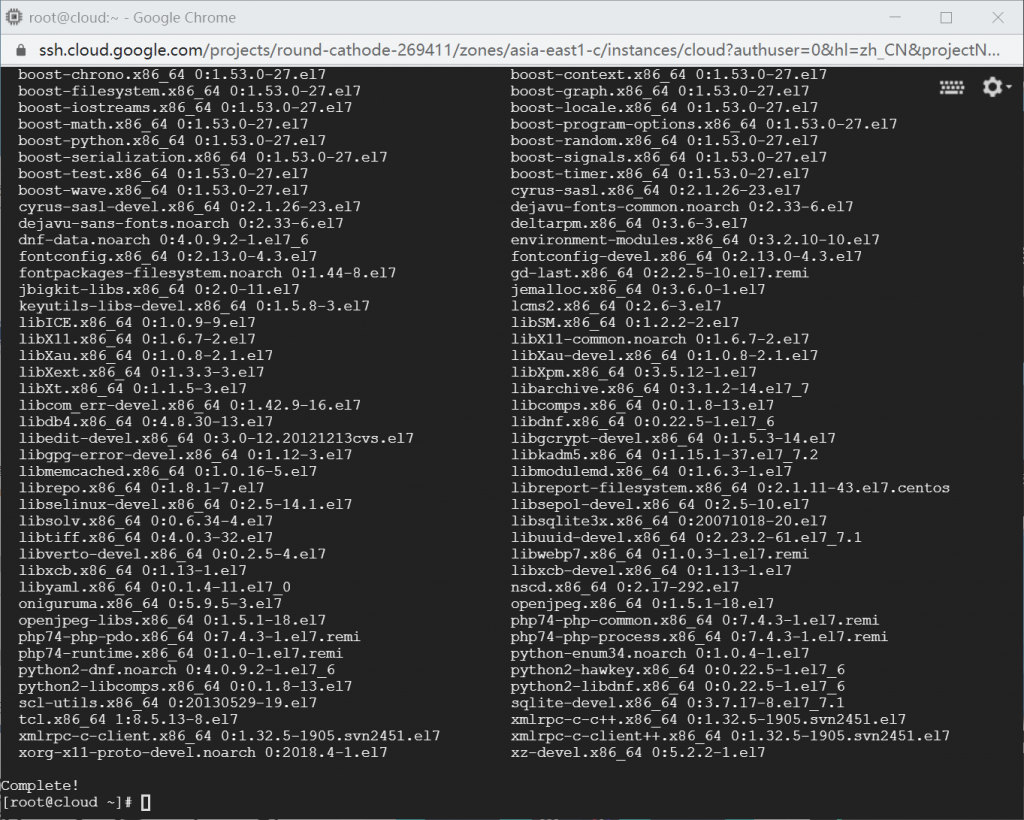
yum -y install wget psmisc dnf make rpm vim libzip expat-devel libXpm-devel libX11-devel gdbm-devel db4-devel xmlrpc-c xmlrpc-c-devel libsqlite3x-devel oniguruma-devel pcre pcre-devel openssl openssl-devel libcurl libcurl-devel bzip2 bzip2-devel libicu-devel gcc gcc-c++ autoconf libjpeg libjpeg-devel libpng libpng-devel freetype freetype-devel libxml2 libxml2-devel zlib zlib-devel glibc glibc-devel glib2 glib2-devel ncurses ncurses-devel curl curl-devel krb5-devel libidn libidn-devel openldap openldap-devel nss_ldap jemalloc-devel cmake boost-devel bison automake libevent libevent-devel gd gd-devel libtool* libmcrypt libmcrypt-devel libmemcached-devel mcrypt mhash libxslt libxslt-devel readline readline-devel gmp gmp-devel libcurl libcurl-devel openjpeg-devel
Basically, all the commonly used software packages of the system are listed above. I personally think that installing more is always better than installing less. However, some important software packages still need to be installed manually, such as PHP, mysql, etc.
The software packages have been installed. The next step is to configure the system's SWAP space. Otherwise, the system will malfunction and report an error after running for a period of time and the memory is full.
The operating system does not configure SwapFile by default. Next, configure SWAP
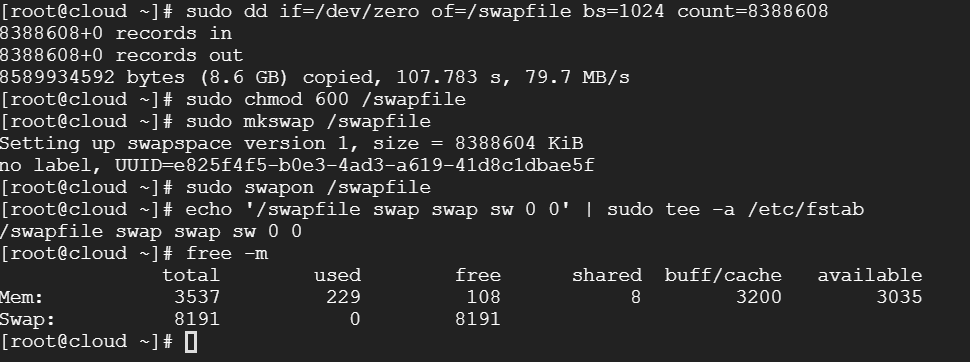
First, use the FREE command to check the server memory configuration. If the number after Swap is 0, you need to add swap.
free -m
Create a file with a pre-allocated space of a specified size. Here, the configuration is to allocate 8G hard disk space to SWAP.
sudo dd if=/dev/zero of=/swapfile bs=1024 count=8388608

After the SWAP file is configured, you can use the ls command to check the file size
ls -lh /swapfile
Change the permissions of the swap file:
sudo chmod 600 /swapfile
Format swap file
sudo mkswap /swapfile
Enable swap file
sudo swapon /swapfile
Modify the fstab file to enable swap to take effect automatically after reboot:
sudo vi /etc/fstab
Add at the end of the fstab file
/swapfile swap swap sw 0 0
Or you can directly enter "echo '/swapfile swap swap sw 0 0' | sudo tee -a /etc/fstab" at the cursor to set the swap file to start at boot.
At this point, the initial environment configuration of the Centos7 system is almost installed. If you need to install other software packages, use the yum install command to install them.
Install a small software to check the system CPU and memory usage at any time.
sudo yum install htop
Enter the htop command to start, press F10 to exit htop