Excellent software and practical tutorials
Nginx configuration visual configuration file generation, nginxWebUI graphical management configuration tool
Nginx Configuration nginxWebUI It is a visual graphical managementnginx configuration toolYou can use the web page to quickly configure the various functions of nginx, including http protocol forwarding, tcp protocol forwarding, reverse proxy, load balancing, static html server, ssl certificate automatic application, renewal, configuration, etc. After configuration, you can generate it with one clicknginx.confFile, and at the same time control nginx to use this file to start and reload, completing the graphical control closed loop of nginx.
nginxWebUI can also manage multiple nginx server clusters. You can switch to the corresponding server to configure nginx at any time with one click. You can also synchronize the configuration of a server to other servers with one click to facilitate cluster management.
Nginx itself has complex functions. NginxWebUI cannot cover all the functions of Nginx, but it can cover the daily function usage configuration of Nginx. For Nginx configuration items not covered by the platform, you can use custom parameter templates to generate unique configuration parameters in the conf file.
After deploying this project, you no longer need to search for configuration codes on the Internet to configure nginx, and you no longer need to manually apply for and configure SSL certificates. You only need to add, delete, modify and check in this project to easily configure and start nginx.
Github project website:https://github.com/cym1102/nginxWebUI
nginxWebUI official website:https://www.nginxwebui.cn/
What is Nginx
Nginx is an asynchronous framework web server that can also be used as a reverse proxy, load balancer, and HTTP cache. The software was developed by Russian programmer Igor Sysoev and first publicly released in 2004. In 2011, a company of the same name was established to provide support services. On March 11, 2019, Nginx was acquired by F5 Networks for $670 million. Nginx is free and open source software, released under the terms of a BSD-like license.
nginx official website:https://nginx.org/
Nginx configuration nginxWebUI Technical Documentation
This project is a web system based on Solon, and the database uses H2, so no database needs to be installed on the server.
This system applies for certificates through Let's encrypt and uses the acme.sh script for automated application and renewal. Certificates with renewal enabled will be renewed at 2 a.m. every day. Only certificates older than 60 days will be renewed. Certificates can only be issued under Linux.
When adding TCP/IP forwarding configuration support, some lower versions of nginx may need to be recompiled, and the stream module can be installed by adding the --with-stream parameter. However, in Ubuntu 18.04, the nginx in the official software library already has a stream module and does not need to be recompiled. If the system is configured with TCP forwarding items, the configuration items of ngx_stream_module.so will be automatically introduced. If it is not enabled, it will not be introduced to optimize the ngnix configuration file to the maximum extent.
jar installation instructions
Install the Java runtime environment and nginx, taking the Ubuntu operating system as an example:
Ubuntu
apt update apt install openjdk-11-jdk apt install nginx
Centos
yum install java-11-openjdk yum install nginx
Windows
Download the JDK installation package: https://www.oracle.com/java/technologies/downloads/
Download nginx: http://nginx.org/en/download.html
- Configuring the JAVA runtime environment
- JAVA_HOME : JDK installation directory
- Path : JDK installation directory\bin
- Restart your computer
Download the latest version of nginxWebUI release package jar
Linux
mkdir /home/nginxWebUI/ wget -O /home/nginxWebUI/nginxWebUI.jar http://file.nginxwebui.cn/nginxWebUI-3.4.4.jar
Windows
Download directly using your browser http://file.nginxwebui.cn/nginxWebUI-3.4.4.jar To D:/home/nginxWebUI/nginxWebUI.jar
If there is a new version, you only need to modify the version in the path
Start the nginxWebUI program
Linux
nohup java -jar -Dfile.encoding=UTF-8 /home/nginxWebUI/nginxWebUI.jar --server.port=8080 --project.home=/home/nginxWebUI/ > /dev/null &
Windows
java -jar -Dfile.encoding=UTF-8 D:/home/nginxWebUI/nginxWebUI.jar --server.port=8080 --project.home=D:/home/nginxWebUI/
Parameter Description
--server.port occupies the port, and starts with port 8080 by default
--project.home Project configuration file directory, storing database files, certificate files, logs, etc., the default is /home/nginxWebUI/
--spring.database.type=mysql Use other databases. If it is not filled in, the local h2 database will be used. MySQL is optional.
--spring.datasource.url=jdbc:mysql://ip:port/nginxwebui database url
--spring.datasource.username=root database user
--spring.datasource.password=pass database
Note that the Linux command ends with an & sign, indicating that the project is running in the background
Docker installation instructions
This project has created a docker image that supports x86_64/arm64/arm v7 platforms, and includes nginx and nginxWebUI for integrated management and operation of nginx.
Install the Docker container environment:
Ubuntu
apt install docker.io
Centos
yum install docker
Pull the image
docker pull cym1102/nginxwebui:latest
Start the container
docker run -itd \ -v /home/nginxWebUI:/home/nginxWebUI \ -e BOOT_OPTIONS="--server.port=8080" \ --privileged=true \ --net=host \ cym1102/nginxwebui:latest
Note: When starting the container, please use the --net=host parameter to directly map the local port. Because the internal nginx may use any port, all local ports must be mapped.
The container needs to map the path /home/nginxWebUI:/home/nginxWebUI. This path stores all project data files, including data, nginx configuration files, logs, certificates, etc. This directory can ensure that project data is not lost when upgrading the image. Please pay attention to the backup.
The -e BOOT_OPTIONS parameter can be used to fill in the Java startup parameters. You can use this parameter to change the port number. --server.port occupies the port. If it is not filled in, it will start with port 8080 by default.
Logs are stored in /home/nginxWebUI/log/nginxWebUI.log by default
In addition: When using docker-compose, the configuration file is as follows:
version: "3.2" services: nginxWebUi-server: image: cym1102/nginxwebui:latest volumes: - type: bind source: "/home/nginxWebUI" target: "/home/nginxWebUI" environment: BOOT_OPTIONS: "--server.port=8080" privileged: true network_mode: "host"
Compilation Notes
Compile and package using Maven
mvn clean package
Build an image using Docker
docker build -t nginxwebui:latest .
Add startup
Edit service configuration
vim /etc/systemd/system/nginxwebui.service
[Unit] Description=NginxWebUI After=syslog.target After=network.target [Service] Type=simple User=root Group=root WorkingDirectory=/home/nginxWebUI ExecStart=/usr/bin/java -jar /home/nginxWebUI/nginxWebUI.jar Restart=always [Install] WantedBy=multi-user.target
Then execute
systemctl daemon-reload systemctl enable nginxwebui.service systemctl start nginxwebui.service
Nginx configuration nginxwebui usage instructions
Video tutorial: https://www.bilibili.com/video/BV18A4y1D7GZ
Demo address: http://test.nginxwebui.cn:7070
Username: admin
Password: admin
Open http://xxx.xxx.xxx.xxx:8080 Go to home page
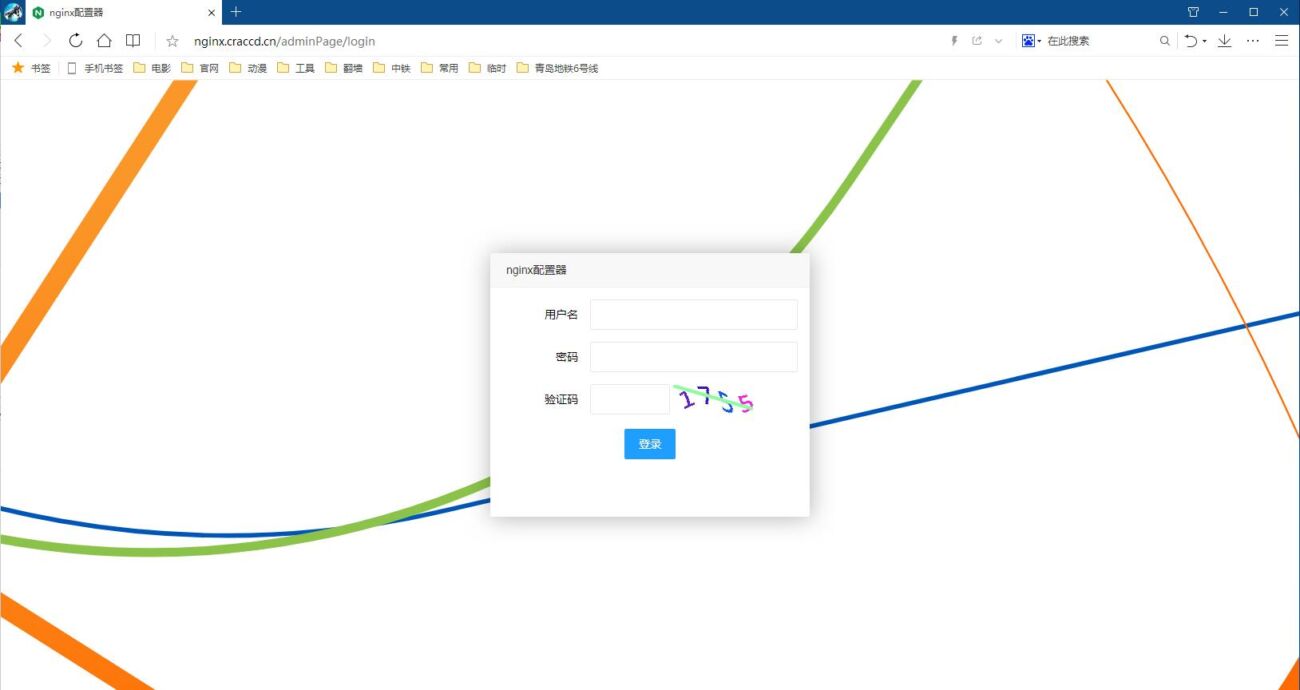
Login page, when you open it for the first time, you will be asked to initialize the administrator account
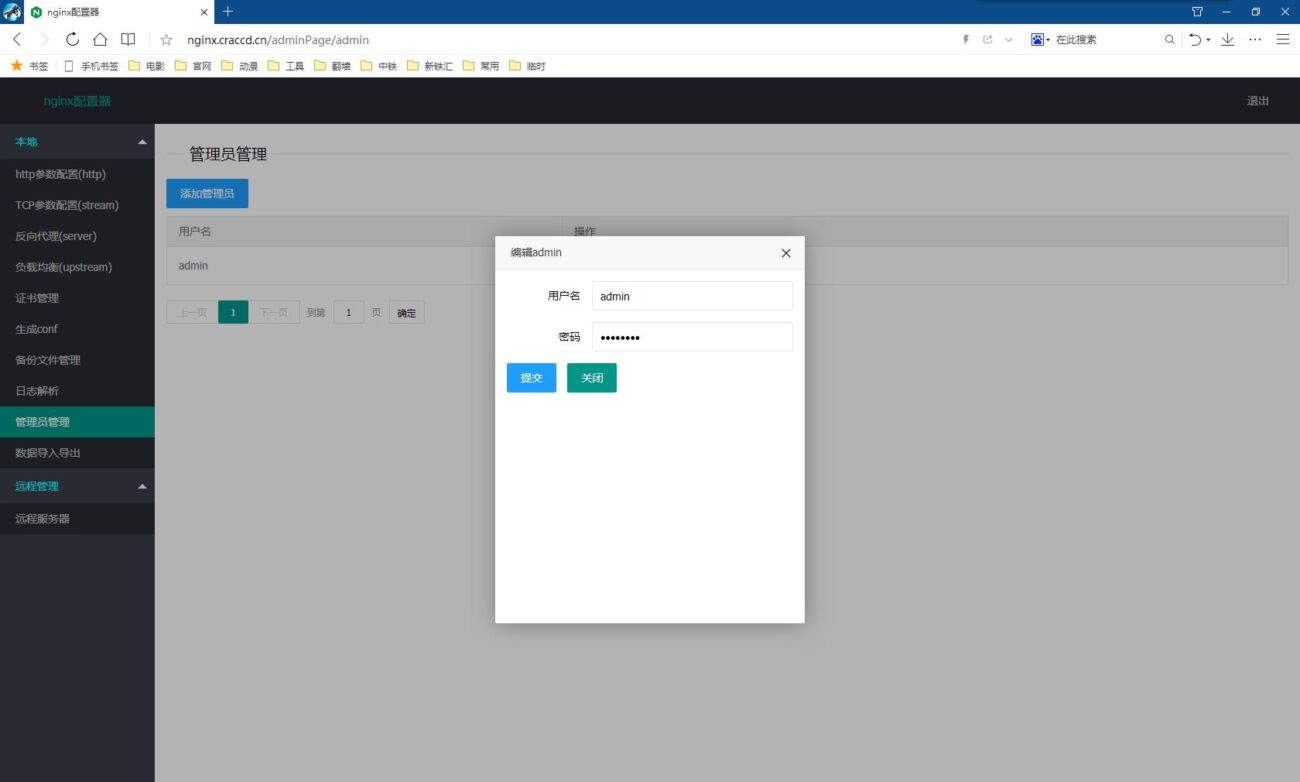
After entering the system, you can add and modify administrator accounts in Administrator Management
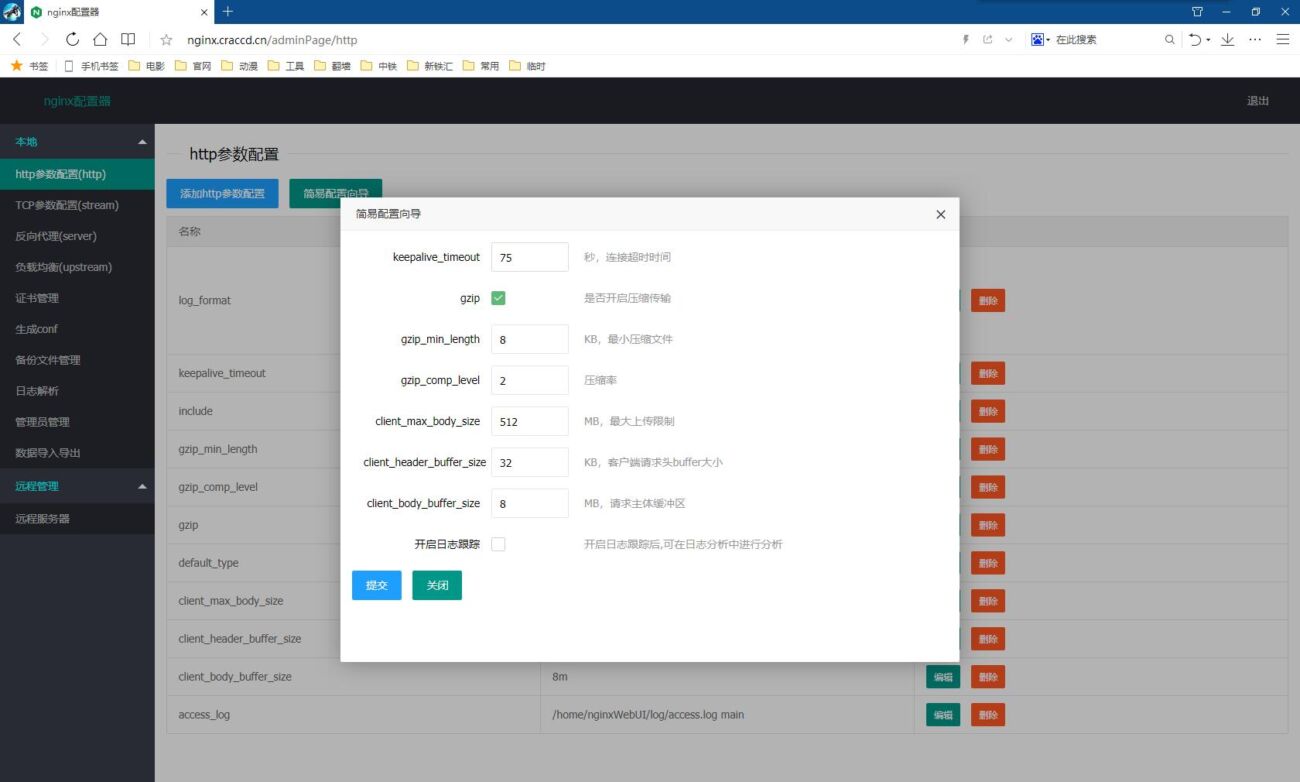
In the http parameter configuration, you can configure nginx's http project and perform http forwarding. Several common configurations are given by default, and other required configurations can be added, deleted, modified, and checked freely. You can check to enable log tracking and generate log files.
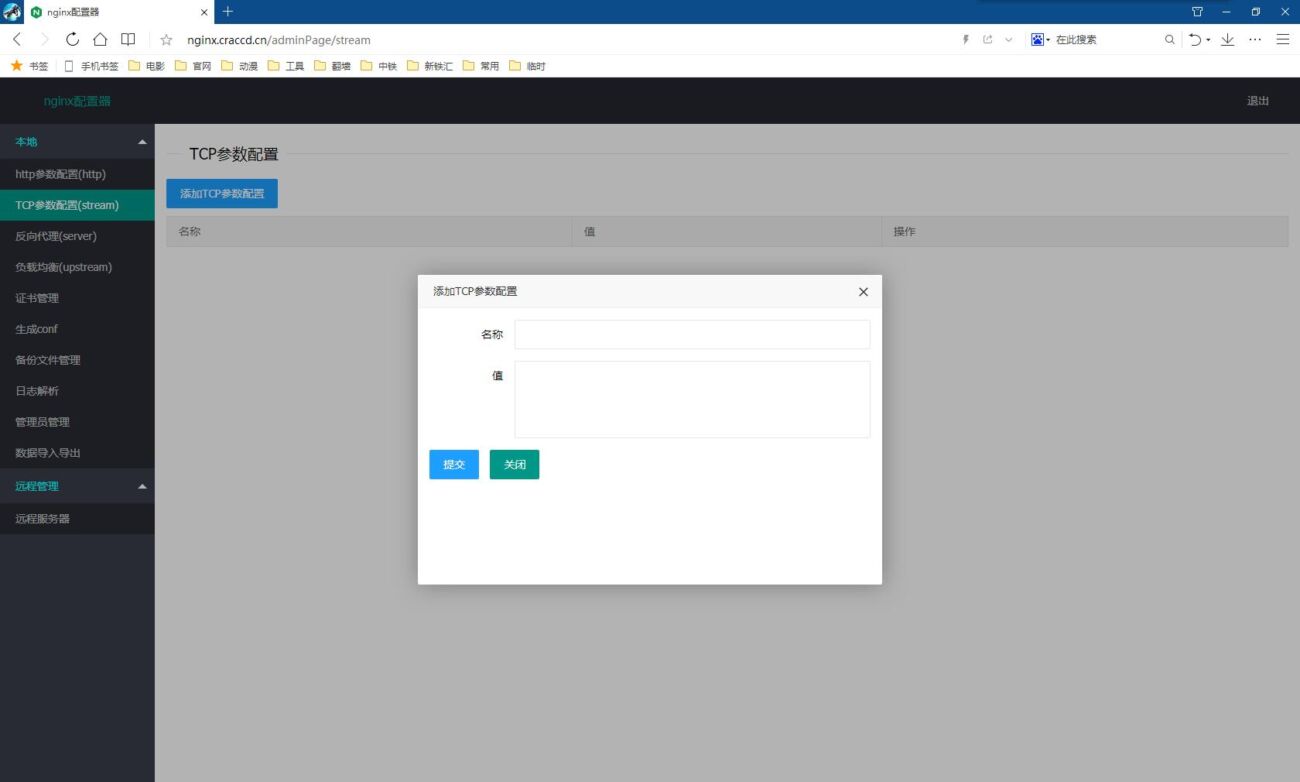
In the TCP parameter configuration, you can configure the stream project parameters of nginx, but in most cases, you don't need to configure it.
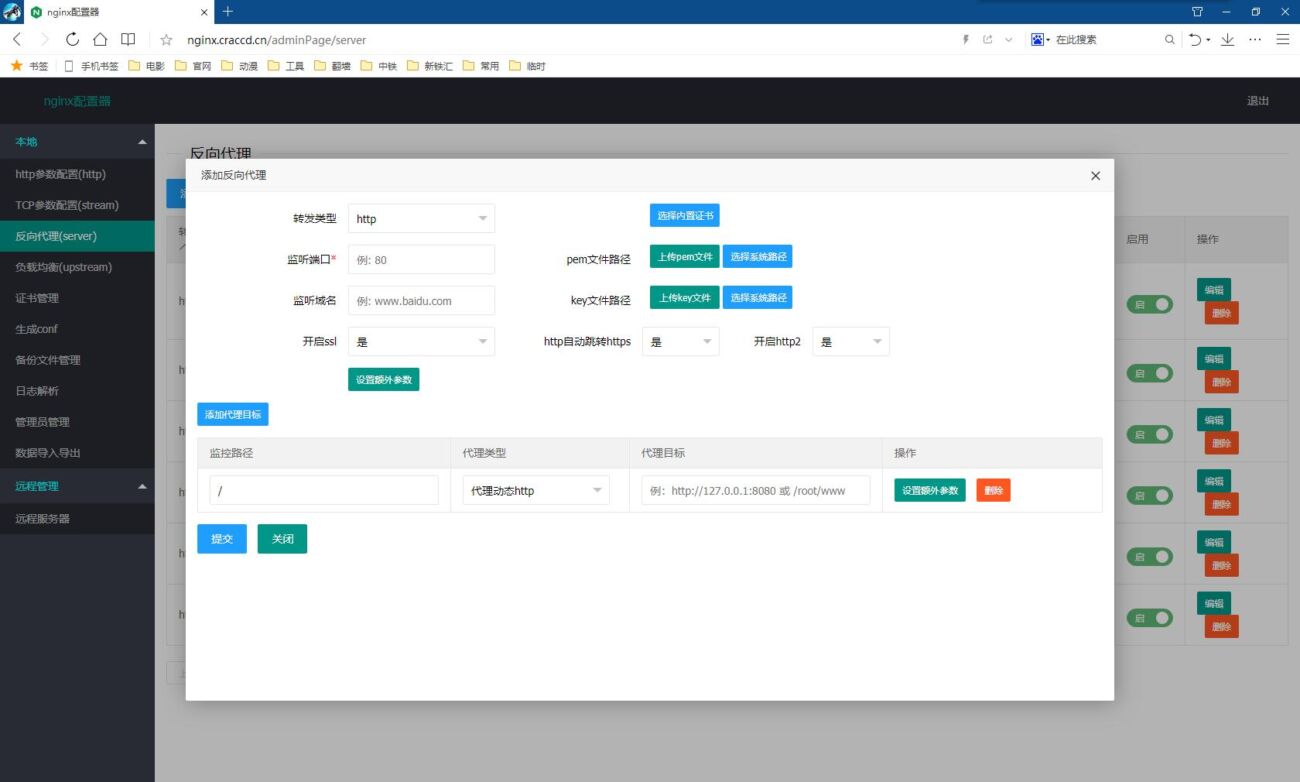
In the reverse proxy, you can configure the reverse proxy of nginx, that is, the server function, enable the SSL function, upload the pem file and key file directly from the web page, or use the certificate applied in the system, directly enable the http to https function, and enable the http2 protocol
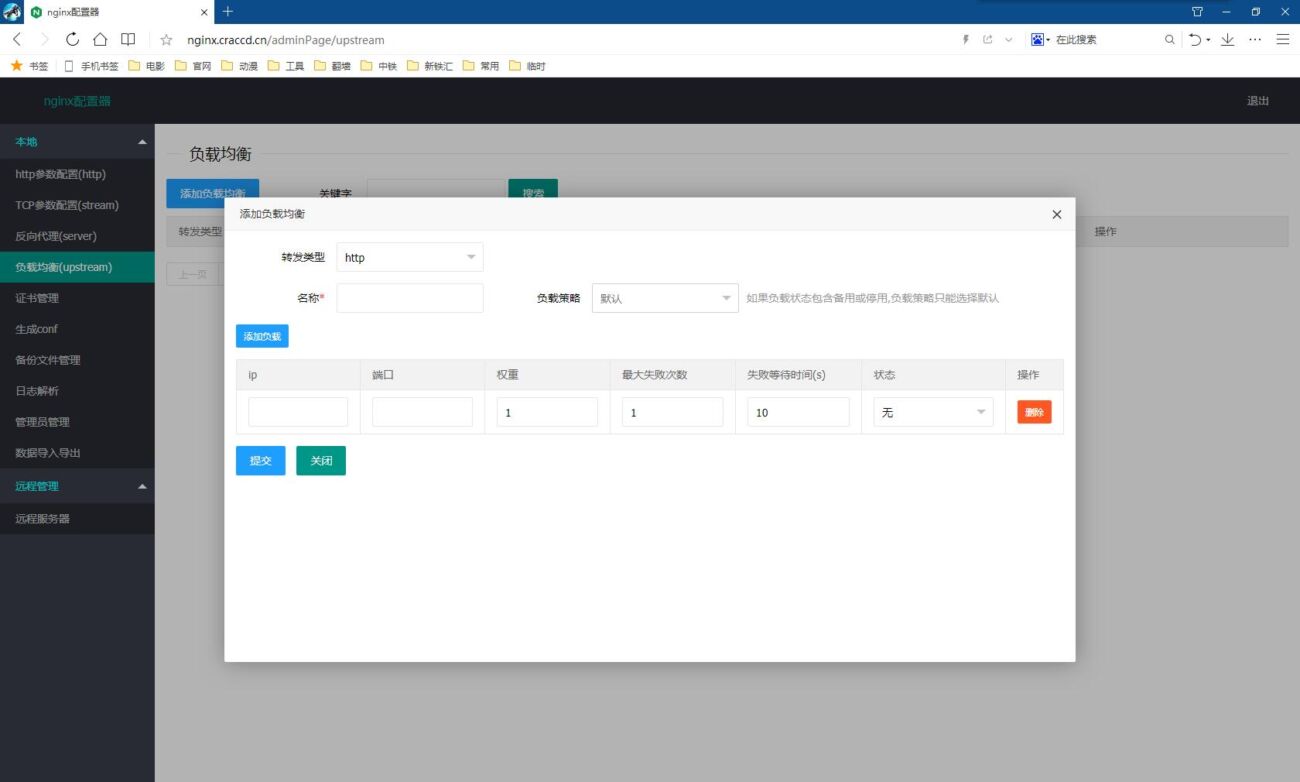
In load balancing, you can configure nginx's load balancing, i.e. the upstream function. In reverse proxy management, you can select the proxy target as the configured load balancing.
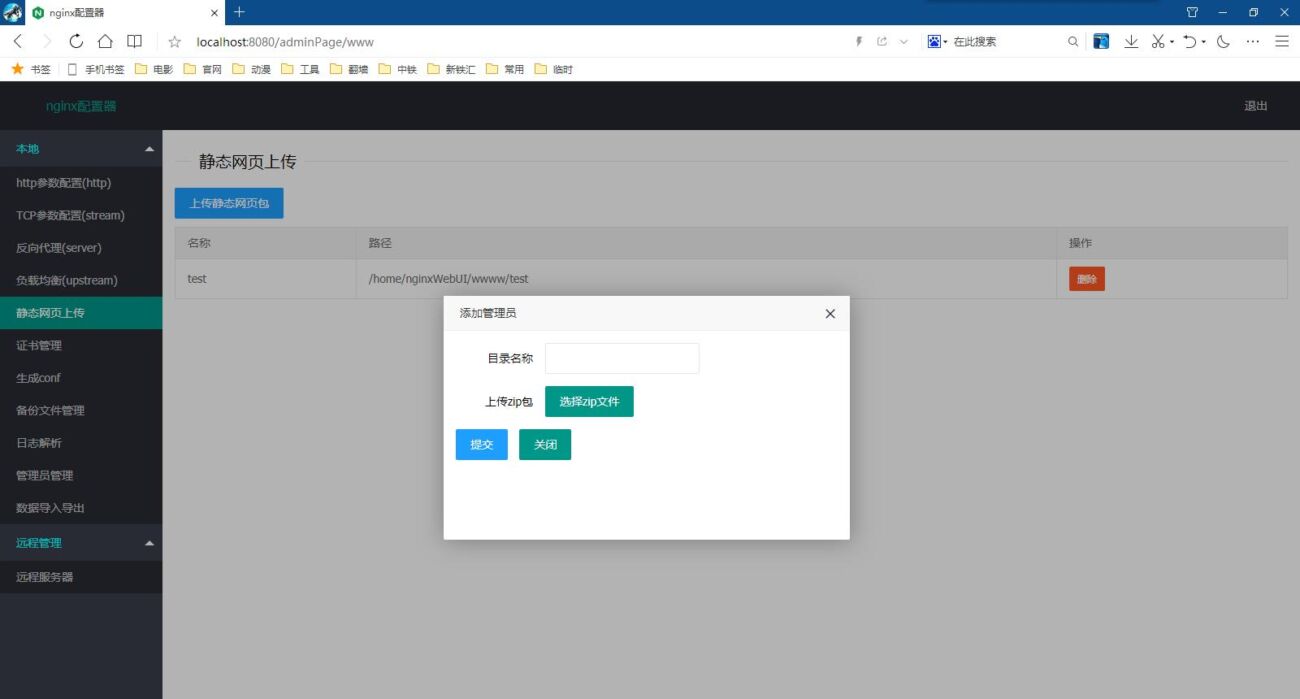
In the html static file upload, you can directly upload the html compressed package to the specified path. After uploading, you can directly use it in the reverse proxy, eliminating the step of uploading html files in Linux.
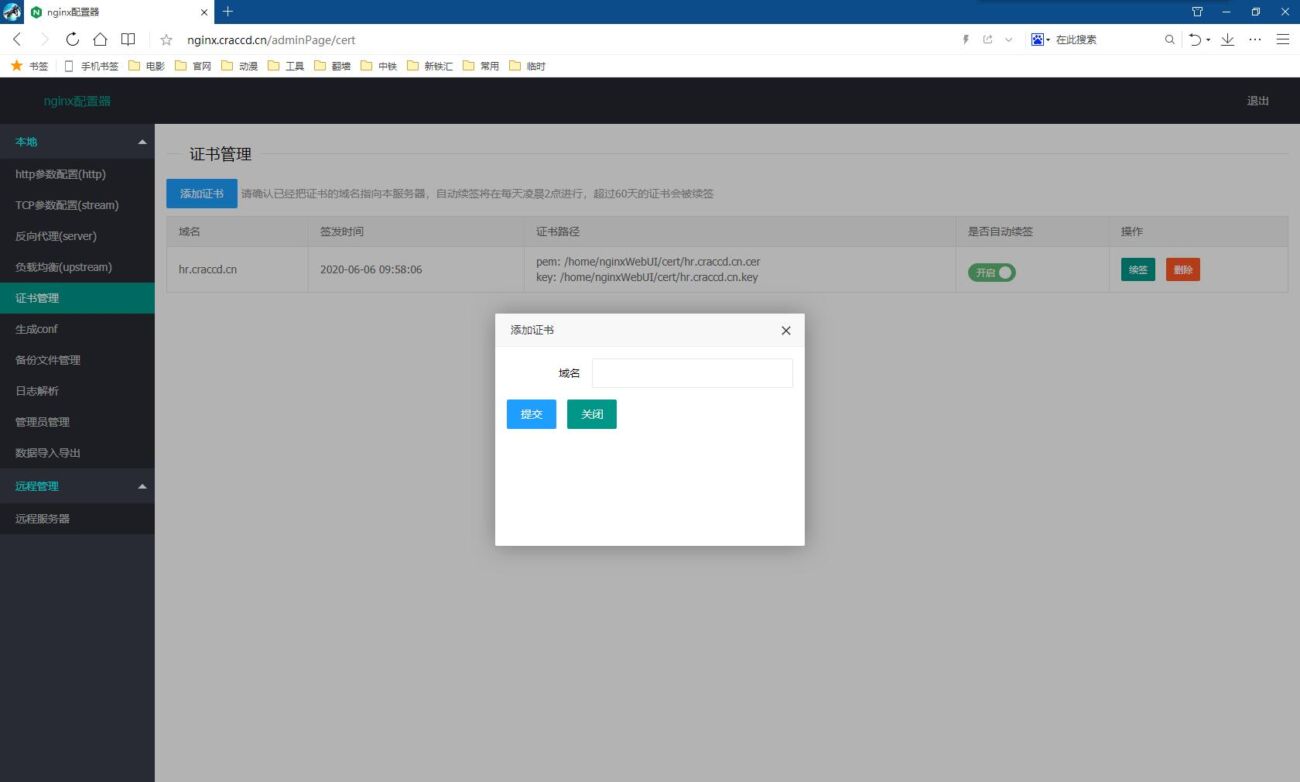
In the certificate management, you can add certificates, issue and renew them. After turning on the scheduled renewal, the system will automatically renew the certificates that are about to expire. Note: The certificate is issued using the dns mode of acme.sh, which needs to be used with Alibaba Cloud's aliKey and aliSecret. Please apply for aliKey and aliSecret first
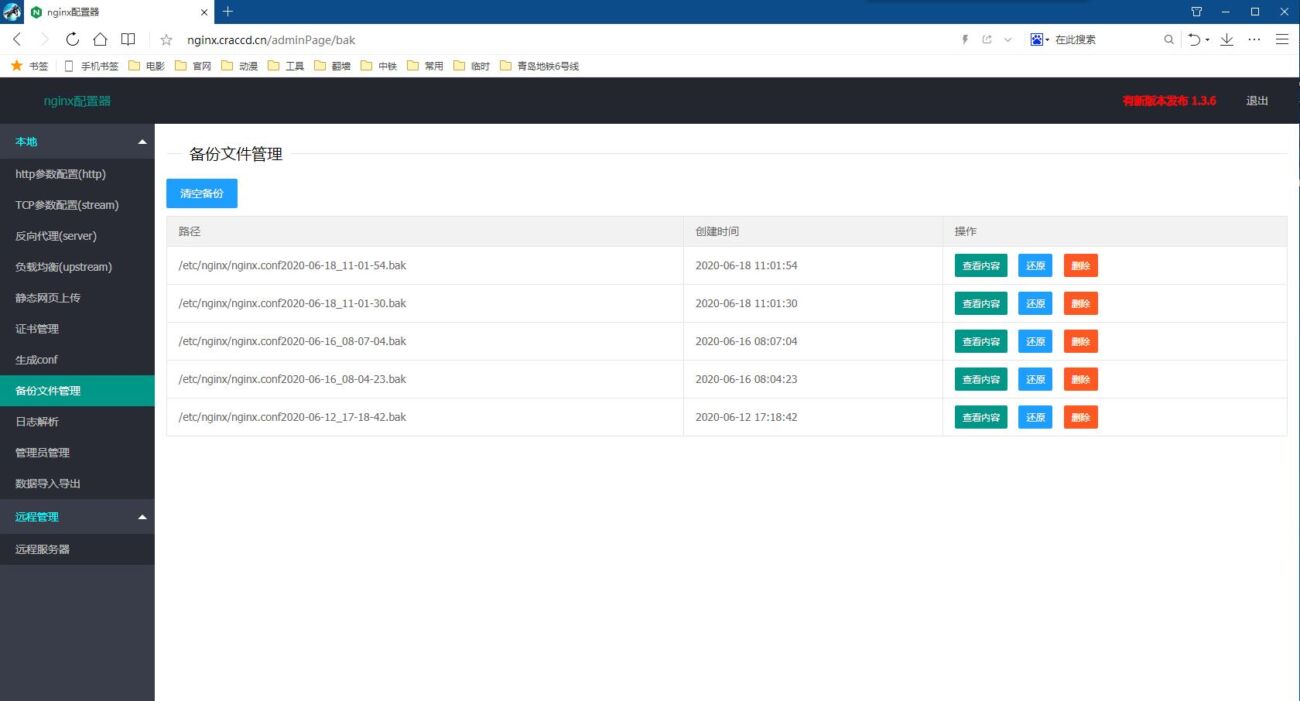
Backup file management, here you can see the backup history version of nginx.cnf, when nginx has an error, you can choose to roll back to a certain history version
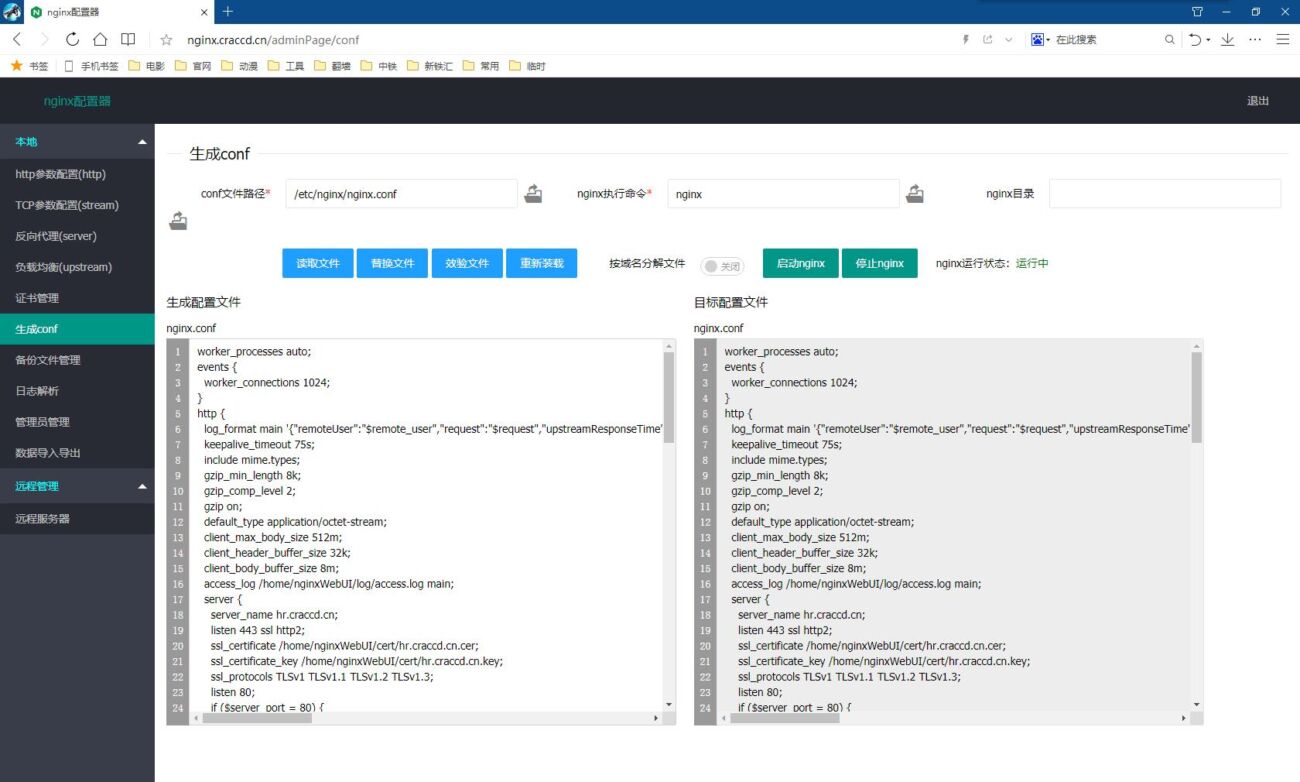
Finally, the conf file is generated, which can be further modified manually. After confirming that the modification is correct, the local conf file can be overwritten, and the validation and restart can be performed. You can choose to generate a single nginx.conf file or separate each configuration file by domain name under conf.d
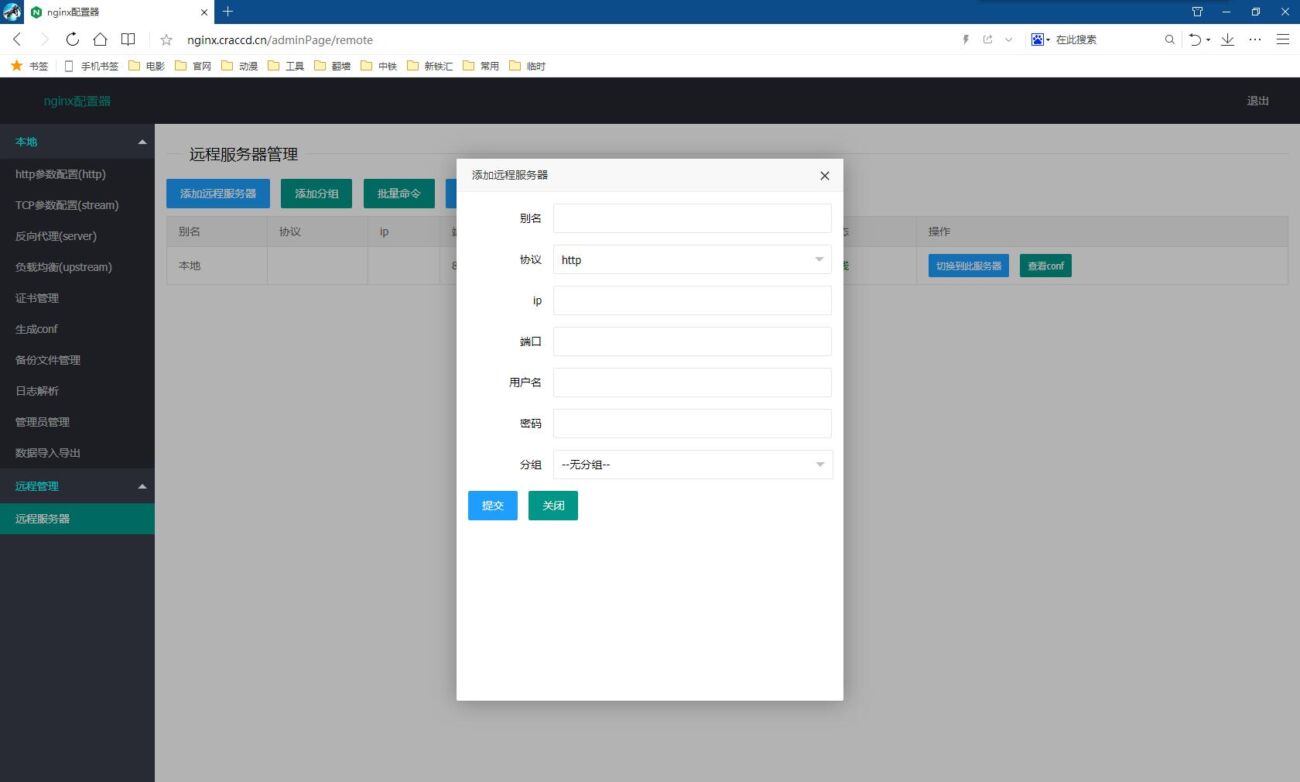
Remote server management, if there are multiple nginx servers, you can deploy nginxWebUI on all of them, then log in to one of them, add the IP and username and password of other servers in the remote management, and you can manage all nginx servers on one machine.
Provides one-click synchronization function, which can synchronize the data configuration and certificate files of a server to other servers
Interface development
This system provides http interface call, open http://xxx.xxx.xxx.xxx:8080/doc.html to view the smart-doc interface page.
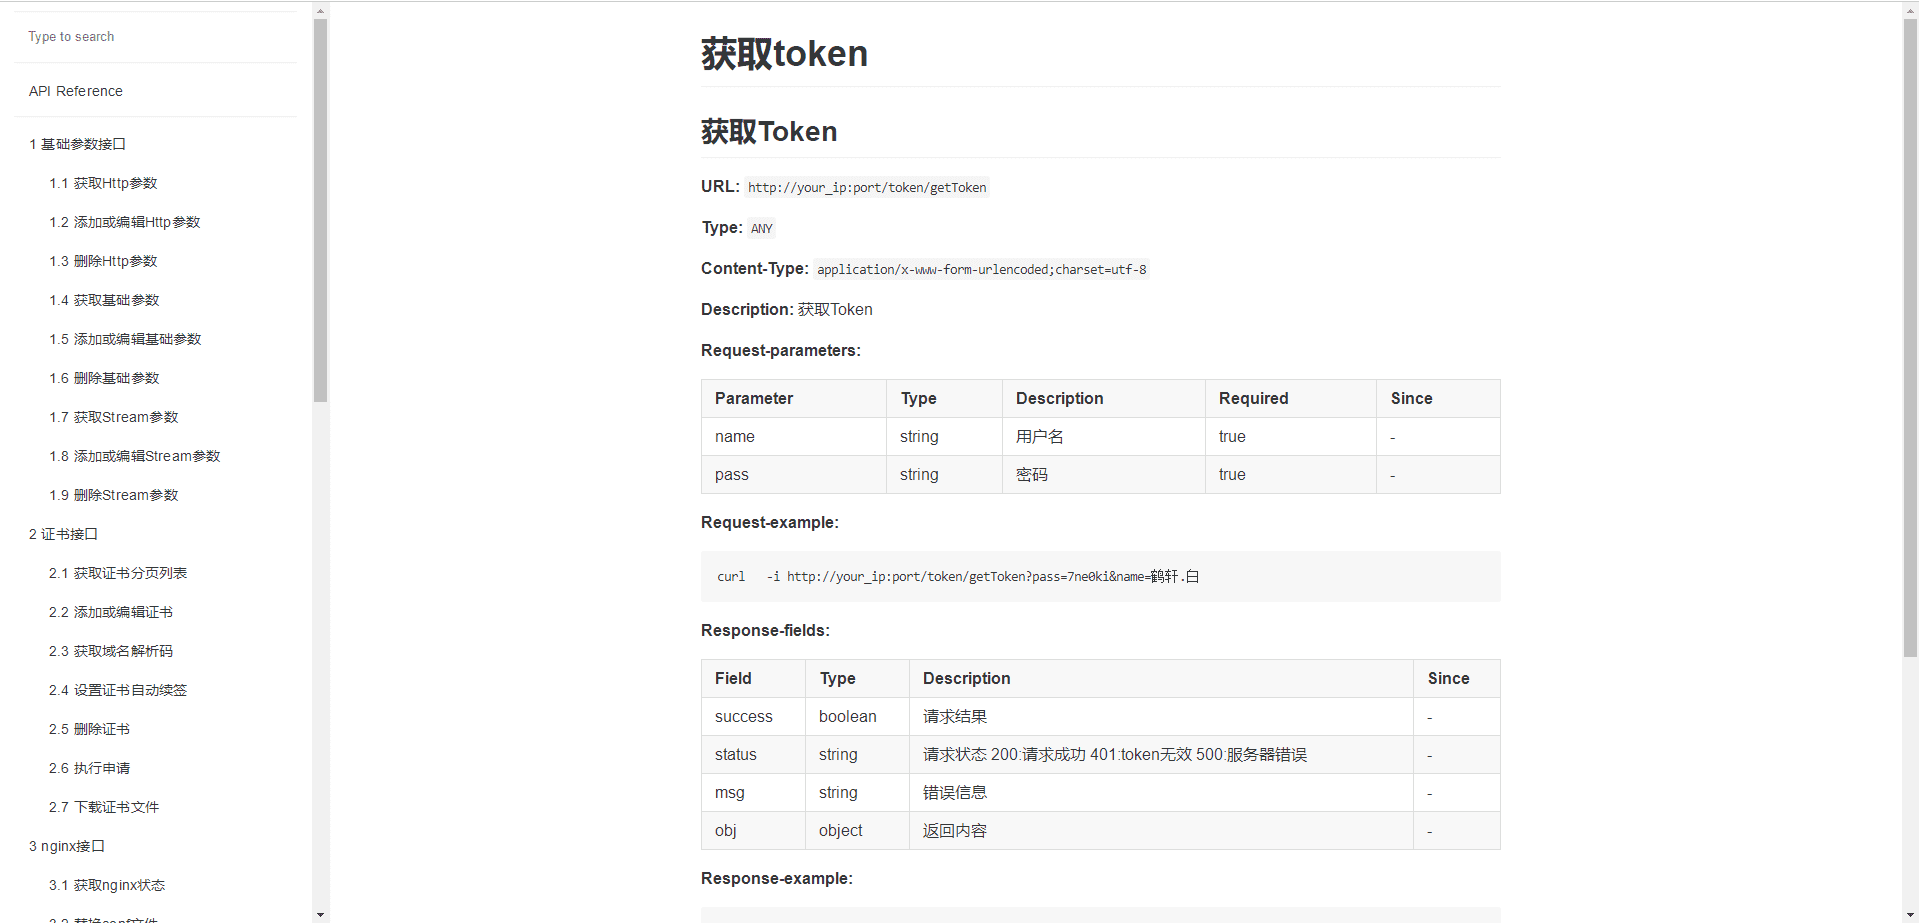
The interface call needs to add a token in the http request header. To obtain the token, you need to first open the user's interface call permission in the administrator management, and then call the get token interface with the username and password to get the token.
Recover your password
If you forget your login password or do not save the two-step verification, you can follow the tutorial below to retrieve your password and turn off the two-step verification.
1. Stop nginxWebUI
pkill java
2. Run nginxWebUI.jar with the password retrieval parameter
java -jar nginxWebUI.jar --project.home=/home/nginxWebUI/ --project.findPass=true
--project.home is the directory where the project files are located
--project.findPass whether to print username and password
After successful operation, you can print out all usernames and passwords and turn off two-step verification







Recommend openstar