Excellent software and practical tutorials


LiteSpeed Free Starter has limited usage, only supports one domain name, one user and requires a VPS with less than 2G memory. I have applied for a LiteSpeed Free Starter serial number before. Free Starter is a commercial version of LiteSpeed, not open sourceOpenLiteSpeedThere is almost no difference between the front-ends of the two, but the Ent version has stronger cache performance. This time, CyberPanel+OpenLiteSpeed is installed. After the installation is successful, change the authorization in the background and upgrade to the LiteSpeed commercial version.
Application address:https://store.litespeedtech.com/store/cart.php?a=add&pid=102
If you are running a site cluster, don't upgrade the commercial version of LiteSpeed, just use the free OpenLiteSpeed!
CyberPanel Configuration Requirements
- System Requirements:Centos 7.x, Centos 8.x, Ubuntu 18.04, Ubuntu 20.04
- Python 3.x
- 1024MB or more memory
- 10GB hard disk memory
CyberPanel Panel Installation Tutorial
1.Xshell Log in to your VPS and enter the following command:
sh <(curl https://cyberpanel.net/install.sh || wget -O - https://cyberpanel.net/install.sh)
2. Enter 1, confirm, and install CyberPanel.

3. Select OpenListSpeed, enter 1, and confirm; if there is an Ent version, enter 2 and enter the serial code.

4. The specific settings are as follows: Remote MySQL, select N, you don’t need to set up MySQL for now, you can set it up in the panel later.

5. Choose to install Memcached If you want to use Memcached and Redis, you can choose Memcached. Redis is suitable for scenarios with high overhead.

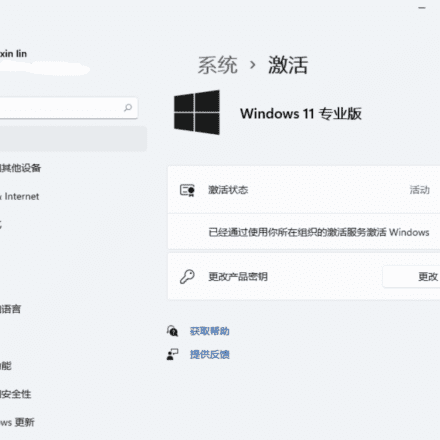
6. After successful installation, you can see the address, user name, and password behind the CyberPanel panel and LiteSpeed.

LiteSpeed Backstage Panel
There's not much to see, just take a quick look at what it looks like and satisfy your curiosity.

CyberPanel Usage
1. Log in to the CyberPanel backend and select Chinese. You can clearly see the CPU, memory and hard disk usage in the backend, with common functions in the middle and the backend menu on the right.

2. Create a website in CyberPanel. Select the website in the right panel and fill in the information as required.SSL;Create a new database and upload the program. Support one-click installationWordPress+LSache.

3. CyberPanel supports the creation of virtual hosts and can be connected with WHCMS to sell virtual hosts.

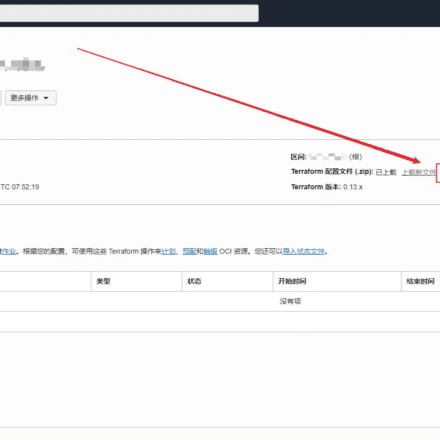
4. In the background, you can change OpenLiteSpeed to the commercial version. In the server status on the right panel, select Litespeed status and fill in the serial code.