Excellent software and practical tutorials
ISPConfig 3.2 Excellent virtual host management panel teaches you how to install ISPConfig on CentOS
ISPConfig 3.2 It is a very excellent VPS host control panel abroad. ISPConfig is free and open source and has been continuously developed for several years. Currently, ISPConfig 3 can basically be installed onLinuxAll major operating systems, and support one-click installation, including Apache2 and nginx,Postfix,Dovecot,PureFTPD,Bind,,PowerDNS,MySQLetc.
Next in CentOS 8 (64-bit) server. ISPConfig is a web hosting control panel that allows you to configure the following services through a web browser: Nginx/Apache Web server, PHP, Postfix mail server, MySQL, BIND name server, PureFTPd, SpamAssassin, ClamAV, Mailman, and many more.
ISPConfig official website address:https://www.ispconfig.org/
GithubProject address on:https://github.com/servisys/ispconfig_setup
ISPConfig on Github is only updated to version 3.0.6, and the CentOS system supportscentos7, the last update was on June 8, 2020, and the installation is for reference only.
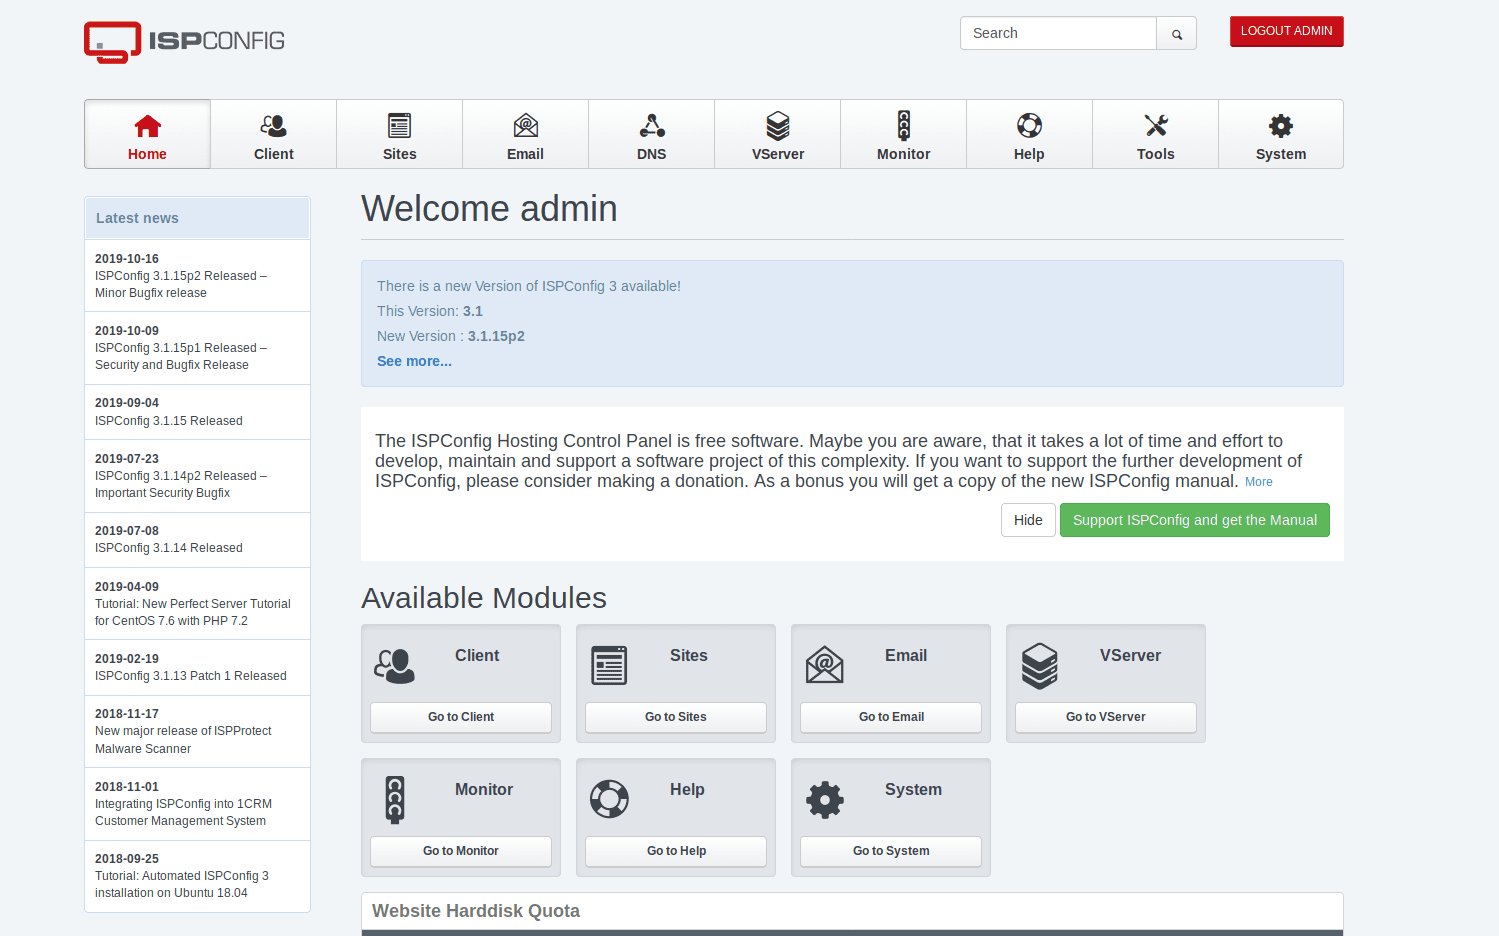
Install ISPConfig 3.2
ISPConfig ships with the Bastille firewall script, so the default CentOS firewall needs to be disabled. Of course, you are free to leave the CentOS firewall turned on and configure it to your needs (you need to turn off the Bastille firewall script that ships with ISPConfig first, as it will most likely interfere with the CentOS firewall).
Turn off the system firewall
Install common commands and turn off the system firewall
dnf -y install net-tools wget rsyslog curl net-tools NetworkManager-tui systemctl stop firewalld systemctl disable firewalld
use firewall-cmd --state The command checks whether the firewall is closed correctly.

If it returns not running This means that the firewall has been closed correctly.
Set SELinux to permissive mode or disable it
SELinux is a security extension for CentOS that should provide extended security. ISPConfig does not come with a SELinux ruleset, so set SELinux to permissive Loose mode, or directly disabledTurn off SELinux.
vi /etc/selinux/config

Install EPEL repository
If you haven't installed it yetEPELRepository, please install the EPEL repository first, because inCentos8Many software cannot be found and require EPEL repository support.
After the epel repository is installed, install the Development Tools package and then update the system!
rpm --import /etc/pki/rpm-gpg/RPM-GPG-KEY* dnf -y install epel-release dnf -y group install 'Development Tools' dnf -y install yum-utils dnf -y install yum-priorities
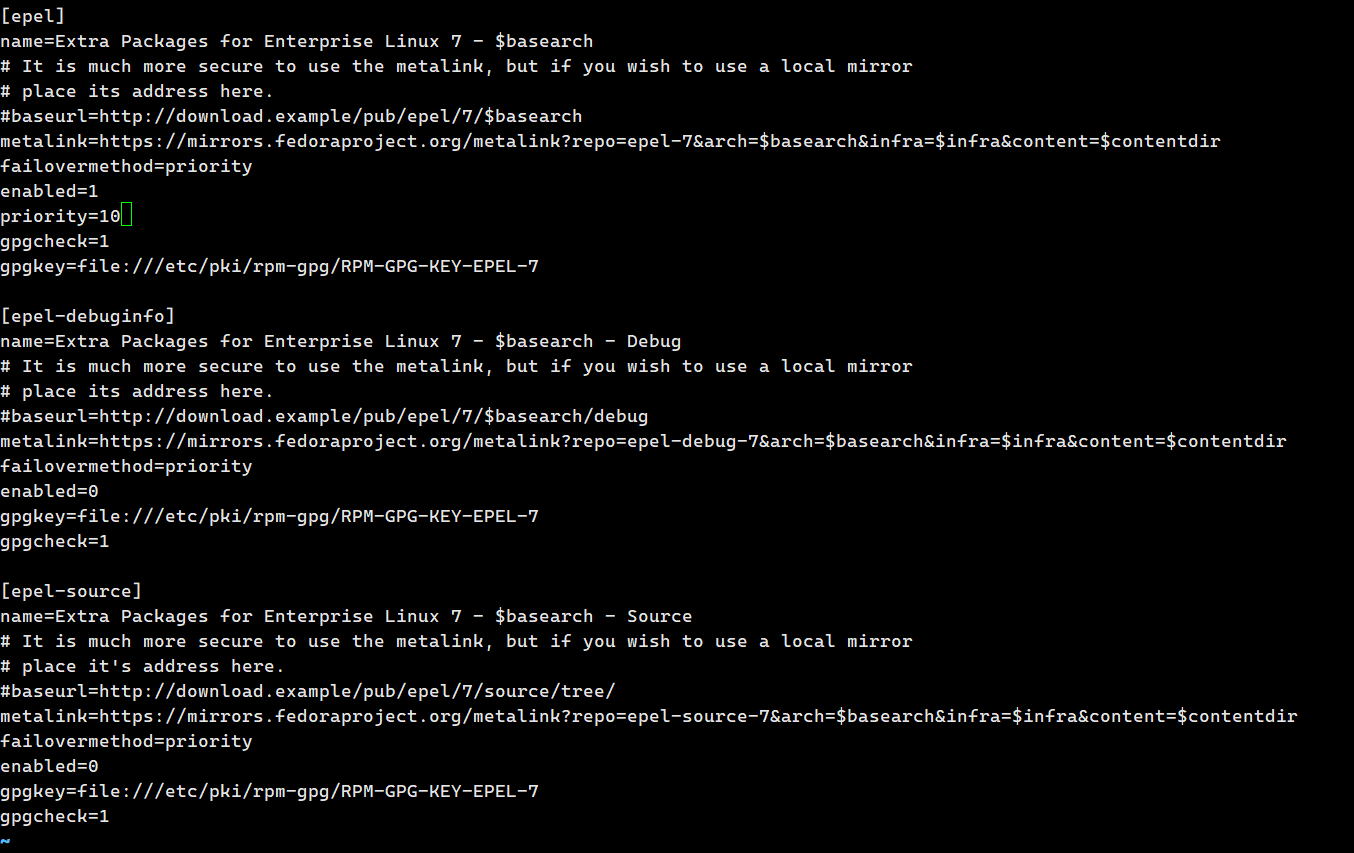
vi /etc/yum.repos.d/epel.repo
exist enabled=1 Add below priority=10
Synchronize time
timedatectl set-timezone Asia/Shanghai #Install NTP under centos7 dnf -y install ntp #Set boot startup systemctl enable ntpd #Start NTP service systemctl start ntpd #Check status systemctl status ntpd
Update system software
dnf -y update
Configure hosts
Set up a secondary domain name, resolve it to your server IP, then configure the domain name in hosts and add the domain name after the intranet IP address
vi /etc/hosts
Add the intranet IP below ::1 host.xxx.com host
host.xxx.com It is the secondary domain name you set, add it later host
127.0.0.1 localhost localhost.localdomain localhost4 localhost4.localdomain4 ::1 localhost localhost.localdomain localhost6 localhost6.localdomain6 127.0.0.1 host.35btc.com host
Then modify the hostname file.
echo 'host.35btc.com' > /etc/hostname
If you don't want to useSSHTerminal configuration server, you can use the graphicalwebuiInterface management server.
Install the server management graphical interface
The server panel is a graphical panel with server management functions. In the panel you can see the usage of server hardware, configure the server, etc.
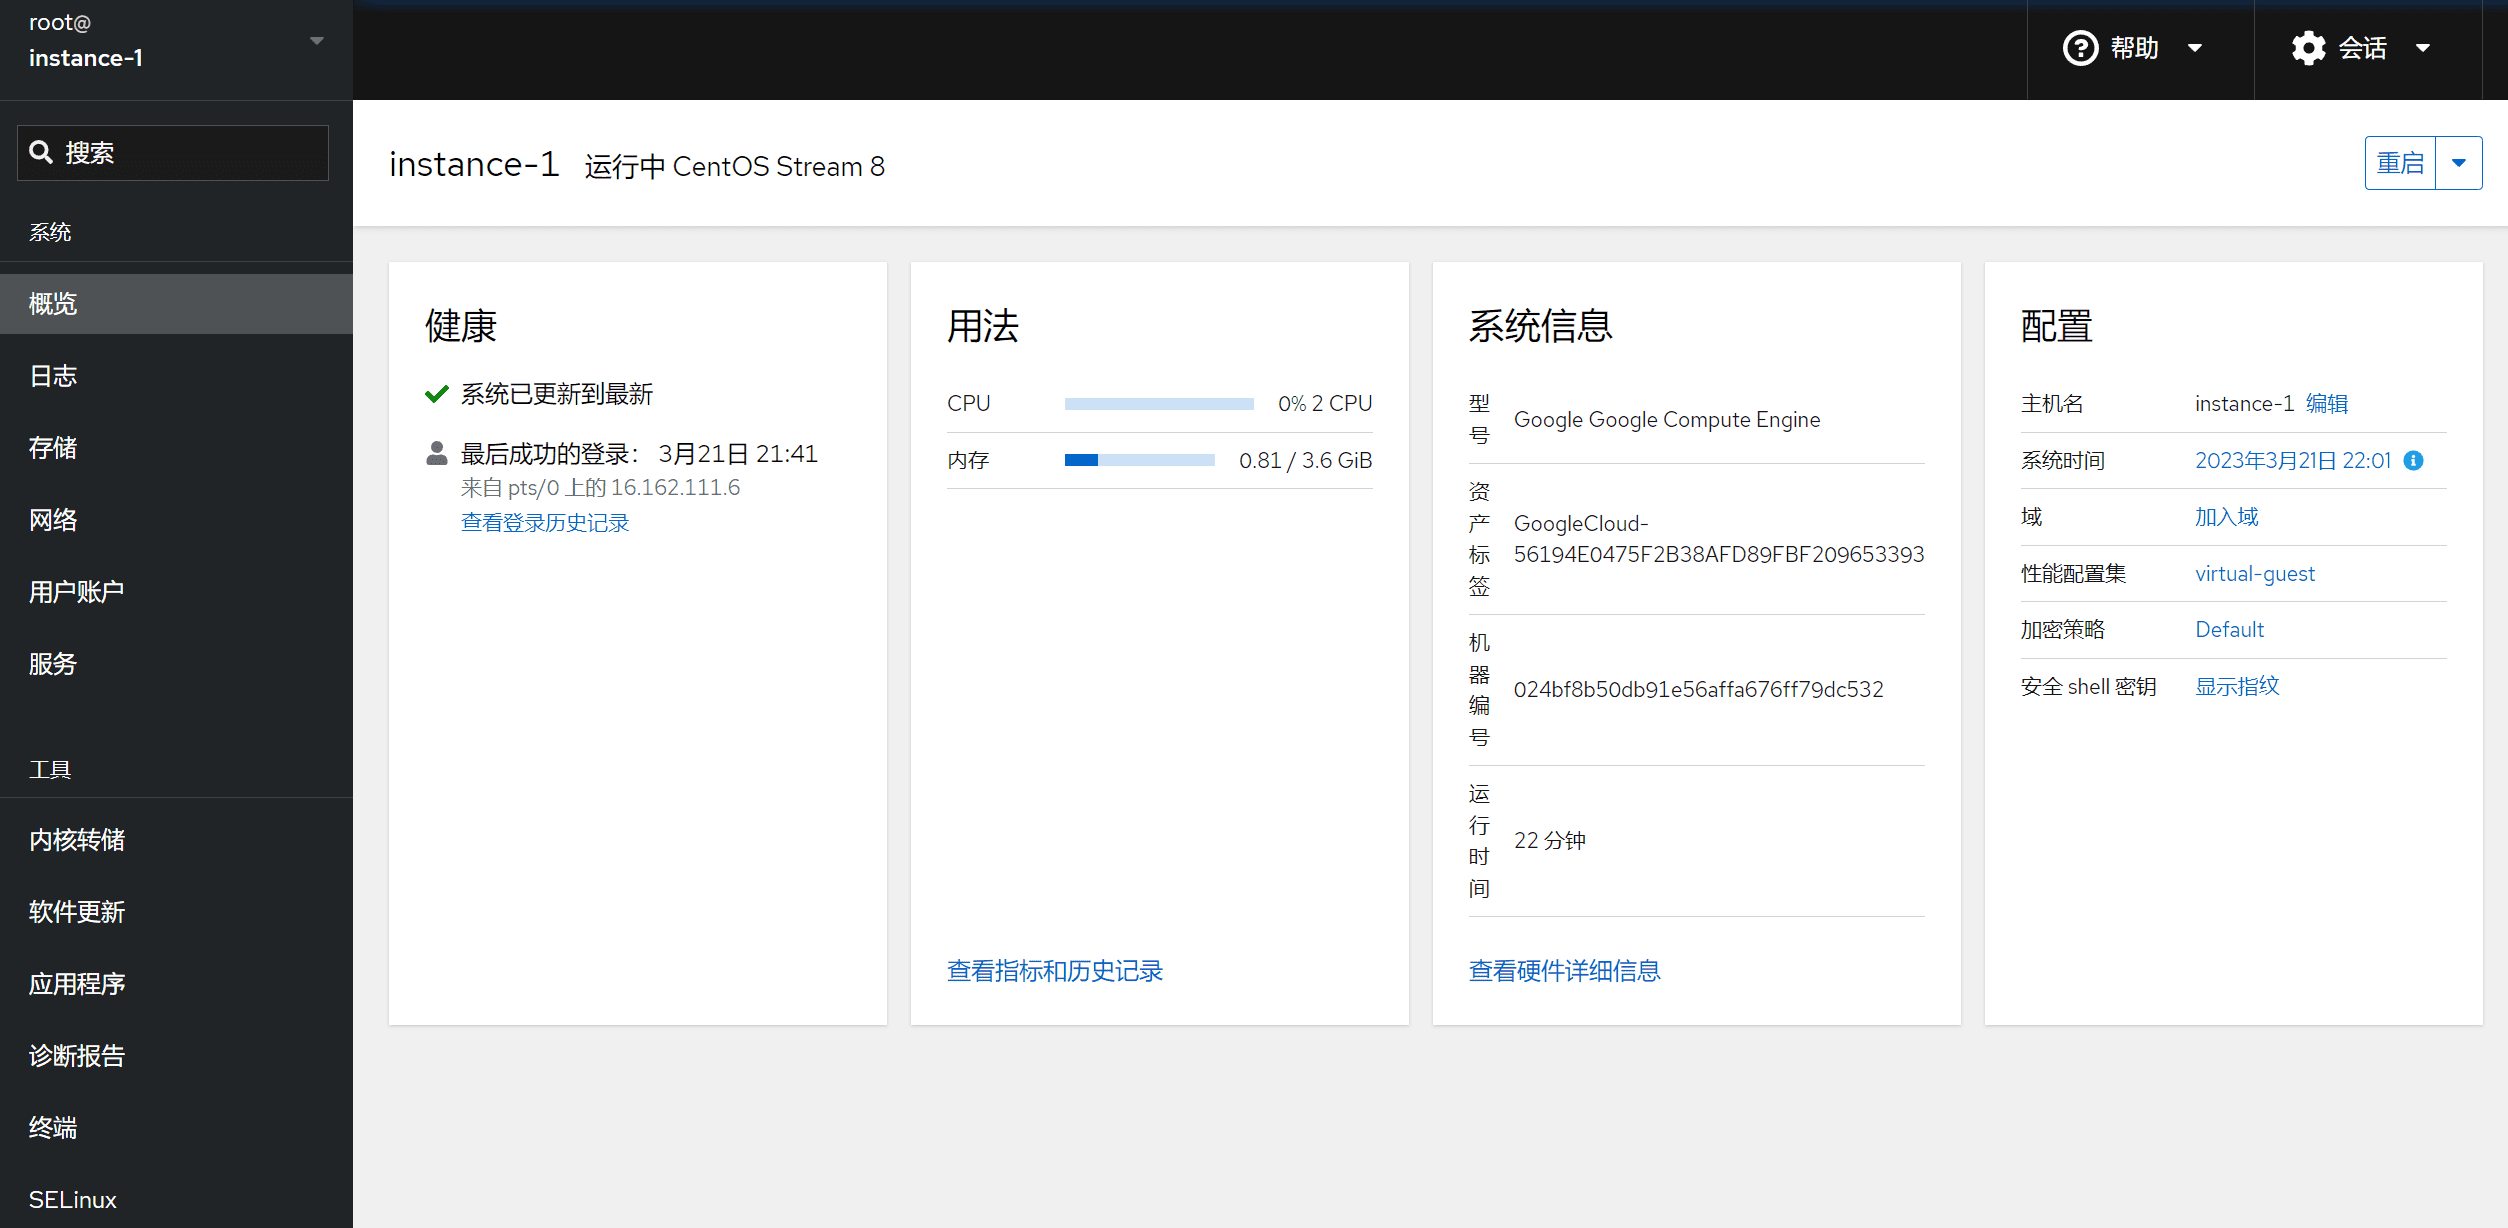
cockpit Server Panel
dnf install cockpit systemctl enable --now cockpit.socket
Firewall configuration. If the firewall is already closed, no configuration is required.
sudo firewall-cmd --permanent --zone=public --add-service=cockpit sudo firewall-cmd --reload
Open the browser: https:// Server IP address:9090
Then log in using your system user account and password.
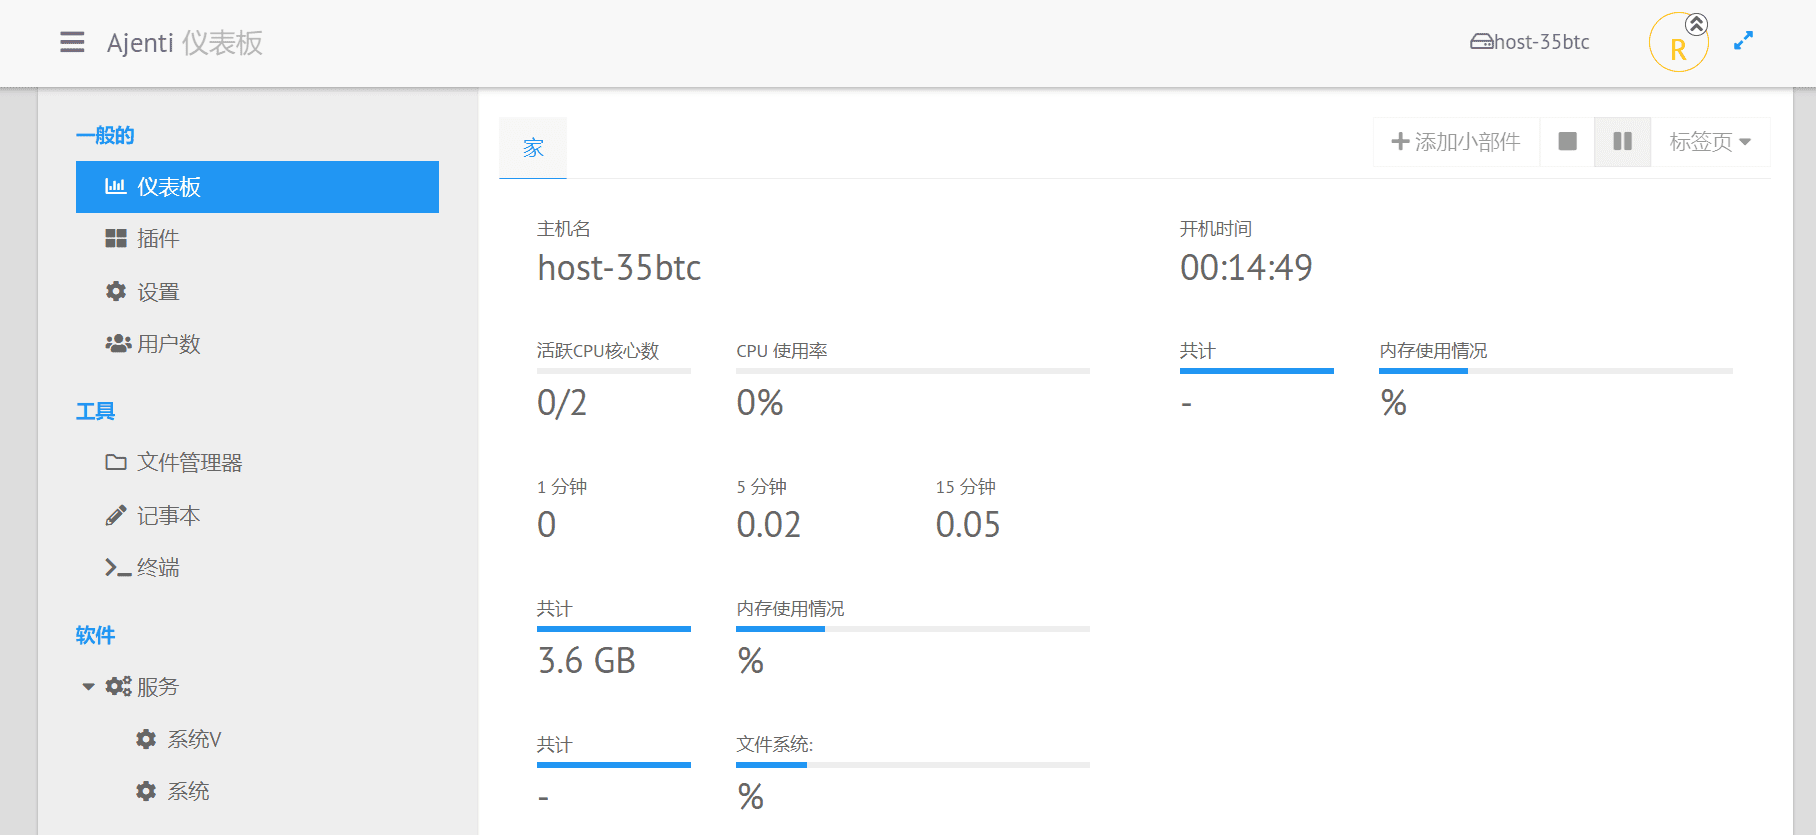
Ajenti 2 Server Panel
curl https://raw.githubusercontent.com/ajenti/ajenti/master/scripts/install.sh | sudo bash -s -
Webmin Server Panel
curl -o setup-repos.sh https://raw.githubusercontent.com/webmin/webmin/master/setup-repos.sh sh setup-repos.sh
Installing Webmin Panel
dnf install webmin
After installation, enter in your browser https://your ip address:10000/ access.
Username and password are the server user password.

Install Nginx, PHP, MySQL and phpMyAdmin
Enable the Remi repository to get the latest software versions
dnf install http://rpms.remirepo.net/enterprise/remi-release-8.rpm dnf makecache
Install the server environment configuration panel
Server Panel InstallationAMHpanel
AMH7.0 fast installation
AMH is the leading cloud host panel in China. Please use a clean system for installation. (Centos,Debian,Ubuntu)
Extremely fast installation without compilation (installation time 1 to 3 minutes)
wget http://dl.amh.sh/amh.sh && bash amh.sh
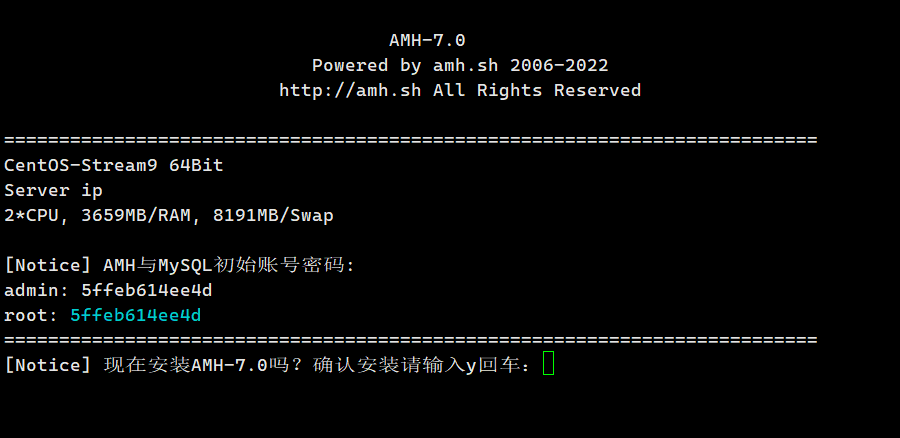
For detailed installation and use of AMH panel, please refer to:


