Excellent software and practical tutorials
About Surge
SurgeSurge is a web development and proxy utility. Using this software may require some expertise. Surge iOS offers the same powerful features as the Mac version.
All features can be used independently without relying on the Mac version. It can override system DNS settings even on cellular networks and can be used on iOS even if the system does not support SOCKS5 and HTTPS proxies.
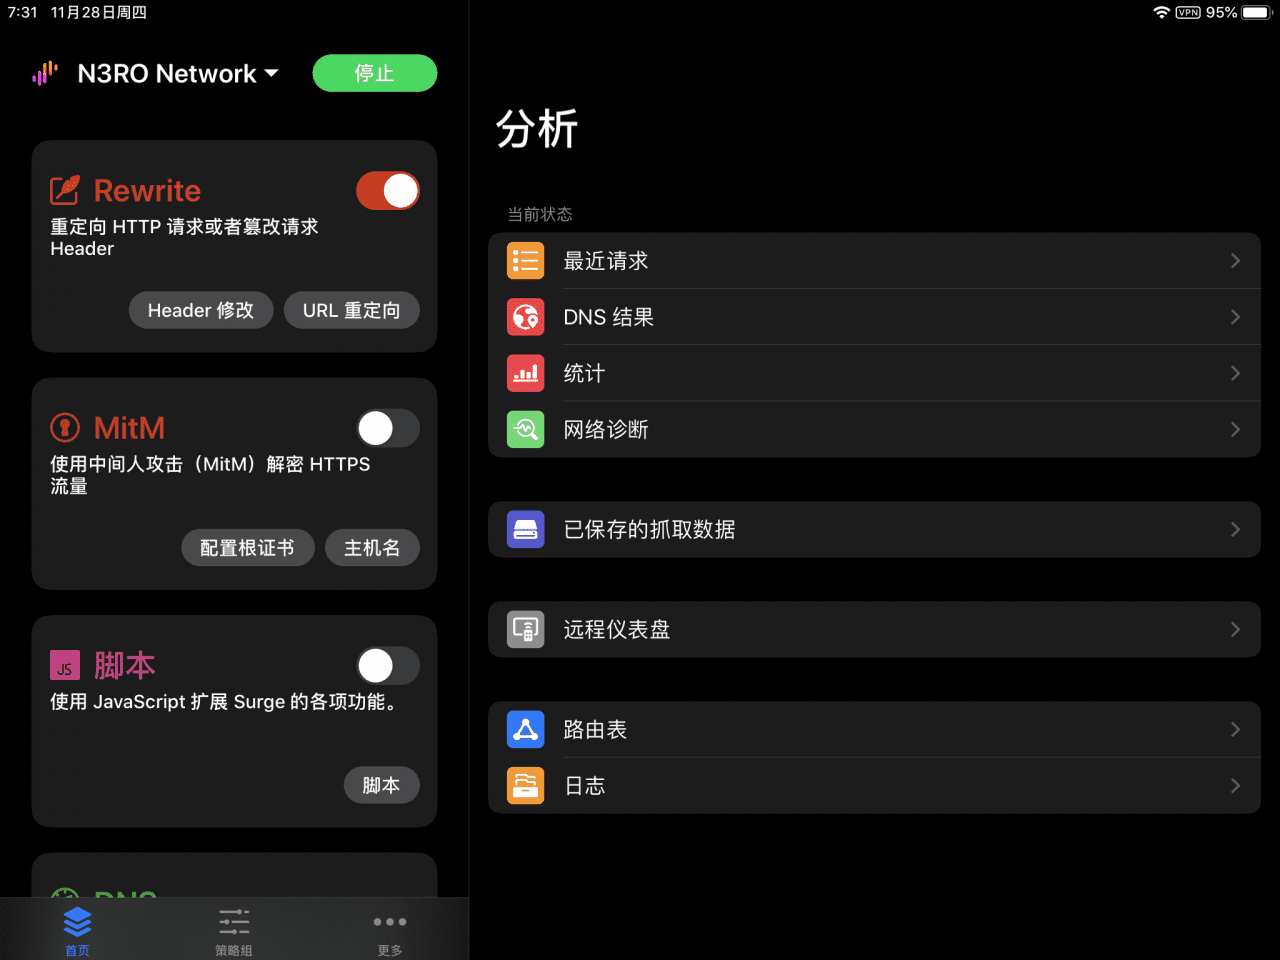
This document applies to:N3RO
The system environment when this tutorial was first written is:
iPad 2018 (China), 128G / iPadOS 13.3 beta1 (17C5032d)
Surge 4, Build 1419
Some content in this document may become invalid with the software version iteration.
Download and install
The latest version of Surge is Surge 4, which can be directly searched in the AppStore outside mainland China and downloaded and installed for free.
Surge's network proxy function requires unlocking Pro authorization, which can be purchased through the AppStore or visited itsOfficial WebsiteconductBuy.
The license price for iOS 3 devices is $49.99.

Get started quickly
N3RO has not yet launched Surge subscription, so you need to convert it yourself.
Please log in to the N3RO official website, enter the user center and click on the quick import areaSS ProtocolCopy the Clash or SSD subscription link.
Paste the Clash or SSD subscription link into the corresponding location, select Convert to Surge subscription and clickGenerate a hosting addressAnd copy the subscription address provided by Sabrina.
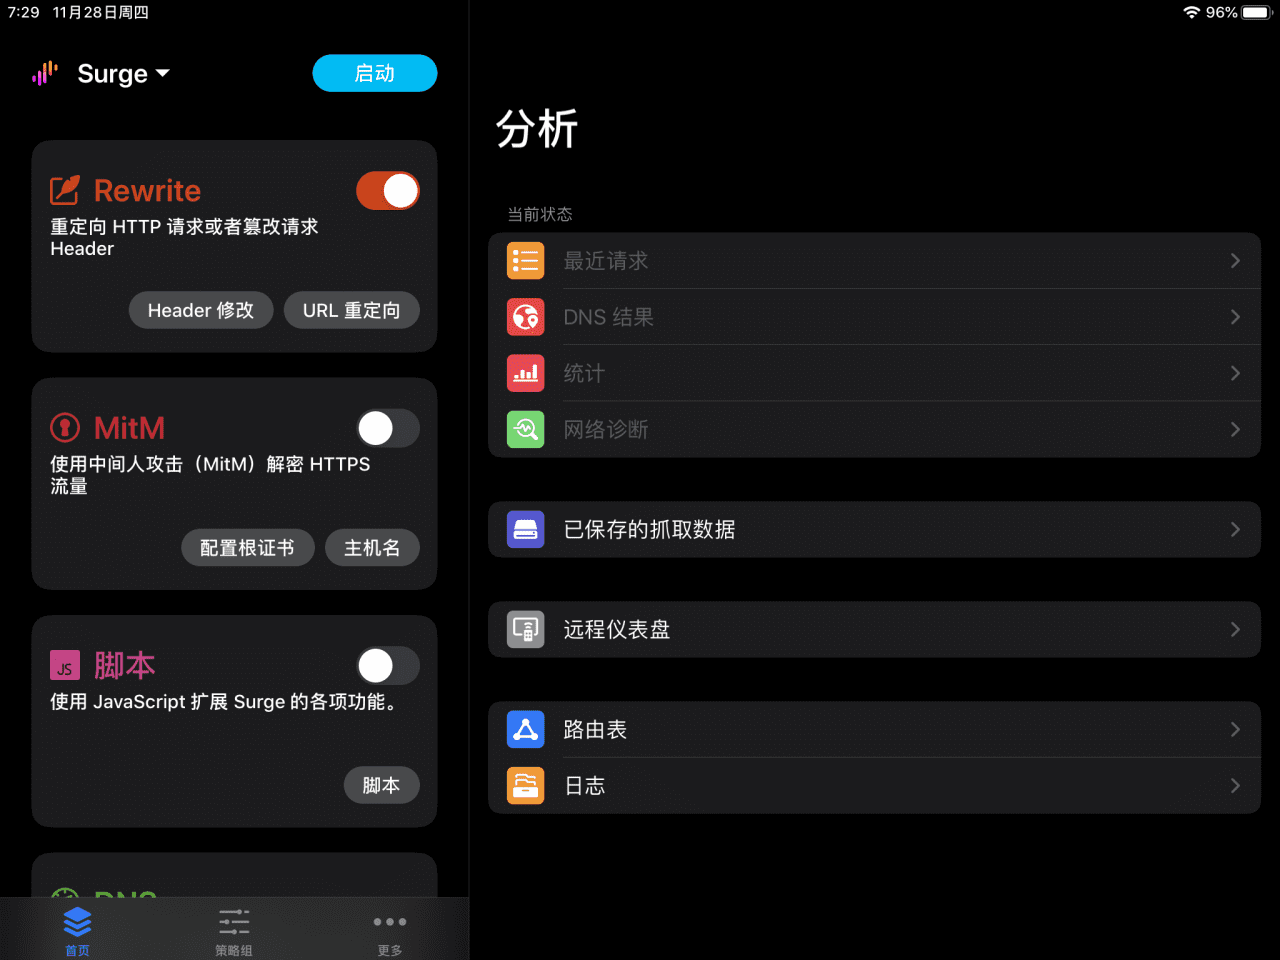
Open the Surge software and click the drop-down menu in the upper left corner.
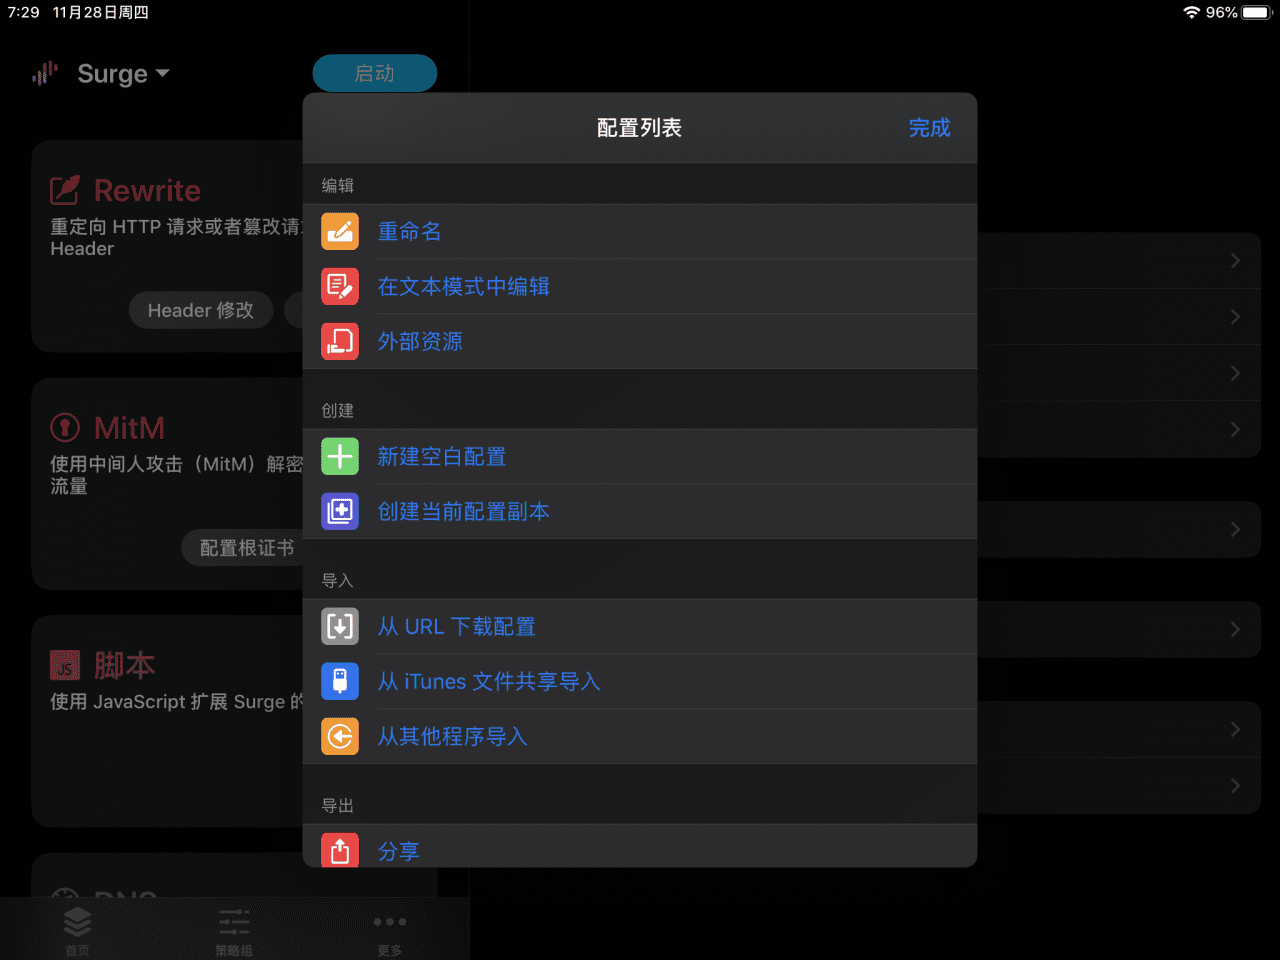
In the pop-up window, select Download configuration from URL.
Paste the copied subscription/hosting link into the text box.
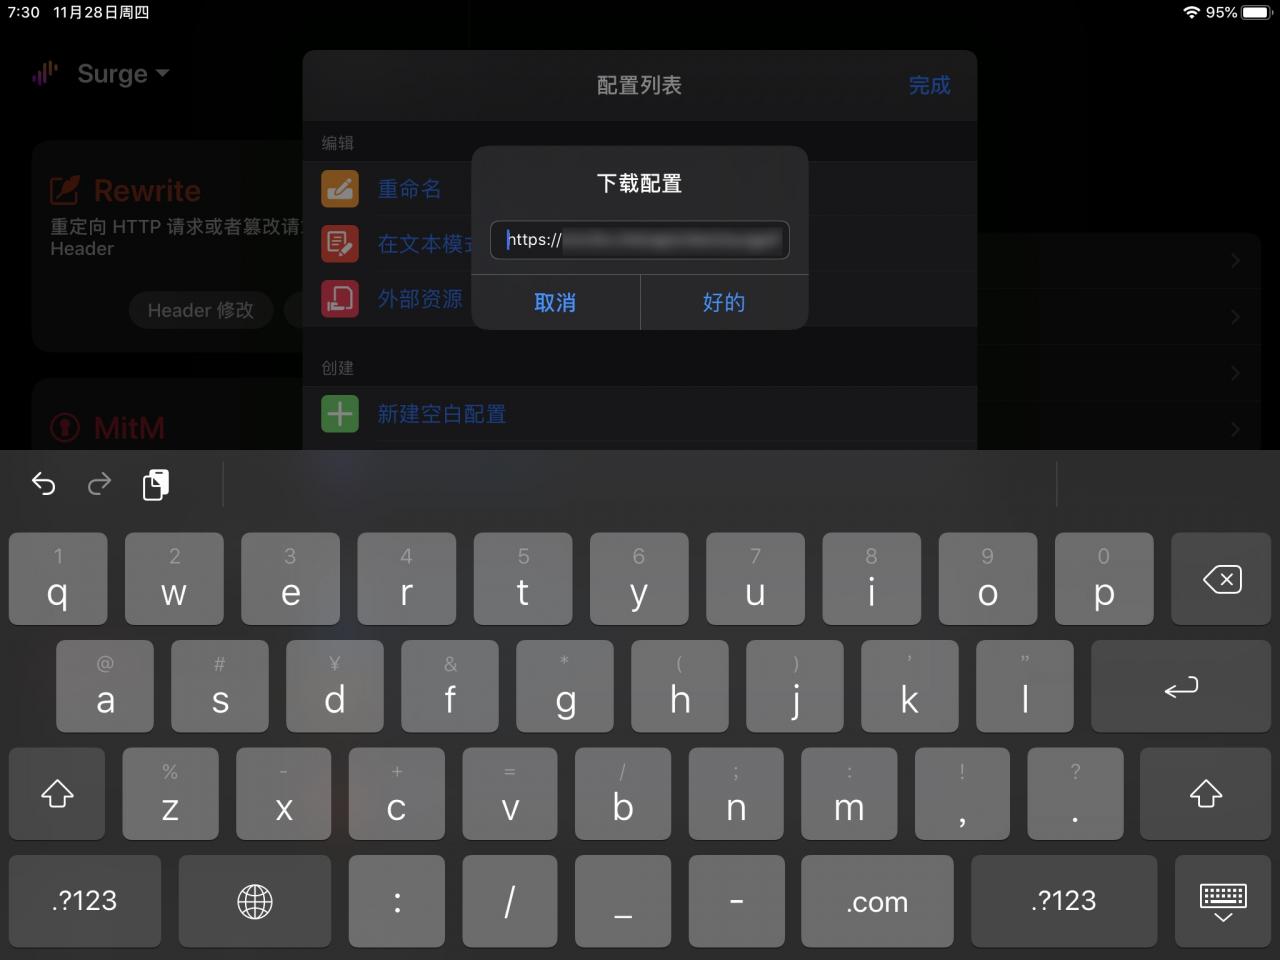
Wait for a few seconds and you can see the configuration file you just downloaded. (The picture here is for demonstration only, please refer to the actual situation)
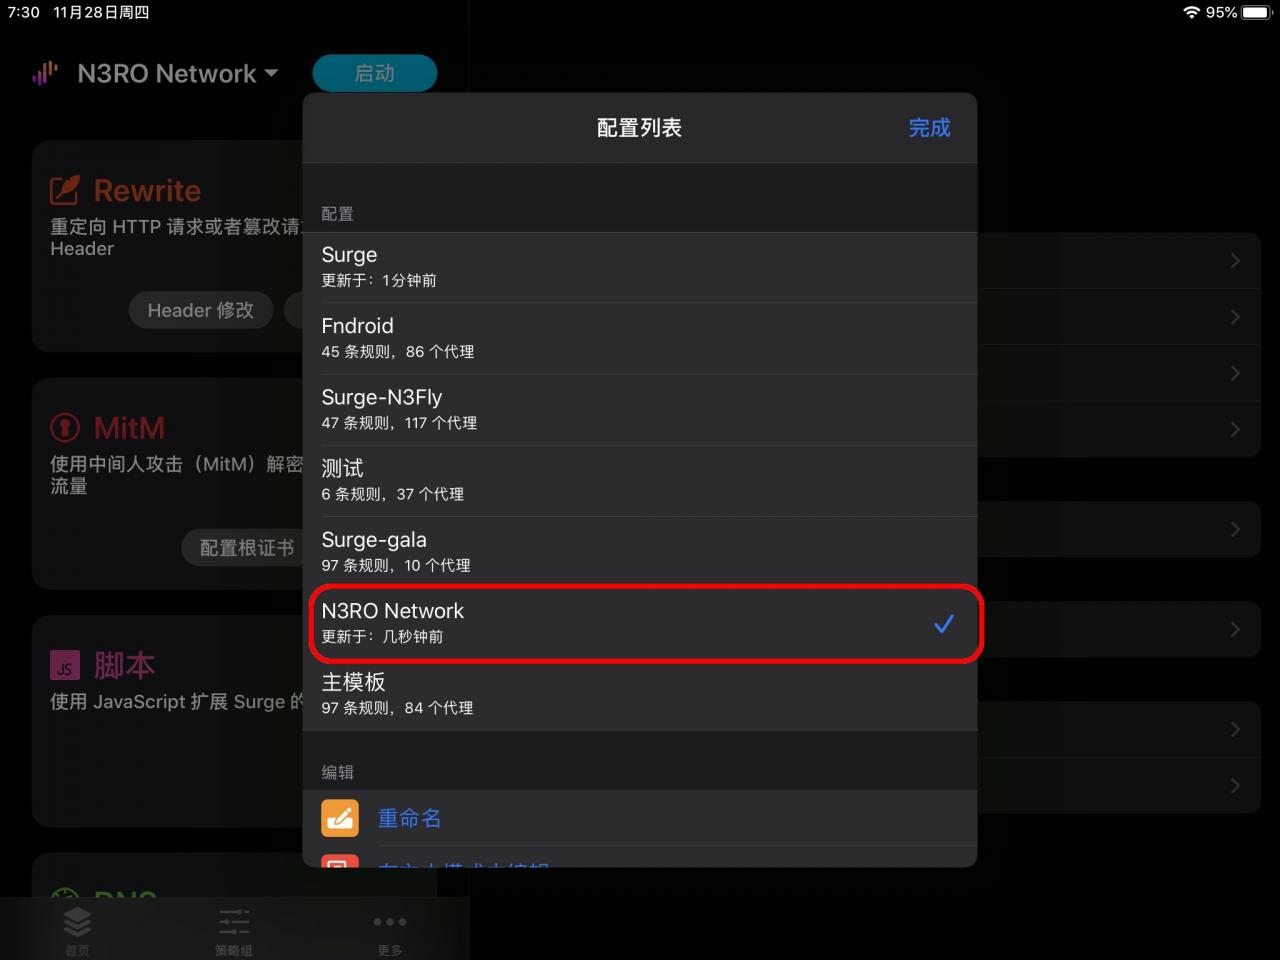
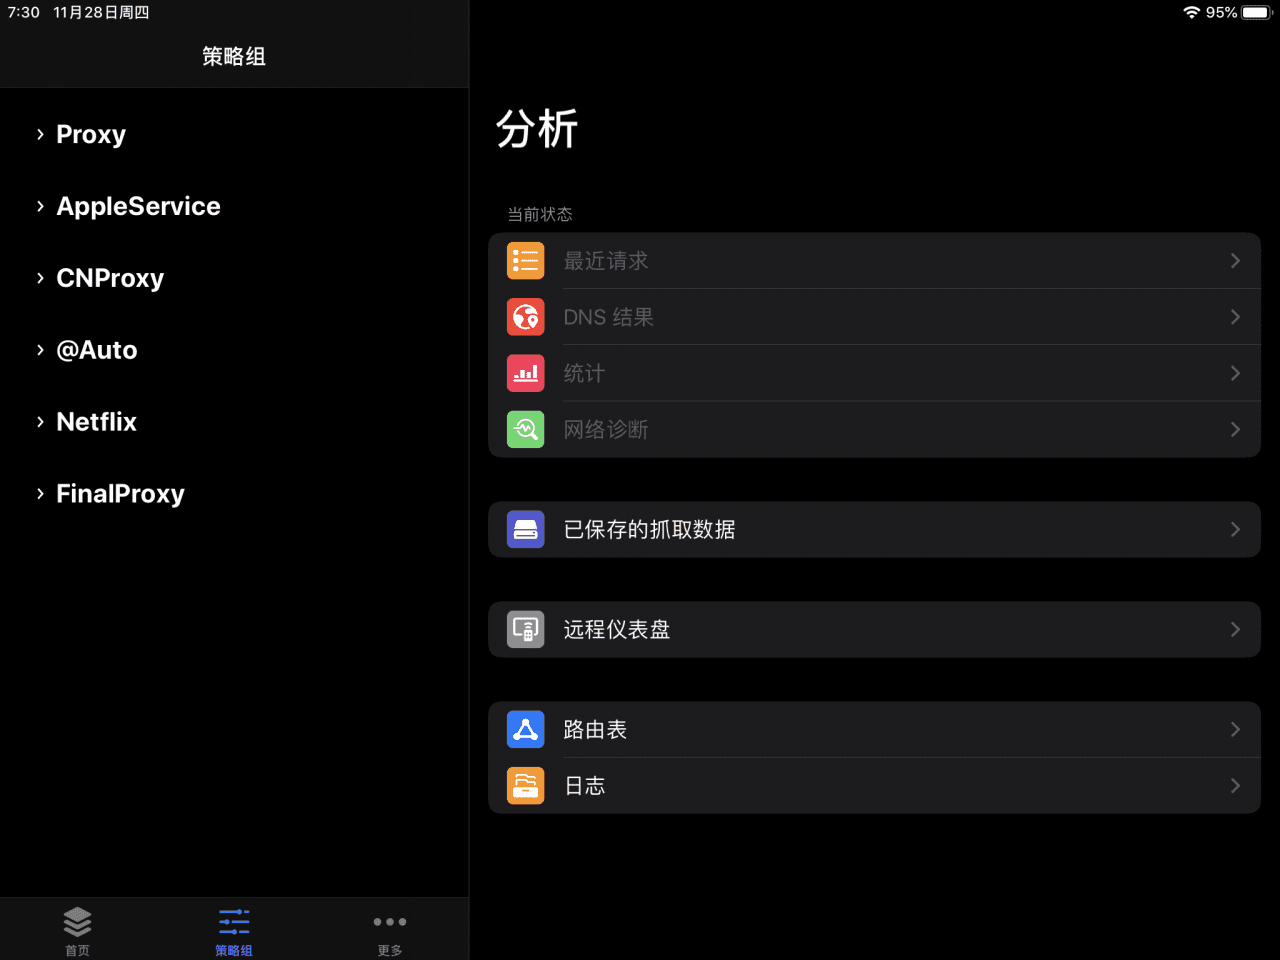
ClickPolicy GroupYou can confirm whether it is loaded successfully.
Go back to the software homepage and click "start"When you start the VPN for the first time, you will be prompted to create a VPN tunnel. "allow".

At this point your device will connect to the first node in the node list by default.
How to switch nodes:
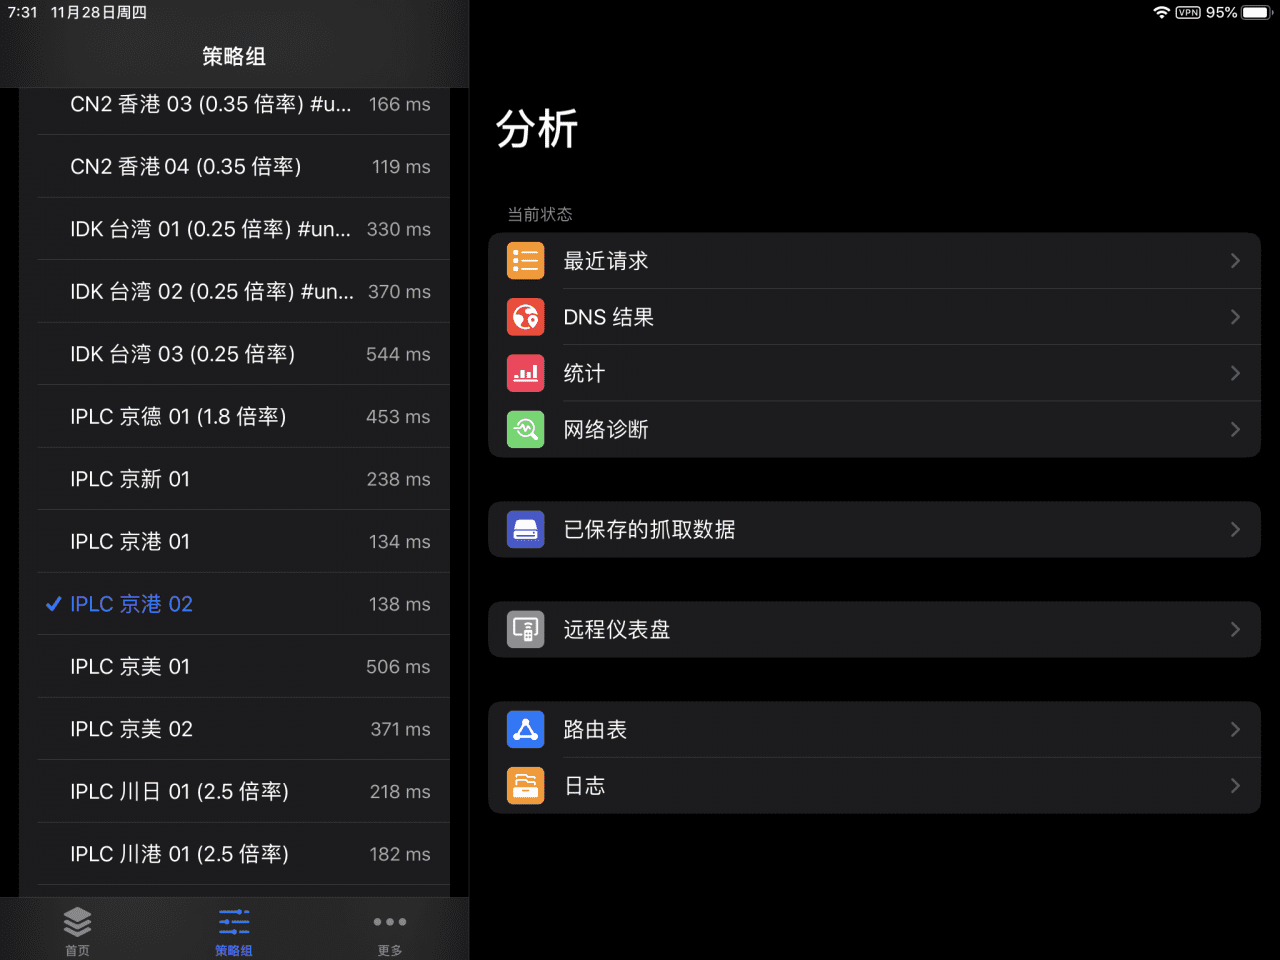
Click below"Policy Group", and then click to expand the policy group of the node you want to change. The default node policy group Proxy is demonstrated here.
Click Proxy, then click Test Latency.
If you want to use a line, just click on the node name. Generally, choose the one with lower latency.
More
About Surge's latency test:
Q: Why is there such a big difference in latency between Surge/Shadowrocket/Quantumult?
A: The testing methods are different.
Surge measures the time it takes to return the http response header packet from the target policy.
Shadowrocket supports two speed measurement methods (ICMP/TCP), the default is ICMP mode (ie Ping).
Quantumult uses SSH speed test mode (port 22).


