Excellent software and practical tutorials


How to use root account SSH to log in to Amazon Cloud
AWS ec2By default, you log in using the ec2-user account, which does not have permissions to many folders. You need to change it to the root super administrator account.
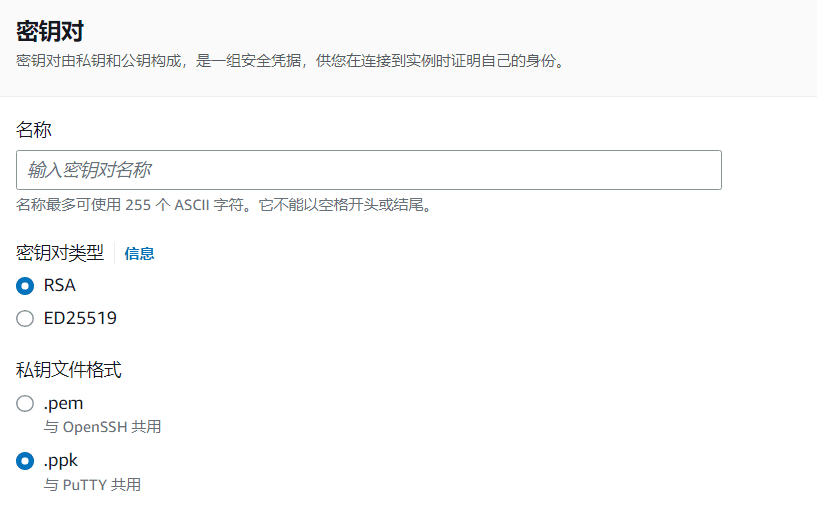
Note: When creating Linux Red Hat 9 When operating the system, you need to create a key pair first.SSHRemote control, when creating a private key file, the default system format is ".PPK", usePuTTYFor SSH connection, do not change here. If you choose the commonly used ".pem" format, you need to useXshell 7 Make the connection.
Step 1: Use ssh to remotely log in to the Amazon cloud server
Tools, establish an Amazon cloud SSH connection, select Public Key as the method, fill in ec2-user as the account, and select the key file previously downloaded from the AWS Amazon cloud as the user key. The key password does not need to be filled in.


Step 2: Create a root password
Enter the following command:
sudo passwd root
Enter your root password, and then you will be prompted to enter a new password. You will need to enter it again for verification.

Step 3: Switch to root
Next, switch to root and enter the following command:
su root
Step 4: Modify the SSH configuration file
Edit as rootAmazon CloudThe host's ssh login method changes the SSH location file.
vi /etc/ssh/sshd_config
Port 22 The default remote SSH port is 22 and does not need to be changed. If you want to use another port, uncomment # and fill in the port number. Also, pay attention to whether your firewall has the port enabled. Firewalls include system firewalls, firewalls on the AWS Amazon cloud platform, and SELinux.
If PermitRootLogin is marked with no or #, it needs to be changed to PermitRootLogin yes
PasswordAuthentication no changed to PasswordAuthentication yes
Change UsePAM yes to UsePAM no
After modification, press esc to exit the editing mode. After saving, press :wq and then disable the SELinux service.
Step 5: Add the ec2-user login password
After logging in with ec2-user, switch to the root super administrator user and set the login password for ec2-user.

Restart the server after setting.
If you cannot log in remotely through ssh, check whether SELinux is disabled.
How to disable SELinux
Security-Enhanced Linux (SELinux) is a Linux kernel feature that provides a security policy protection mechanism that supports access control.
Verify SELinux Status
Remotely connect to the EC2 instance with root privileges.
Run the command getenforce to verify the SELinux status. The returned status should be enforcing or permissive. The current status is enforcing. Run the command sestatus to obtain more SELinux information.

The parameter information SELinux status is displayed as enabled, indicating that SELinux is started.
Disable SELinux
Remotely connect to the ECS instance with root privileges. For more information about connection methods, see Connection Method Overview.
Run the getenforce command to verify the SELinux status.
If the return status is enforcing, it means SELinux is enabled.
Choose to temporarily disable or permanently disable SELinux.
Run the setenforce 0 command to temporarily disable SELinux.
Permanently disable SELinux. Run the following command to edit the SELinux config file.
vi /etc/selinux/config
Find SELINUX=Enforcing, press i to enter the edit mode, and change the parameter to SELINUX=Disabled.

After the modification is complete, press the Esc key on the keyboard and execute the command :wq to save and exit the file.
reboot Restart the ECS instance.
After rebooting, run the getenforce command to verify that SELinux status is disabled, indicating that SELinux is disabled.
Red Hat 9 Firewall
The system firewall of Red Hat 9 is closed by default. If you want to open ports, you need to set up open ports in the AWS cloud platform, or set up a transparent firewall to open all ports!