精品軟體與實用教程
ISPConfig 3.2 優秀的虛擬主機管理面板教你如何在Centos 安裝ISPConfig
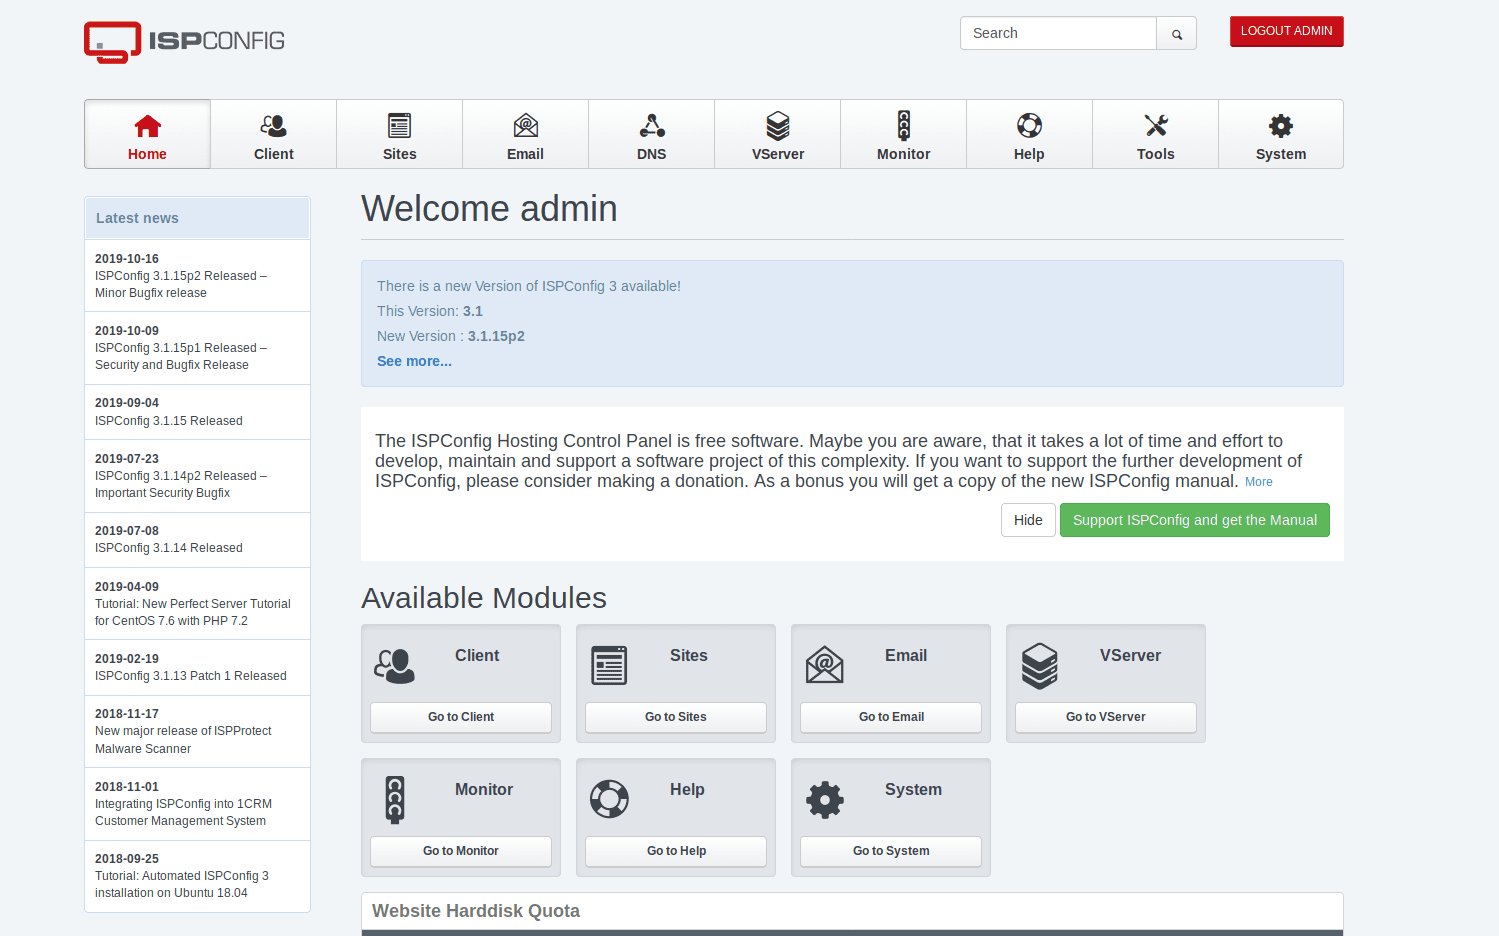
ISPConfig 3.2 是國外一個非常優秀的VPS主機控制面板,ISPConfig 免費開源並且已經持續開發了好幾年了,目前ISPConfig 3 基本上可以安裝在Linux各大作業系統,支援一鍵安裝,包括了Apache2 and nginx、Postfix、Dovecot、PureFTPD、Bind,、PowerDNS、MySQL等等。
接下來在 CentOS 8(64 位元)伺服器上安裝ISPConfig 3.2。 ISPConfig 是一個網頁寄存控制面板,可讓您透過網頁瀏覽器設定以下服務:Nginx/Apache 網路伺服器、PHP、Postfix 郵件伺服器、MySQL、BIND 名稱伺服器、PureFTPd、SpamAssassin、ClamAV、Mailman 等等。
ISPConfig 官網網址:https://www.ispconfig.org/
Github上的項目地址:https://github.com/servisys/ispconfig_setup
Github上ISPConfig只更新到3.0.6版本,centos系統支援到centos7,最後一次更新為2020年6月8日,安裝僅供參考。
安裝ISPConfig 3.2
ISPConfig 附帶了Bastille 防火牆腳本,因此需要停用預設的CentOS 防火牆。當然,您可以自由地讓CentOS 防火牆保持開啟並根據您的需求進行設定(需要先關閉ISPConfig 附帶了Bastille 防火牆腳本,因為它很可能會幹擾CentOS 防火牆)。
關閉系統防火牆
安裝常用指令,以及關閉系統防火牆
dnf -y install net-tools wget rsyslog curl net-tools NetworkManager-tui systemctl stop firewalld systemctl disable firewalld
使用 firewall-cmd --state 命令檢測防火牆是否正確關閉。

如果返回 not running 就代表防火牆已經正確關閉了。
設定SELinux 為寬鬆模式或關閉
SELinux 是CentOS 的安全擴展,應該提供擴展的安全性。 ISPConfig 不附帶SELinux 規則集,因此將SELinux設定為 permissive 寬鬆模式,或直接 disabled關閉SELinux。
vi /etc/selinux/config

安裝EPEL 儲存庫
如果你還沒有安裝EPEL儲存庫,請先安裝EPEL儲存庫,因為在Centos8中,很多軟體都找不到,需要EPEL儲存庫支援。
epel儲存庫安裝完畢後,安裝Development Tools 工具包,之後更新系統!
rpm --import /etc/pki/rpm-gpg/RPM-GPG-KEY* dnf -y install epel-release dnf -y group install 'Development Tools' dnf -y install yum-utils dnf -y install yum-priorities
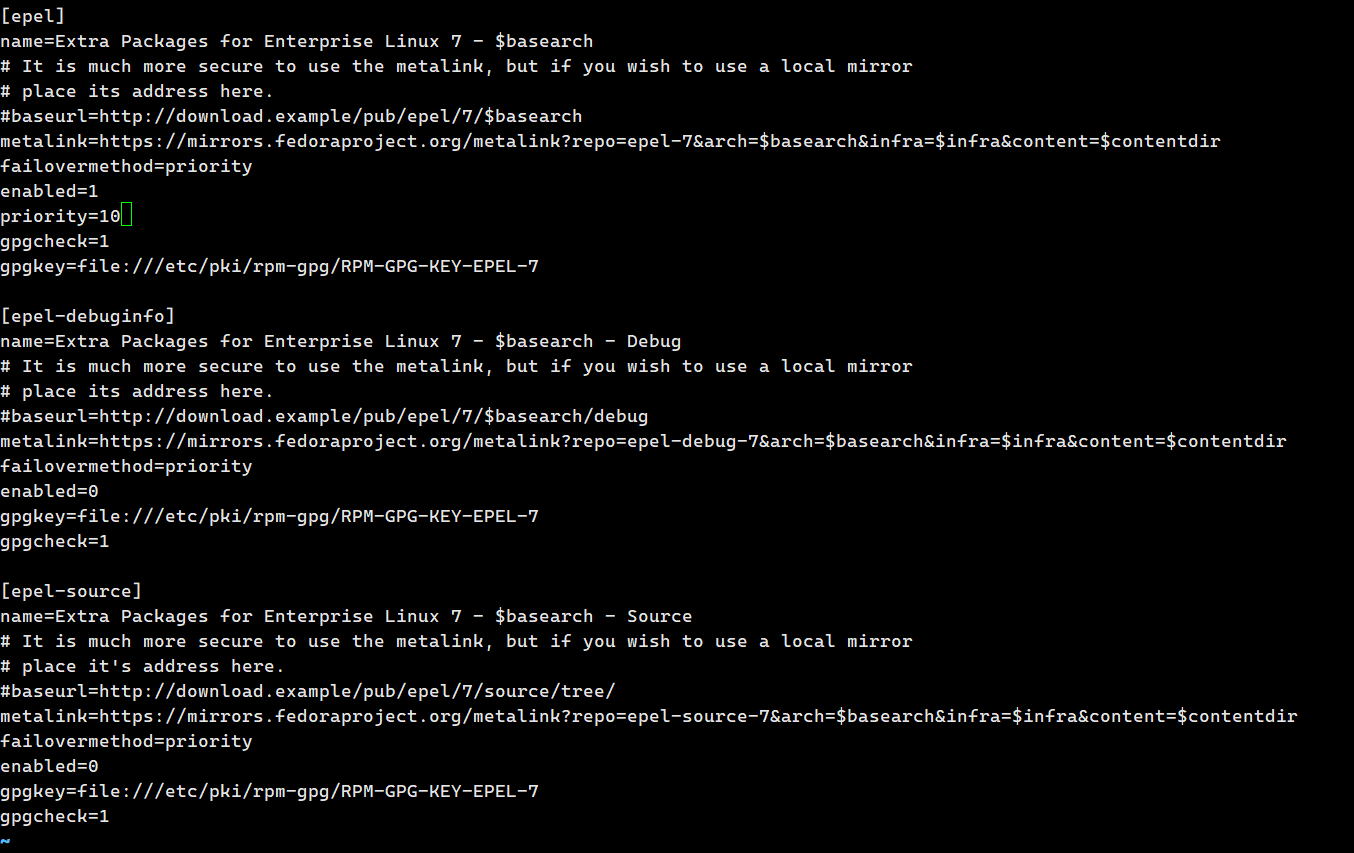
vi /etc/yum.repos.d/epel.repo
在 enabled=1 下面添加 priority=10
同步時間
timedatectl set-timezone Asia/Shanghai #centos7下安裝NTP dnf -y install ntp #設定開機啟動systemctl enable ntpd #啟動NTP服務systemctl start ntpd #查看狀態systemctl status ntpd
更新系統軟體
dnf -y update
設定hosts
設定一個二級域名,解析到你的伺服器ip,然後在hosts中設定域名,在內網IP位址後面加入域名
vi /etc/hosts
在::1的下方加入內網IP host.xxx.com host
host.xxx.com 是你設定的二級域名,在後面添加 host
127.0.0.1 localhost localhost.localdomain localhost4 localhost4.localdomain4 ::1 localhost localhost.localdomain localhost6 localhost6.localdomain6 127.0.0.1 host.35btc.com host
之後修改hostname檔。
echo 'host.35btc.com' > /etc/hostname
如果你不想使用SSH終端配置伺服器,可以使用圖形化的webui介面管理伺服器。
安裝伺服器管理圖形介面
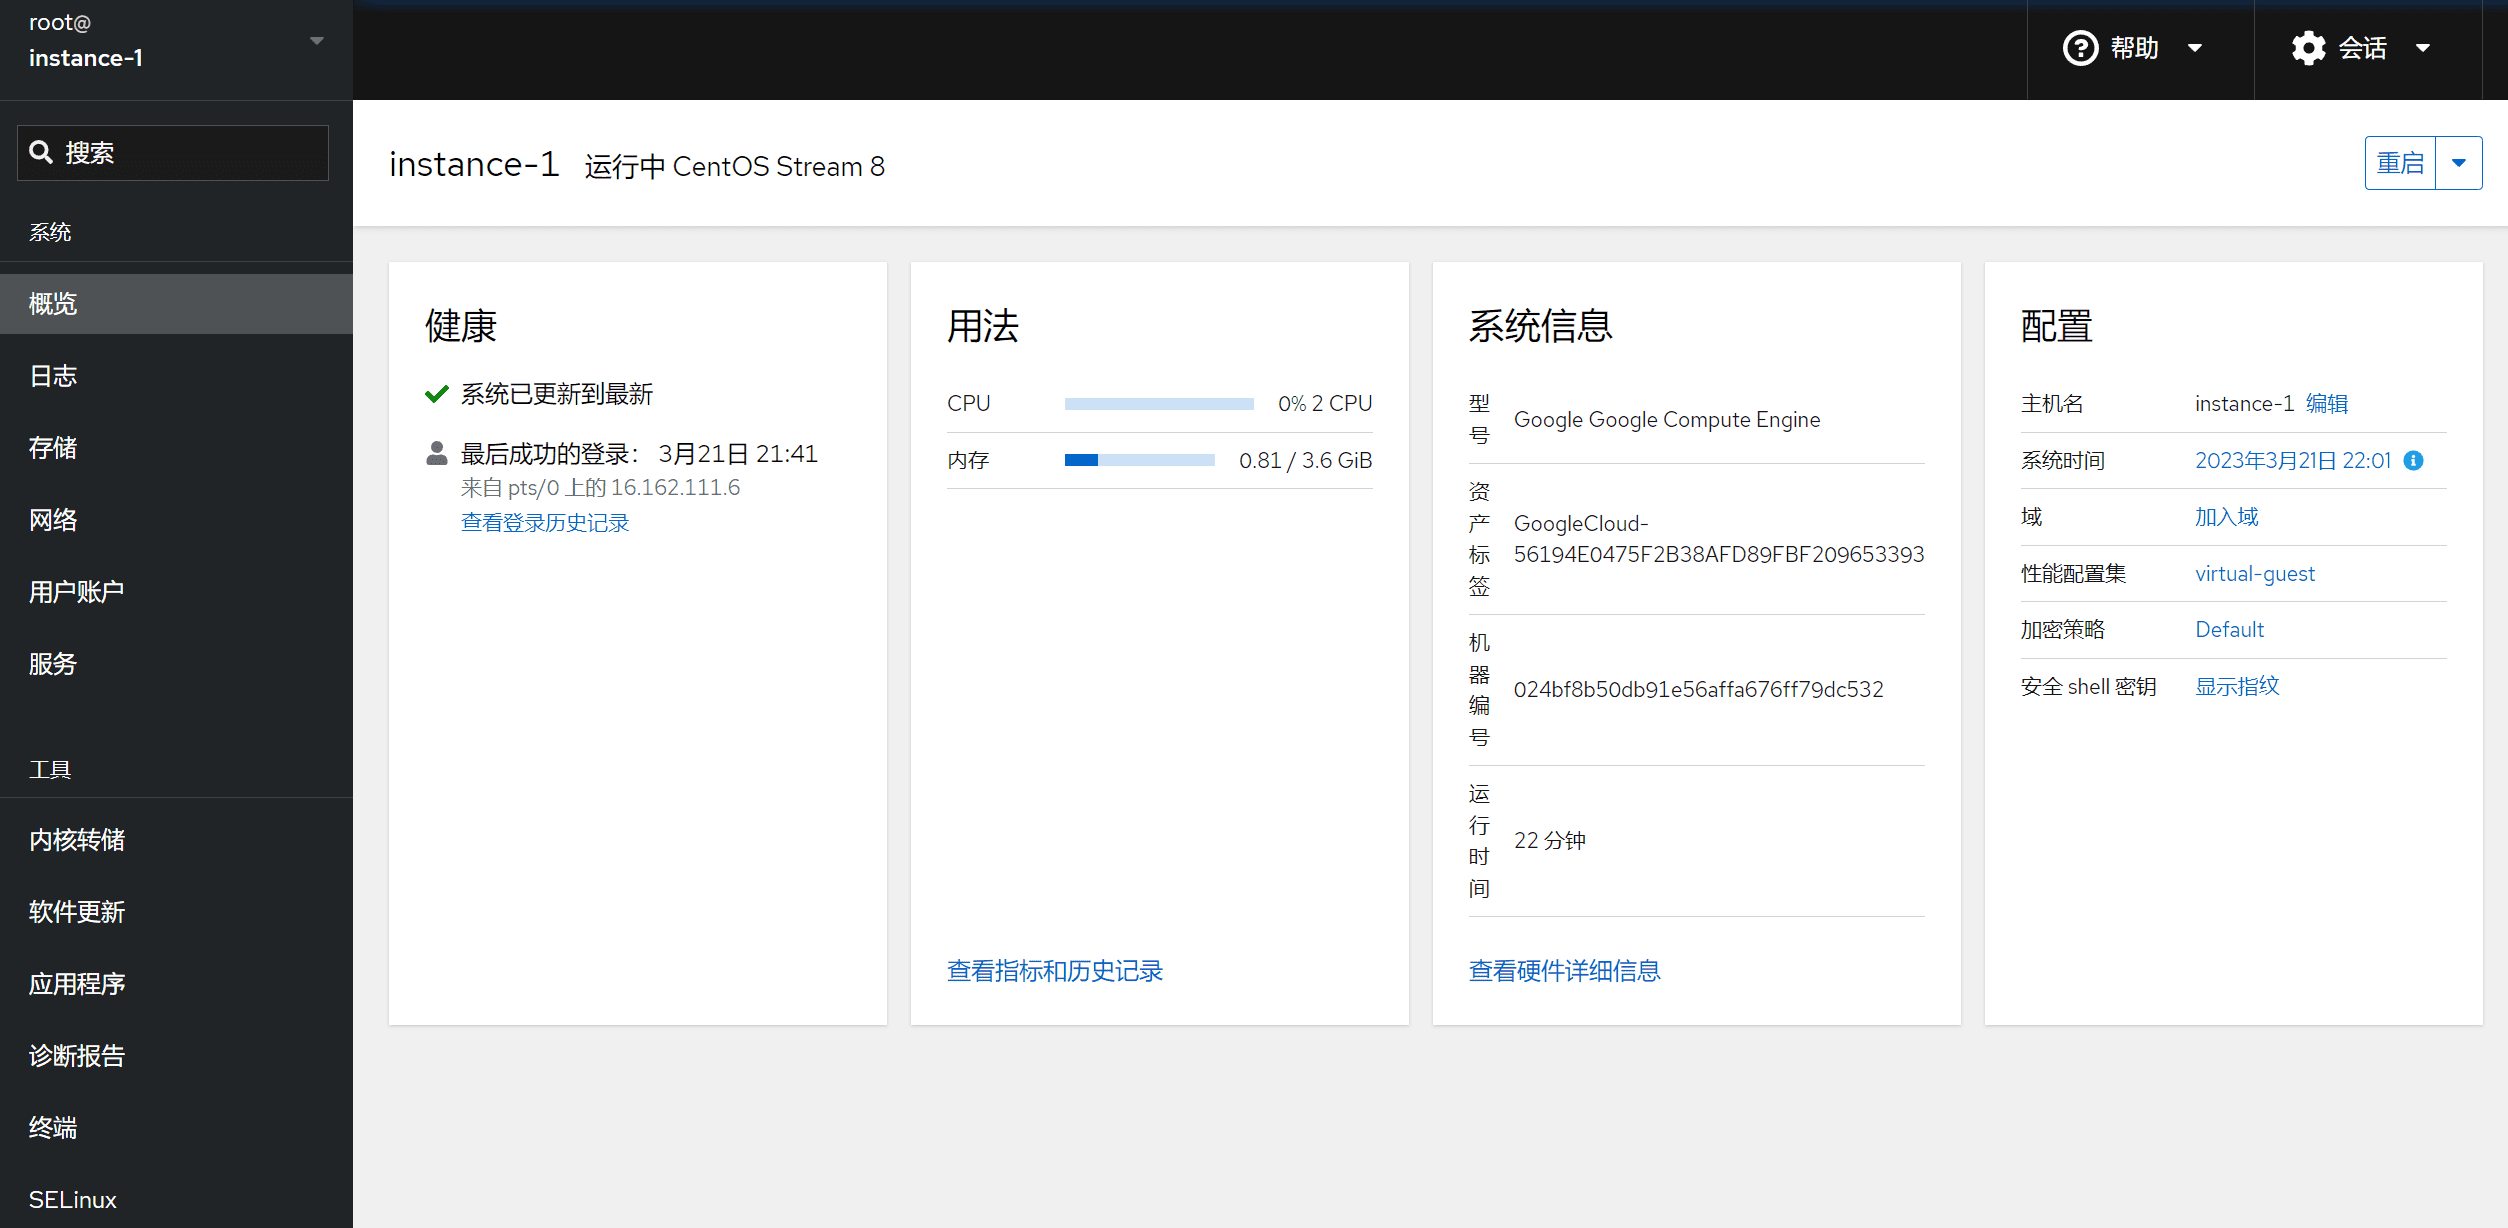
伺服器面板是具有伺服器管理功能的圖形化面板,在面板中你可以看到伺服器硬體的使用情況,以及設定伺服器等等。
cockpit 伺服器面板
dnf install cockpit systemctl enable --now cockpit.socket
防火牆配置,如果已經關閉防火牆則無需配置。
sudo firewall-cmd --permanent --zone=public --add-service=cockpit sudo firewall-cmd --reload
瀏覽器開啟: https:// 伺服器IP位址:9090
然後使用您的系統使用者帳戶和密碼登入。
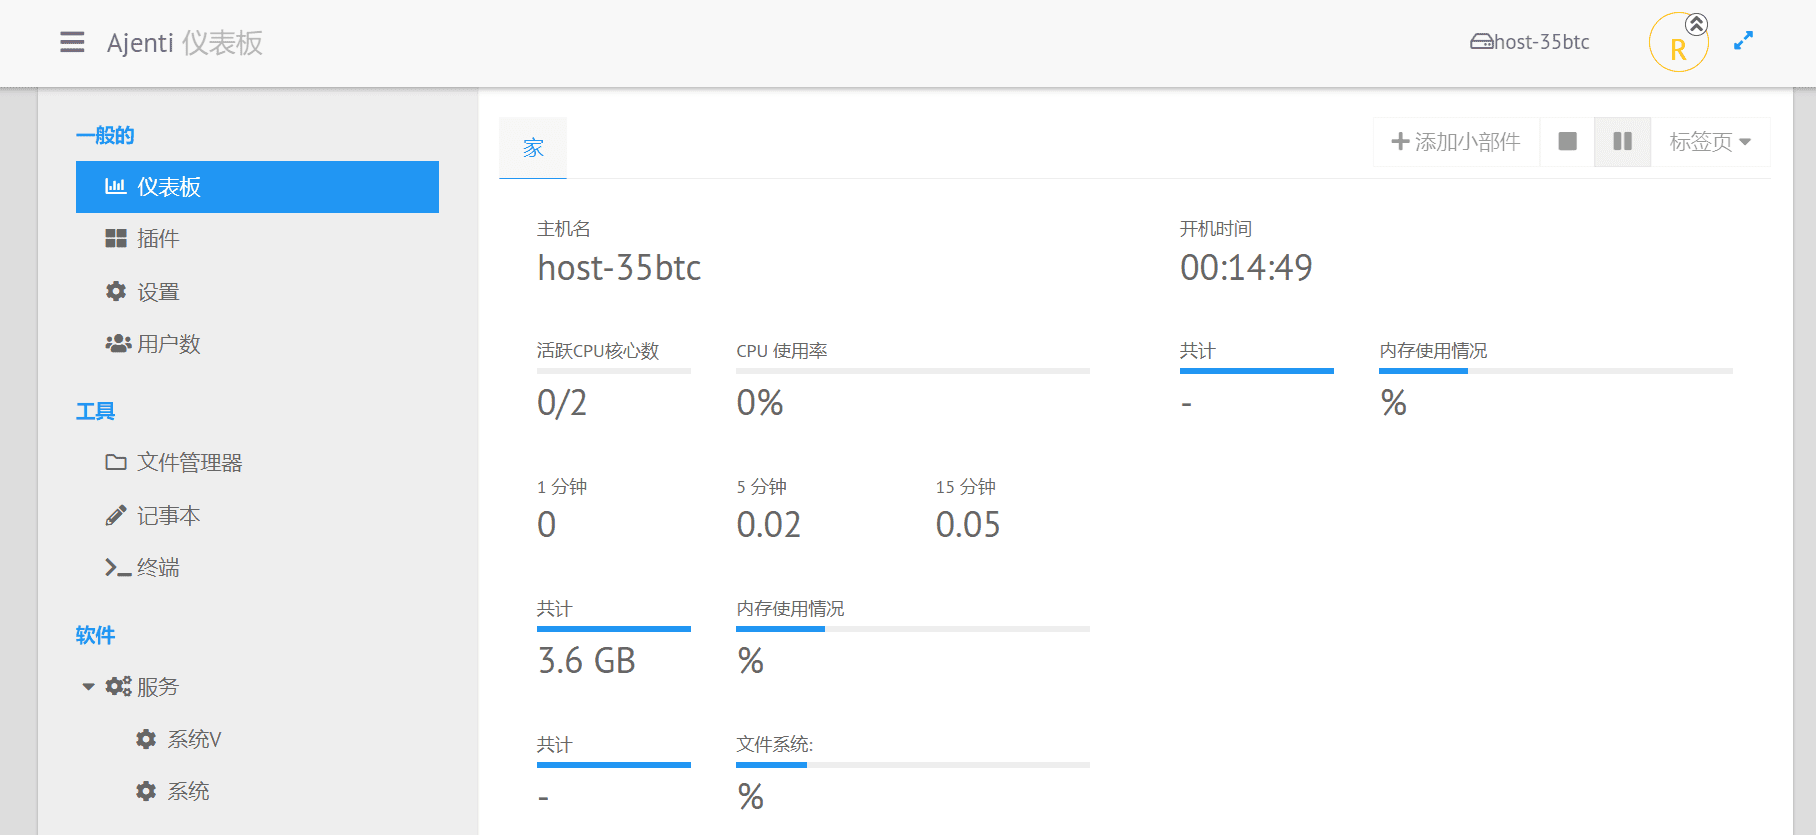
Ajenti 2 伺服器面板
curl https://raw.githubusercontent.com/ajenti/ajenti/master/scripts/install.sh | sudo bash -s -
Webmin 伺服器面板
curl -o setup-repos.sh https://raw.githubusercontent.com/webmin/webmin/master/setup-repos.sh sh setup-repos.sh
安裝Webmin面板
dnf install webmin
安裝完畢後,在瀏覽器中輸入 https://你的ip位址:10000/ 訪問。
用戶名口令是伺服器的用戶口令。

安裝Nginx、PHP、MySQL 和phpMyAdmin
啟用Remi 儲存庫以取得最新的軟體版本
dnf install http://rpms.remirepo.net/enterprise/remi-release-8.rpm dnf makecache
安裝伺服器環境配置面板
伺服器面板安裝AMH面板
AMH7.0 極速安裝
AMH 國內領先的雲端主機面板,安裝請使用純淨系統。 (Centos、Debian、Ubuntu)
極速免編譯安裝方式(安裝時間1至3分鐘)
wget http://dl.amh.sh/amh.sh && bash amh.sh
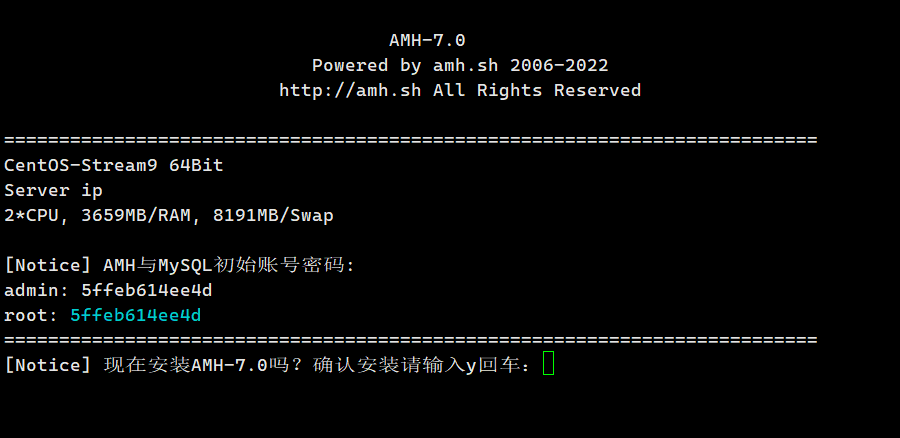
AMH面板的具體安裝使用,請查看:
AMH 雲端主機管理面板Linux 自動部署LNMP環境WebUI 開源主機面板


