Excellent software and practical tutorials


becauseTVBOXSince TVBOX is an open source software, it must configure the interface before it can be used, which may not be very friendly to some novice friends. If a default address can be set in the software, then there is no need to configure it additionally after installing TVBOX, which is very convenient.
Please note the following:
1. This tutorial is only applicable to the original version of TVBOX and not to various modified versions.
2. This tutorial is just an operation demonstration. Please back up the software by yourself. We are not responsible for any abnormal situations such as data loss.
3. Modifications made by yourself may cause the app to fail to run. If you are a novice, please learn the relevant code knowledge by yourself first.

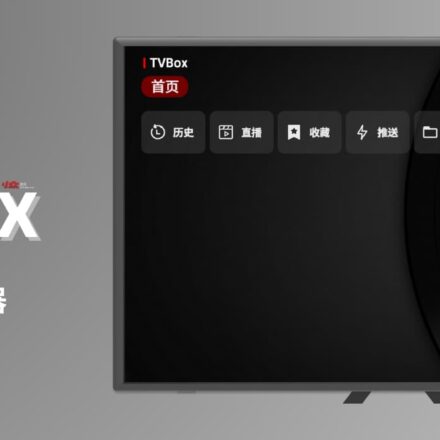
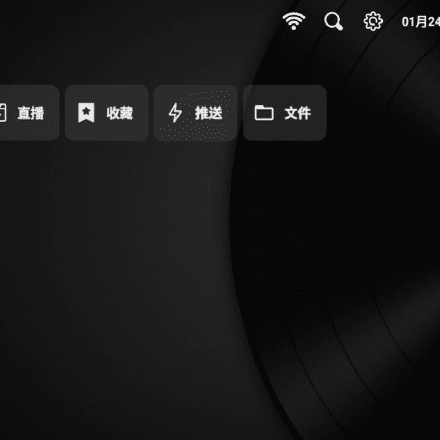
Modify TVBOX default interfaceProcedure
1. Tool preparation: a PC, NoxPlayer, TVBOX native installation package, MT Manager
2. Open the Android emulator and install TVBOX and MT Manager in the emulator (super user permissions must be granted)
3. Open MT Manager, click on the installation package to extract the installed TVBOX installation package.

4. After the extraction is complete, the installation package will be displayed on the interface (my verification failed because I did not sign the file. You just need to pay attention to the signature when you modify it. I will talk about it below). Click the installation package, then click View to enter the app editing page.

6. You can see the picture below. I have marked it. If you don’t need to change the version number, just modify the classes.dex file.

7. Click the classes.dex file, then click dex editor++. Note that you must use this editor, the one below will not work.

8. Click Search, search: const-string v5, and many results will appear

9. Fold all the directories as shown below to make it easier to find them.

10. Find the com.github.tvbox.osc.ui.activity directory, then find HomeActivity, click HomeActivity to enter the code editing mode, fill in your own interface address in " ", and save.

11. Please note that it needs to be saved and compiled before the automatic signing is completed.


12. At this point, the modification is complete and you can install and test the effect of the modification.